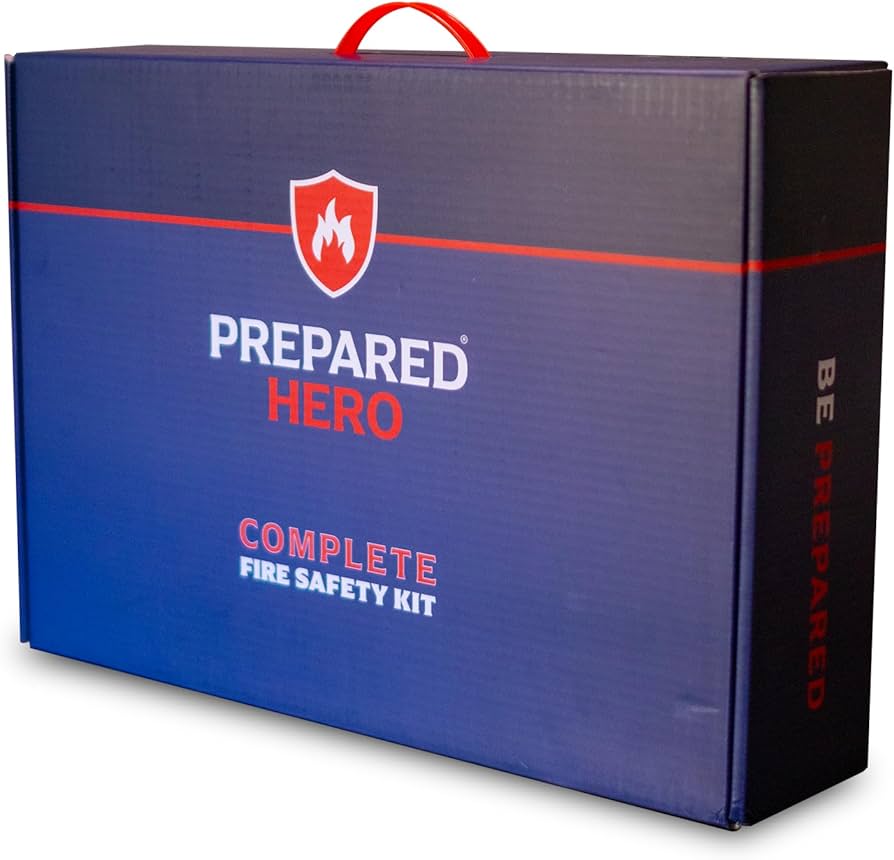
A kitchen safety kit turns small mishaps into quick, no-panic fixes.
If you cook, you face risk. Hot oil pops. Knives slip. Steam burns fast. I have helped set up many homes and small cafes. I have also seen how one simple kit can stop chaos. This guide breaks down why you need to keep safety kits on your kitchen, what to put inside, and how to use it with calm confidence.

What a Kitchen Safety Kit Is and Why It Matters
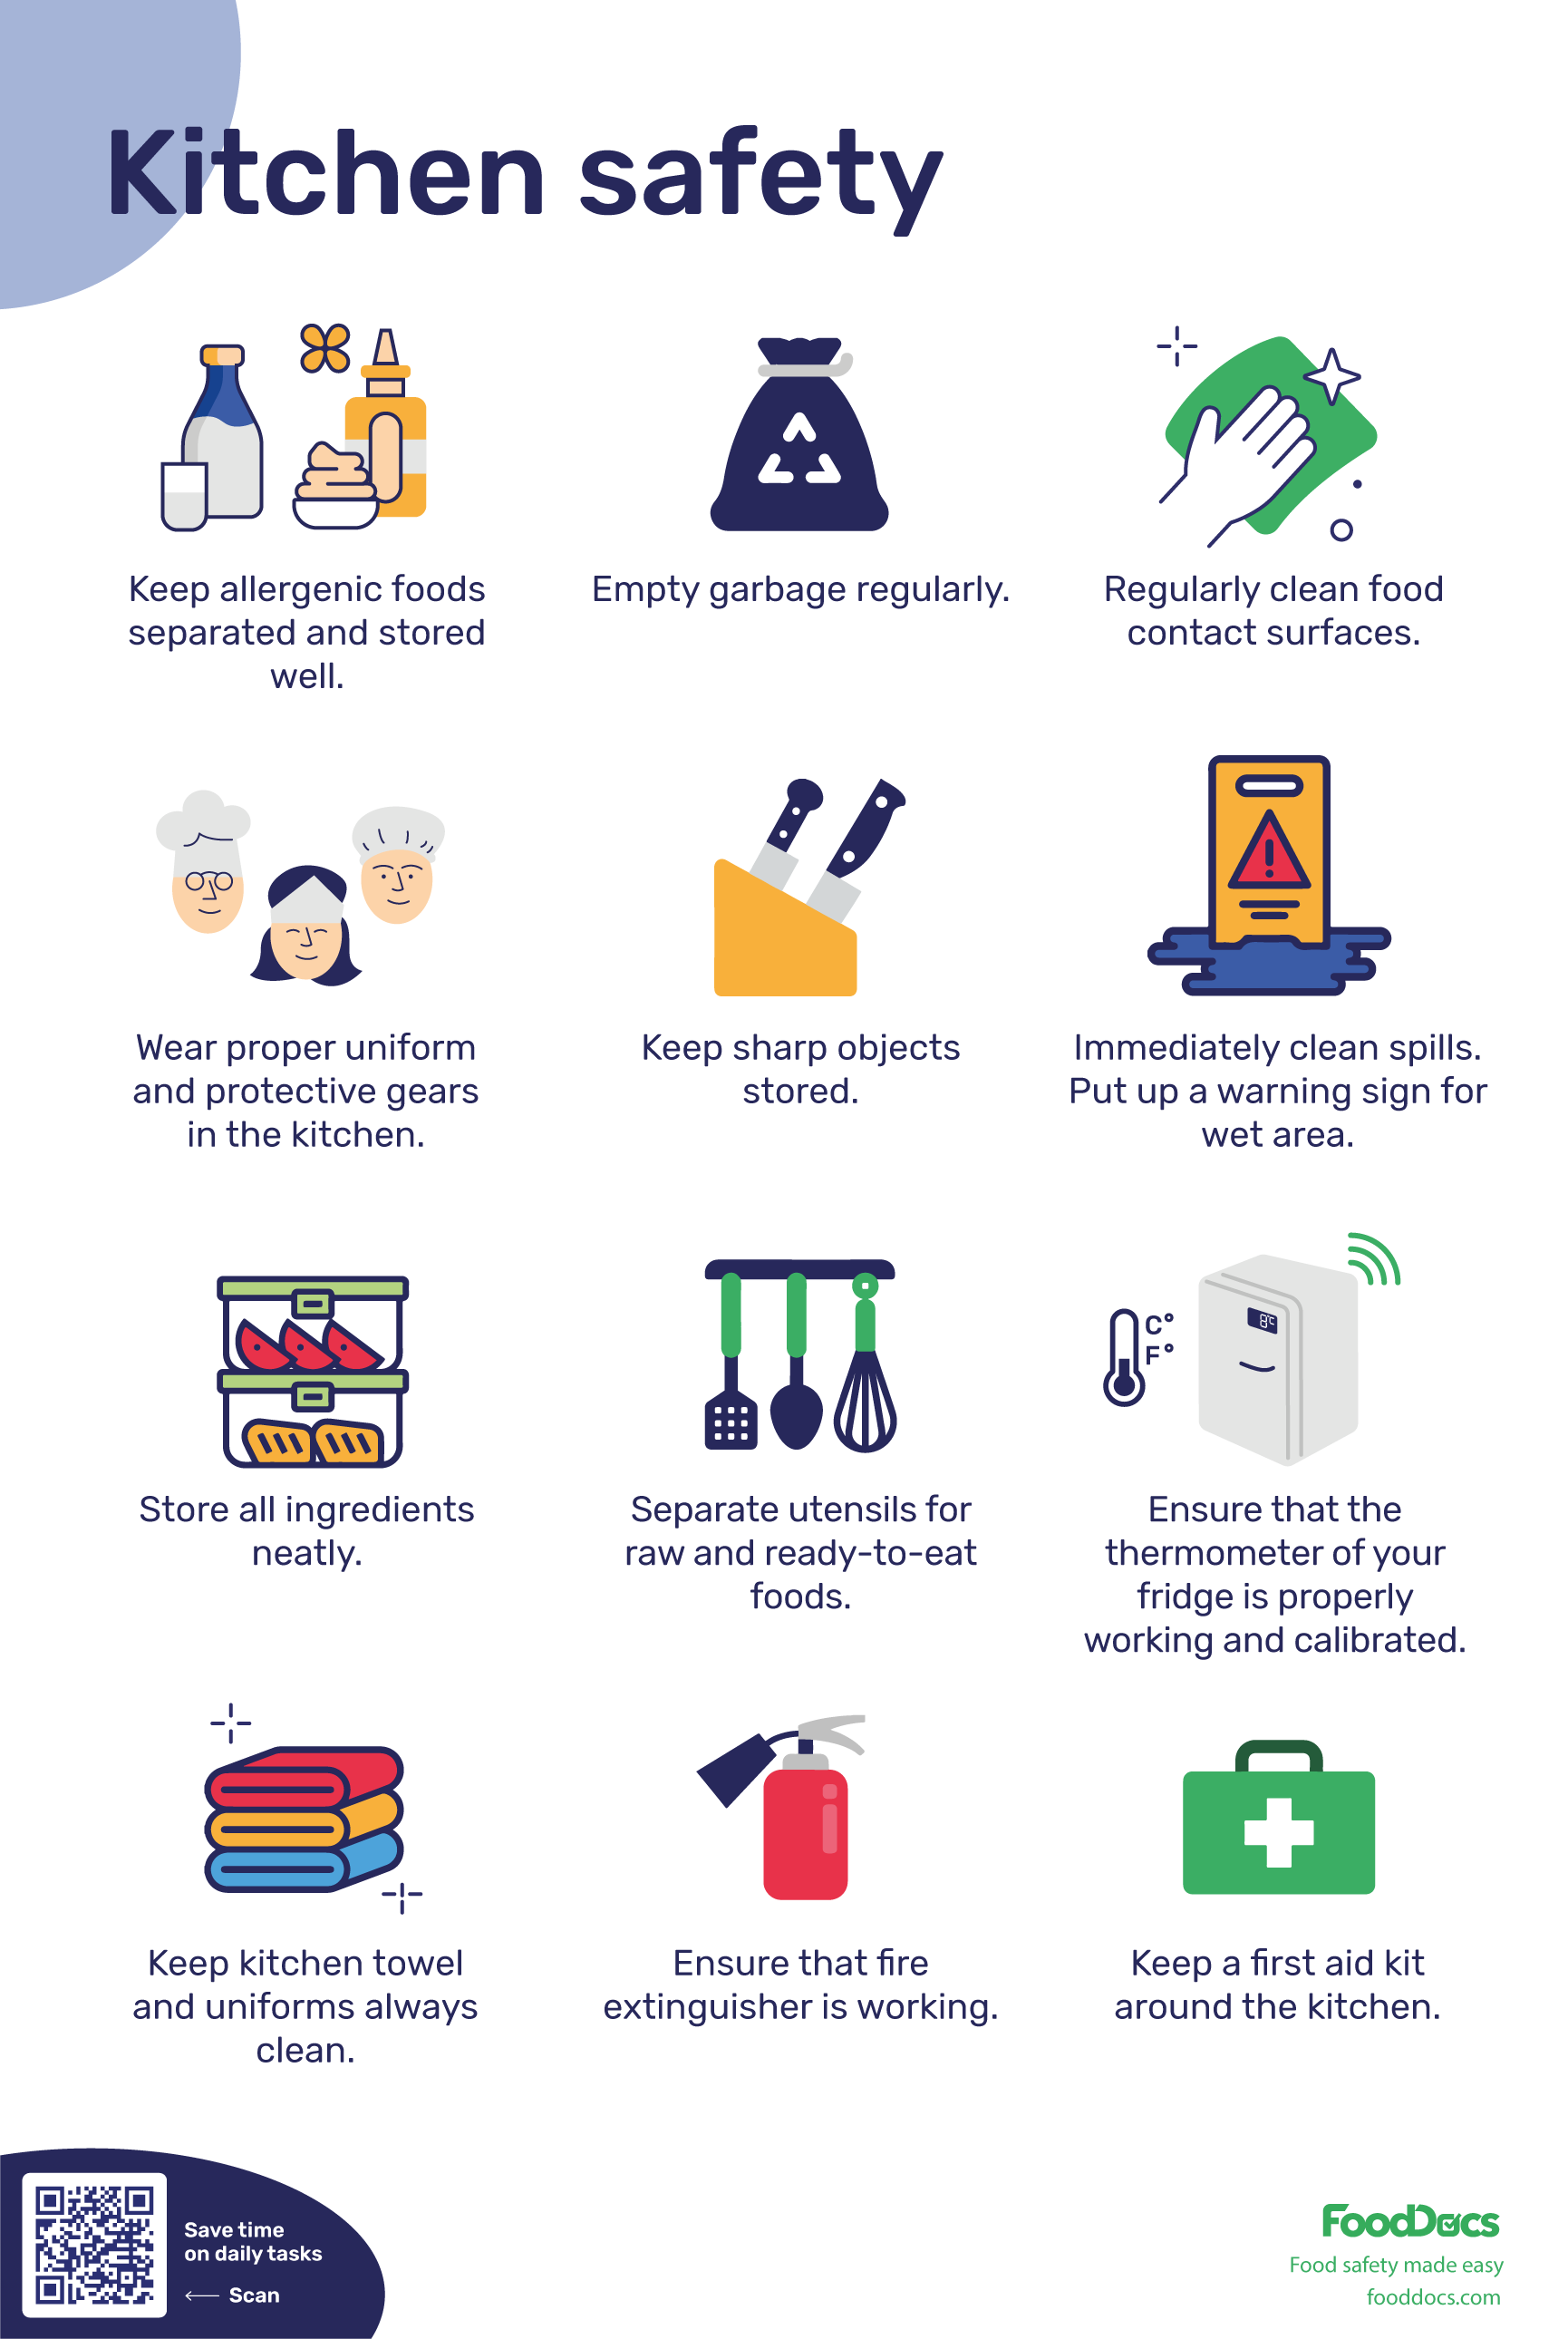
A kitchen safety kit is a small set of tools for fast action. It helps you stop a grease fire, treat a cut, and cool a burn. It also helps you handle a choking scare until help arrives. That is why you need to keep safety kits on your kitchen, not tucked away in a closet.
Speed matters. The first minutes after an accident shape the outcome. A pan fire can double in size in seconds. A deep cut can soak through a towel if you have nothing else on hand. With a kit, you act at once, and you act the right way.
I keep my kit at arm’s reach, not above the stove. It has saved me more than once. It can do the same for you.
The Fast Facts That Prove the Risk
Cooking is the top cause of home fires in the U.S. About half of all home fires start on the stove or cooktop. Most start when you turn your back for “just a second.” Oil and sugar both burn hot and fast.
Burns heal better when cooled right away. Cool running water for up to 20 minutes helps limit damage. For deep cuts, firm pressure in the first minute slows bleeding a lot. For choking, quick thrusts can save a life in seconds.
These facts show why you need to keep safety kits on your kitchen. You reduce harm. You buy time. You make a scary moment simple and small.

What to Include in Your Kitchen Safety Kit
Build a kit that fits your space and your skills. Aim for tools that are simple and safe.
- Small fire extinguisher rated ABC or BC for home use. If you can find Class K for oil fires, that is even better.
- Fire blanket to smother pan fires fast.
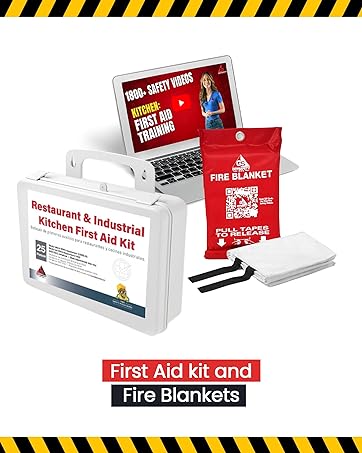
- Burn care: clean cool packs or gel, non-stick burn dressings, plastic wrap.
- Cuts and scrapes: sterile gauze, adhesive bandages, butterfly closures, adhesive tape.
- Antiseptic wipes and saline for wound rinse.
- Nitrile gloves to protect you and the person you help.
- Eye wash bottle or a squeeze bottle you can fill with clean water.
- Kitchen shears or a safety cutter to remove clothing near a wound.
- CPR face shield or mask if you are trained.
- Emergency numbers card and a simple action guide.
- Flashlight or headlamp in case of smoke or a power cut.
Pick items you know how to use. Add or swap parts as your home needs change. This list is the core of why you need to keep safety kits on your kitchen and not just a basic first aid kit in the hall.
How to Use Each Item the Right Way
Practice makes it easy. Here are simple steps you can follow in a tense moment.
-
Grease fire
- Turn off the heat if you can do so safely.
- Cover the pan with a lid or fire blanket. Keep it in place.
- Use a small extinguisher if needed. Never use water on oil.
- If smoke grows or you feel unsure, leave and call 911.
-
Burns
- Cool the burn under cool running water for up to 20 minutes.
- Do not use ice, butter, or toothpaste.
- Cover with a clean, non-stick dressing. Seek care if large or deep.
-
Cuts
- Apply firm, direct pressure with clean gauze.
- Keep pressure for at least two minutes before peeking.
- Rinse when bleeding slows. Cover and watch for signs of infection.
-
Choking (adults and kids over 1 year)
- Ask, “Are you choking?” If they cannot speak, act.
- Give abdominal thrusts until the item comes out or they can breathe.
- If they pass out, start CPR if trained and call 911.
-
Eye splash
- Rinse the eye with clean water for at least 15 minutes.
- Do not rub. Seek care for pain, blurred sight, or chemical burns.
These steps are easy with the right gear on hand. This is the heart of why you need to keep safety kits on your kitchen, not just in a drawer far away.
Smart Placement and Setup in Your Kitchen
Put your kit where you can reach it fast. Do not store it above the stove or behind heavy items. A wall mount or inside a low cabinet by the exit works well. Label it so guests can find it.
Keep the fire blanket near the stove. Keep the extinguisher near an exit so you can grab it and escape if needed. Add a small magnet card with key steps for fire, burns, and cuts. Clear, simple steps help when your hands shake.
Make sure kids know not to play with the kit. Show older teens how to use each item. This setup is why you need to keep safety kits on your kitchen in a clear, fixed spot.

Simple Maintenance and Refill Schedule
A kit only helps if it is ready. Use this quick plan.
- Every month: check the extinguisher gauge, seals, and date.
- Every three months: replace used items, restock bandages, and wipes.
- Twice a year: check expiry dates on burn dressings and medicines. Replace as needed.
- After any use: clean, restock, and make notes of what worked and what did not.
A basic check takes two minutes. Set a phone reminder. This habit backs up why you need to keep safety kits on your kitchen and not rely on luck.
Train Everyone at Home
Do a five-minute drill. Show where the kit lives. Practice the PASS steps for an extinguisher: pull, aim, squeeze, sweep. Practice fire blanket use with a cold pan.
Teach kids simple rules: stop, drop, and roll; cool water for burns; get an adult for cuts. Post emergency numbers on the fridge. Training turns tools into action. It proves why you need to keep safety kits on your kitchen ready for any helper in the house.

Real Stories and Lessons Learned
A few years ago, I knocked a pan and oil flashed. The flame rose fast. I killed the gas and dropped a fire blanket over the pan. No damage. No smoke stains. That day sold me on the blanket for life.
A friend sliced a finger on a mandoline. We used gauze and firm pressure. The bleeding slowed in under a minute. We cleaned, covered, and went for stitches with calm minds. These wins reflect why you need to keep safety kits on your kitchen, not in a box in the garage.
Budget, Value, and Peace of Mind
You can set up a solid kit for under $100. A blanket, a small ABC extinguisher, and a stocked first aid pouch are the core. Compare that to the cost of a smoke claim, an ER bill, or a ruined stove. The math is clear.
Peace of mind is hard to price. When you act fast, you feel in control. That calm spreads to your family. That is another reason why you need to keep safety kits on your kitchen and not put it off.
:strip_icc()/microwave-cabinet-0e30c5bb-b016a1330988418990eca5aecd04658d.jpg)
Mistakes to Avoid and Myths to Drop
Do not throw water on a grease fire. It spreads flames. Use a lid, blanket, or the right extinguisher. Do not use ice on burns. Use cool water.
Do not store the extinguisher over the stove. You may not reach it in time. Do not skip training. Tools are only as good as the user. Fix these habits, and you will see why you need to keep safety kits on your kitchen as part of daily life, not just “someday.”
Frequently Asked Questions of why you need to keep safety kits on your kitchen
How big should my kitchen fire extinguisher be?
A small, easy-to-hold unit is best for most homes. Look for ABC or BC rating and make sure you can lift and aim it with one hand.
Is a fire blanket better than a lid for pan fires?
Both work to smother flames. A fire blanket is larger, safer to hold, and faster to deploy when a lid is not nearby.
What is the first thing to do for a burn?
Cool the burn with cool running water for up to 20 minutes. Then cover with a clean, non-stick dressing.
How often should I replace items in my kit?
Check monthly and replace items by their expiry dates. Restock right after any use so the kit is always ready.
Where is the safest place to keep the kit?
Keep it near the kitchen exit or in a low, easy-to-reach cabinet. Avoid placing it above the stove or behind clutter.
Conclusion
Kitchen mishaps happen fast, but your response can be even faster. A simple kit, smart placement, and a short drill turn fear into calm action. You now know why you need to keep safety kits on your kitchen, what to include, and how to use each tool.
Set up your kit this week. Practice once. Share this guide with a friend who cooks. Want more home safety tips? Subscribe for updates or leave a question in the comments.


