Roast peanuts, then crush with a mortar, rolling pin, or jar; add oil and salt to taste.
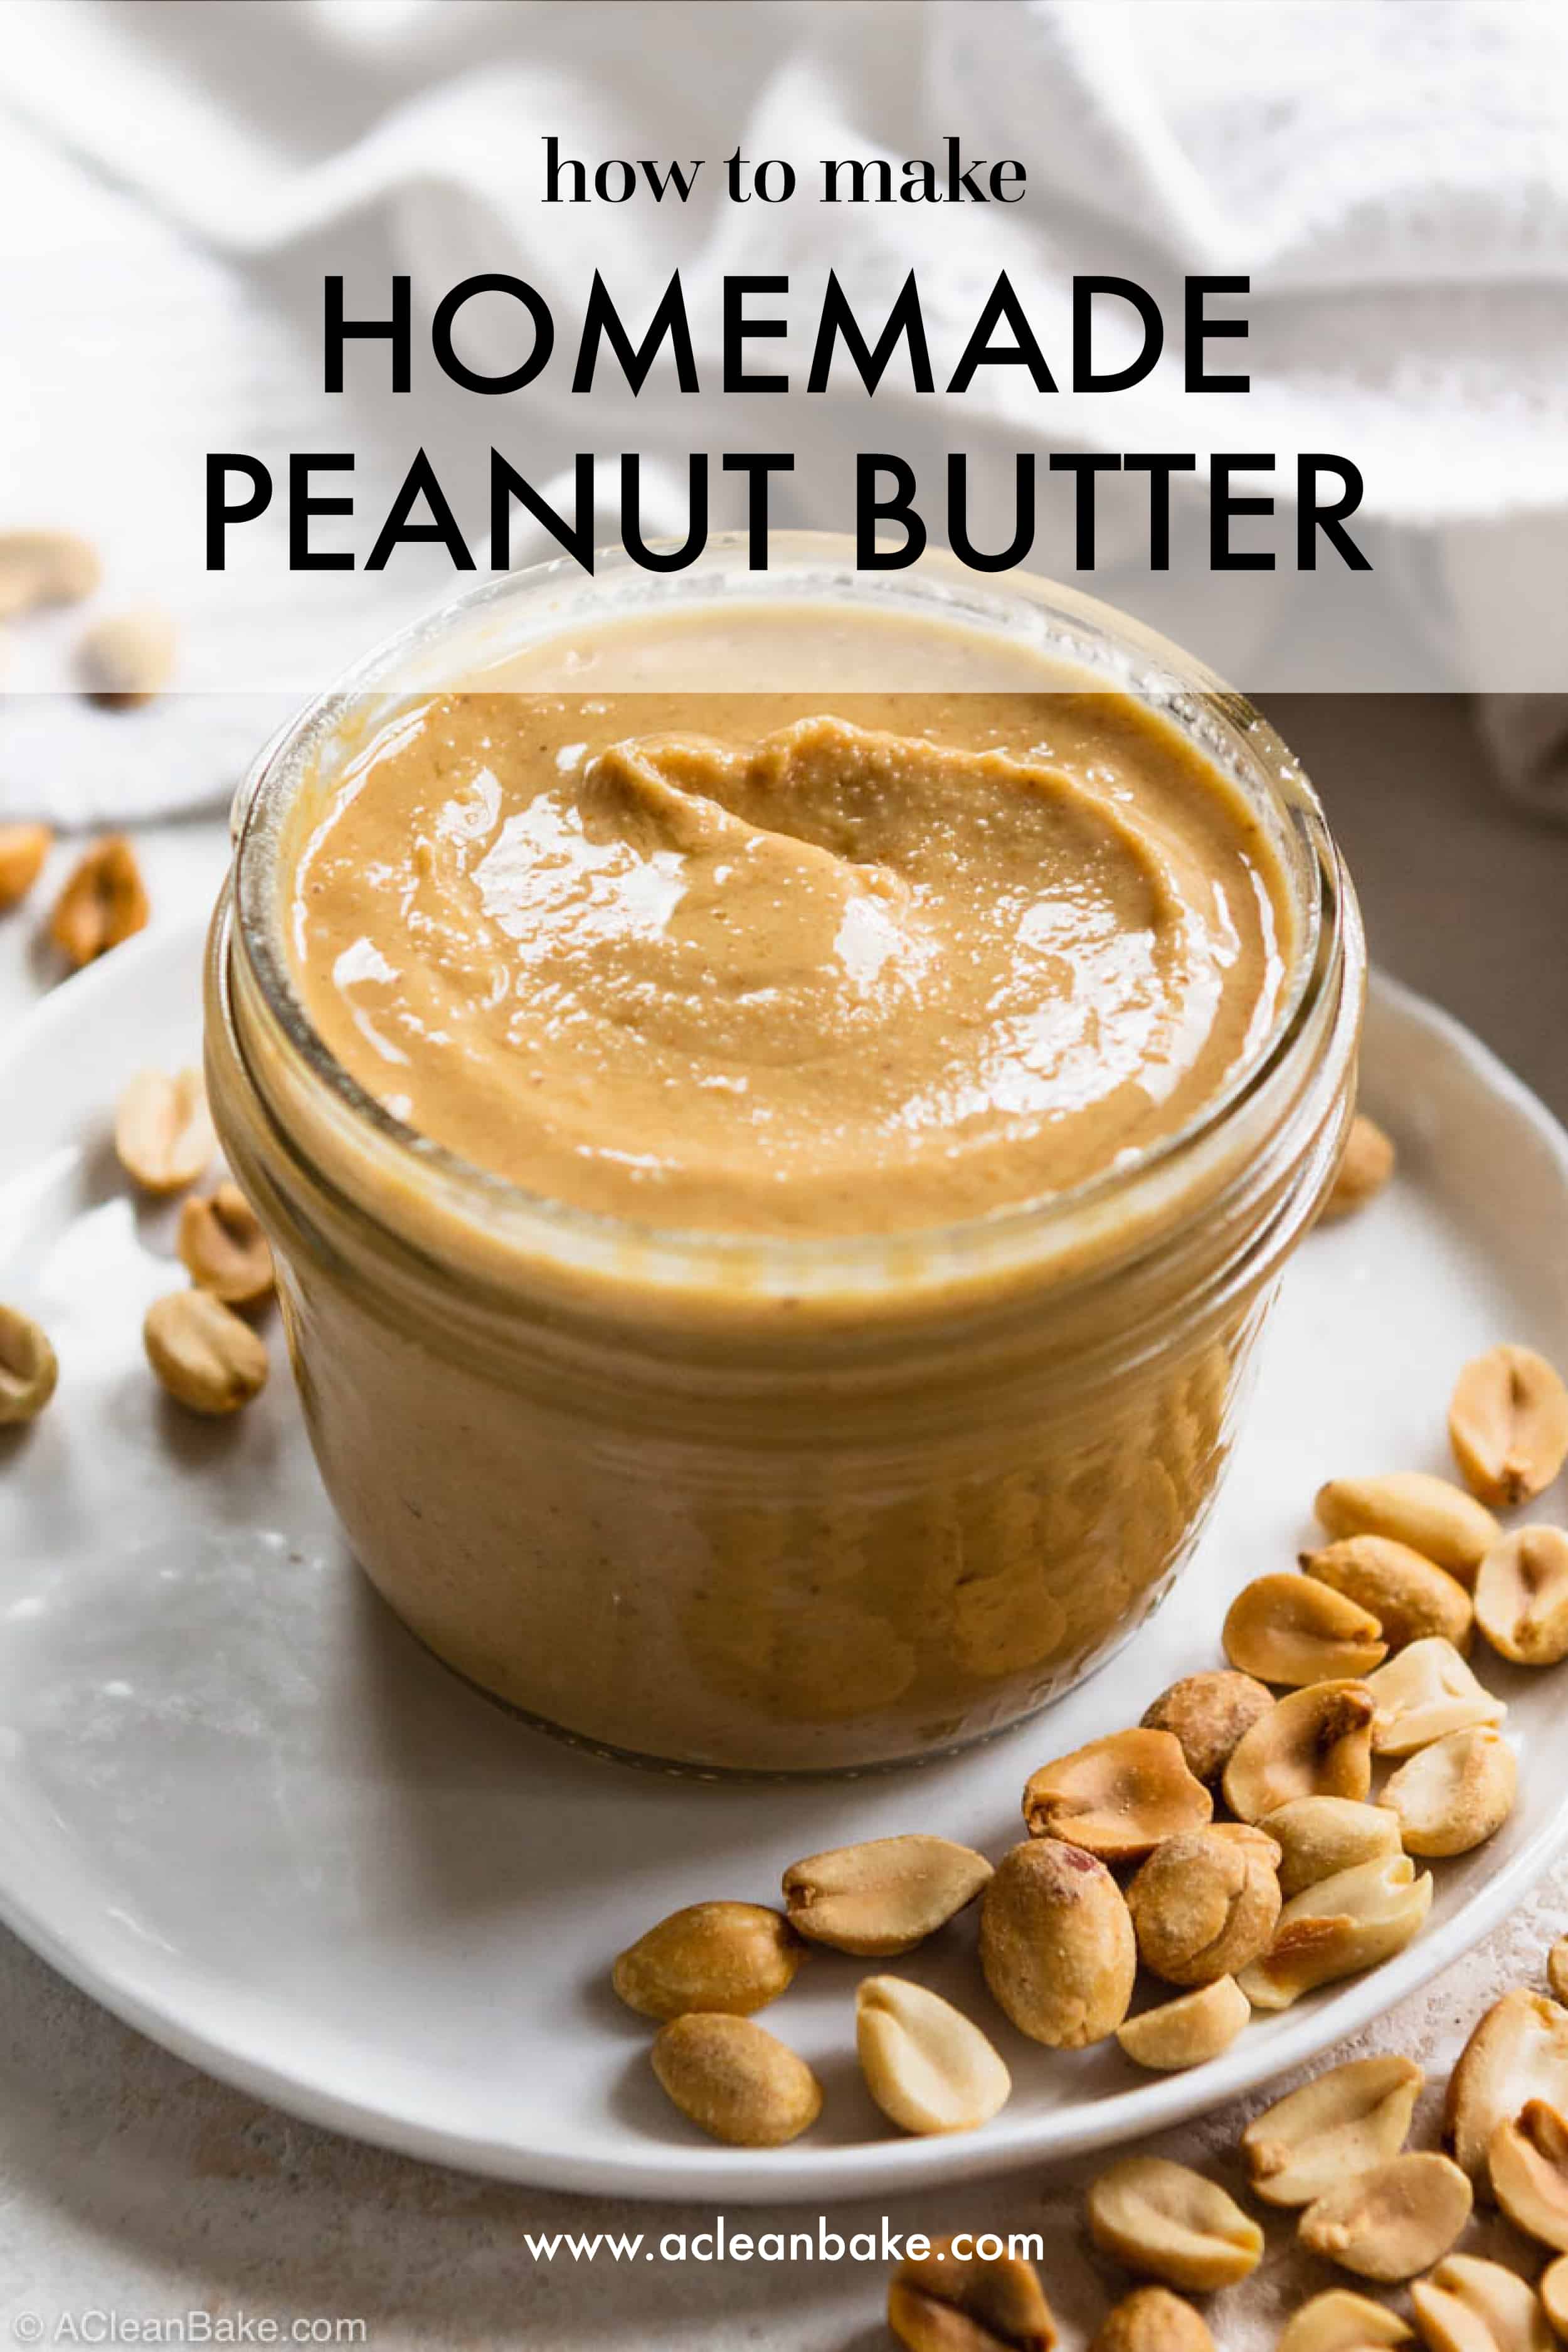
I have made small batches of peanut butter for years without a food processor, and I will show you simple, reliable ways to make creamy or chunky spreads using only basic kitchen tools. This guide on how to make peanut butter without food processor covers ingredients, three easy hand methods, tips for texture and flavor, food-safety notes, and storage advice — all from my own tests and practical kitchen experience. Read on to learn step-by-step methods that anyone can use to make tasty, fresh peanut butter at home.

Why make peanut butter at home?
Making peanut butter at home without a food processor saves money and cuts additives. Homemade peanut butter tastes fresher. You control salt, sugar, and oil. You can make small batches to test flavors. I prefer small jars so each batch feels new and bright. Homemade also helps when a food processor is not available.
Ingredients and tools you will need
Use simple, easy-to-find ingredients. Roast raw peanuts at home or buy roasted peanuts for speed. Add a touch of neutral oil if you want a creamier texture. Salt and a small sweetener are optional.
- Ingredients
- 2 cups roasted peanuts or 2 cups raw peanuts to roast
- 1 to 2 teaspoons neutral oil (peanut, canola, or light olive oil) if desired
- 1/4 to 1/2 teaspoon fine salt, to taste
- 1 teaspoon honey or sugar (optional)
- Tools (no food processor)
- Mortar and pestle, or
- Rolling pin and sturdy zip-top bag, or
- Heavy-bottom jar, spoon, and towel
- Oven or skillet for roasting if using raw peanuts
These tools are low cost and easy to use. Choose the method that fits your available gear and energy level.
Prep: Roast and cool the peanuts
Roasting changes flavor and helps the nuts release oil. You can skip if using store-roasted peanuts.
- Oven method
- Spread peanuts on a baking sheet.
- Roast at 350°F (175°C) for 8 to 12 minutes, stirring once.
- Watch closely to avoid burning.
- Skillet method
- Heat a dry skillet on medium.
- Toast peanuts while stirring for 6 to 10 minutes.
- Remove when golden and fragrant.
Let peanuts cool 10 minutes before mashing. Cool peanuts release oil more easily and are safer to handle.

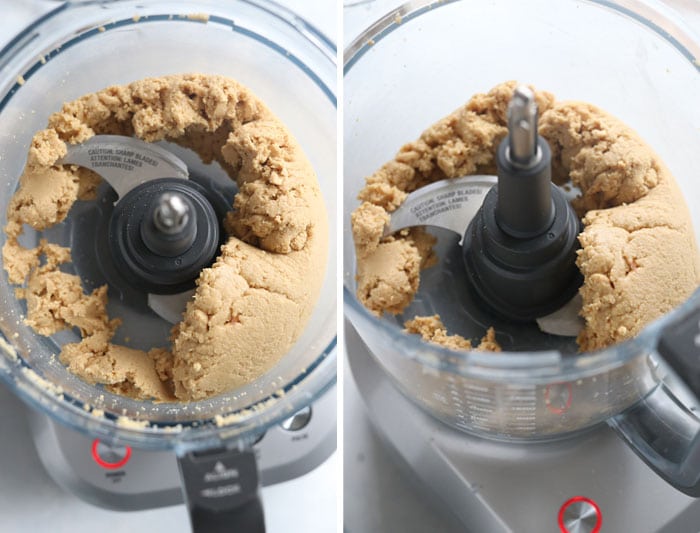
Method 1: Mortar and pestle — the traditional way
The mortar and pestle gives you control and a tactile feel for texture. It works well for small jars and yields a rustic, tasty spread.
- Place 1 to 1.5 cups roasted peanuts in the mortar.
- Use the pestle to press and grind in small circles.
- Scrape down the sides often. Add more peanuts gradually.
- When a paste starts to form, add 1 teaspoon oil if needed.
- Continue until you reach creamy or chunky texture.
Tips from my kitchen: I work in short bursts to avoid wrist fatigue. Cooling the mortar slightly helps prevent overheating the nuts. Mortar and pestle make a richly flavored, slightly coarse peanut butter that is lovely on toast.
Method 2: Rolling pin and bag — fast and low effort
This method scales well for larger batches and needs no special tools. It takes some elbow grease but is simple.
- Put roasted peanuts in a heavy-duty zip-top bag. Seal tightly.
- Use a rolling pin to press and roll over the peanuts.
- Start by crushing into coarse pieces, then roll to a finer paste.
- Pour contents into a bowl and mash with spoon or spatula.
- Stir in 1 to 2 teaspoons oil and salt to taste.
I tested this method with 2 cups of peanuts. It took about 10 minutes of rolling and a few minutes of mashing. It makes a smooth spread if you take time to roll and press.

Method 3: Jar, spoon, and towel — a low-tech mash-and-shake
This is the most accessible method. It works great when you have no mortar or rolling pin.
- Place roasted peanuts in a sturdy glass or metal jar with a tight lid.
- Use a heavy spoon or the bottom of a small pan to pre-crush the nuts inside the jar.
- Add a splash of oil and salt.
- Close lid and shake hard for a few minutes.
- Open and mash with a spoon, then repeat until you reach desired texture.
This method can take longer. I recommend holding the jar inside a towel while shaking to protect your hands. It makes a good, slightly textured peanut butter that is stable in jars.

Flavoring, texture, and troubleshooting
Small changes make big differences in the final product.
- Texture fixes
- Too dry: Stir in 1/2 teaspoon oil at a time until smooth.
- Too oily: Mix vigorously and refrigerate; the oil will redistribute.
- Flavor extras
- For sweet: add 1 teaspoon honey or maple syrup.
- For salty lovers: use a pinch more salt or a flavored finishing salt.
- For crunchy style: reserve 1/4 cup chopped peanuts and fold in last.
- Common problems
- Gritty feel: Roast peanuts a touch longer or mash more to break solids down.
- Bitter taste: Avoid over-roasting, which causes bitterness.
- Separation: Stir before use; store in fridge to slow separation.
I learned that patience matters. Rushing yields uneven texture. Slow, steady mashing gives the smoothest spread.

Food safety and storage
Keep peanut butter safe with simple steps.
- Storage timeline
- Room temperature: up to 2 weeks in a sealed jar.
- Refrigerator: 1 to 3 months for best quality.
- Safety notes
- Use clean tools and dry hands. Moisture invites spoilage.
- Homemade peanut butter lacks preservatives. Check smell and taste before use.
I store my jars in the fridge. The texture firms slightly but stays spreadable. Label jars with date so you know when you made them.

Nutrition and portion ideas
Peanut butter is calorie-dense and nutrient-rich. It provides protein, healthy fat, and vitamins.
- Nutrition snapshot (per 2 tbsp)
- 180–200 calories
- 7–8 g protein
- 16–18 g fat, mostly mono- and polyunsaturated
- Small amounts of fiber, iron, vitamin E
- Serving ideas
- Spread on toast with sliced banana
- Stir into overnight oats or smoothies
- Use in sauces, dressings, or baking
If you watch portions, peanut butter fits well into a balanced diet. Homemade versions let you cut added sugar and salt.
My personal tips and mistakes to avoid
I have made many batches and learned a few things the hard way.
- Do not skip roasting if using raw peanuts. Flavor and oil release improve.
- Start with a small batch to learn texture control.
- Be patient; hand methods need time to reach creamy consistency.
- Avoid over-oiling. Add oil slowly to find the right balance.
One time I over-roasted a batch and ended with bitter spread. Now I set a timer and check often. Little steps make a big difference when you learn how to make peanut butter without food processor.
Frequently Asked Questions of how to make peanut butter without food processor
Can I use raw peanuts to make peanut butter without food processor?
Yes. Roast raw peanuts first to bring out oil and flavor. Roasting makes them easier to mash and yields a better texture.
How long does it take to make peanut butter without a food processor?
Expect 10 to 30 minutes depending on method and batch size. Mortar and pestle takes longer per jar than rolling-pin or jar shaking.
Do I need to add oil to homemade peanut butter?
Not always. Many roasted peanuts release enough oil. Add 1/2 to 2 teaspoons oil only if the paste is too dry or you want creamier texture.
How do I get smooth peanut butter without special tools?
Grind small batches and be patient. Use repeated crushing, stirring, and a little oil. Cooling and re-mashing can help smooth the paste.
Will homemade peanut butter separate?
Yes, some separation is normal. Stir well before use and refrigerate to slow separation. Using slightly more natural oil when mixing can also help.
Is homemade peanut butter safe for kids?
Yes, if peanuts are roasted and jars are stored cleanly. For young children, ensure texture is smooth to reduce choking risk.
Final thoughts and next steps
Making peanut butter without a food processor is simple, satisfying, and flexible. You can use a mortar and pestle, a rolling pin and bag, or a jar and spoon to get great results. Try small batches, tweak oil and salt, and pick the method that fits your tools and time.
Give it a try this week. Make a small jar, taste it, and share the results in the comments below. If you liked this guide, subscribe for more easy, tested kitchen techniques and recipes.


