Fix a cookie scoop by cleaning, freeing the mechanism, lubricating, and swapping broken parts.
I’ve fixed dozens of kitchen tools, and I’ll walk you through how to fix a cookie scoop step by step. This guide explains common faults, tools to have, precise repairs, and easy DIY fixes. Read on to regain a smooth, reliable cookie scoop and avoid tossing a perfectly good tool.

Common problems with cookie scoops
Cookie scoops often fail because of a few simple issues. Springs wear out, pivots get sticky, or the release arm jams with dough. Sometimes the handle cracks or the scoop bowl bends. Understanding these problems helps you decide whether to repair or replace.

Tools and parts you'll need
Prepare a small kit before you start repairing a scoop. Common items I use are:
- Small screwdriver set for screws and rivets.
- Needle-nose pliers to bend or pull small parts.
- Tweezers for springs and clips.
- Thin lubricant like food-safe mineral oil.
- Replacement spring or rivet kit for metal scoops.
- Epoxy or food-safe glue for cracked handles.
- Fine sandpaper or steel wool to clean rust or hardened dough.
Having these ready makes fixing the scoop faster and safer. Learners often skip lubrication and regret it later.

Step-by-step repairs
Below are clear, tested steps for how to fix a cookie scoop. Read each short repair fully before starting.
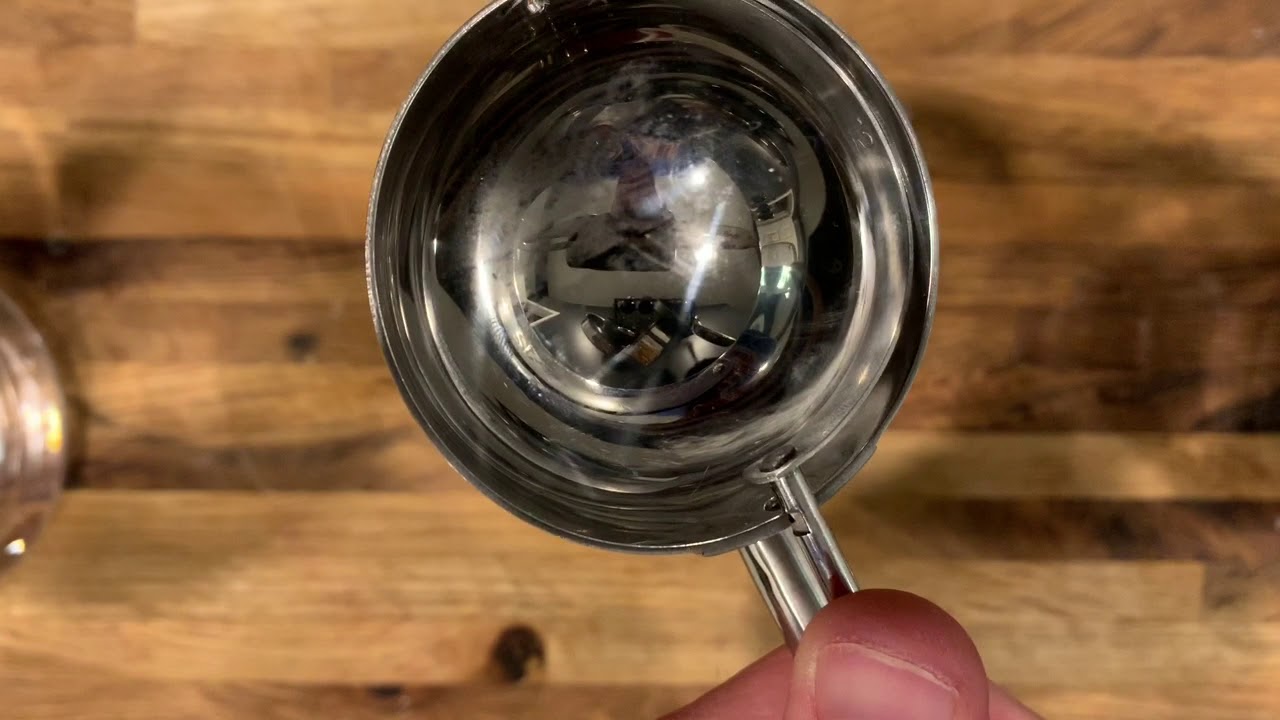
Unjamming the scoop
- Rinse the scoop under warm water to soften stuck dough.
- Open the release mechanism manually by moving the handle back and forth.
- Use a toothpick or a thin brush to dislodge dough from corners.
- Dry completely and apply a drop of food-safe mineral oil to pivot points.
I once rescued a vintage scoop this way after it sat in a drawer for years. Warm water and a gentle scrub brought it back to life.
Fixing a stuck release arm
- Inspect the release arm for debris or rust.
- If dirty, soak the arm in warm soapy water for 10 minutes.
- Use sandpaper sparingly on rust spots, then rinse and dry.
- Add lubricant to the joint and work the arm until smooth.
If the arm still sticks, the spring may be weak or misaligned. Replacing the spring often restores full function.
Replacing a broken handle or spring
- Remove any rivet or screw holding the handle using a screwdriver or punch.
- Slide out the old spring carefully. Note how it sits before removal.
- Fit the new spring in the same orientation. Use tweezers if needed.
- Reattach the handle and secure with a new rivet or screw.
I recommend buying a small replacement spring set. They are cheap and save many scoops from landfill.
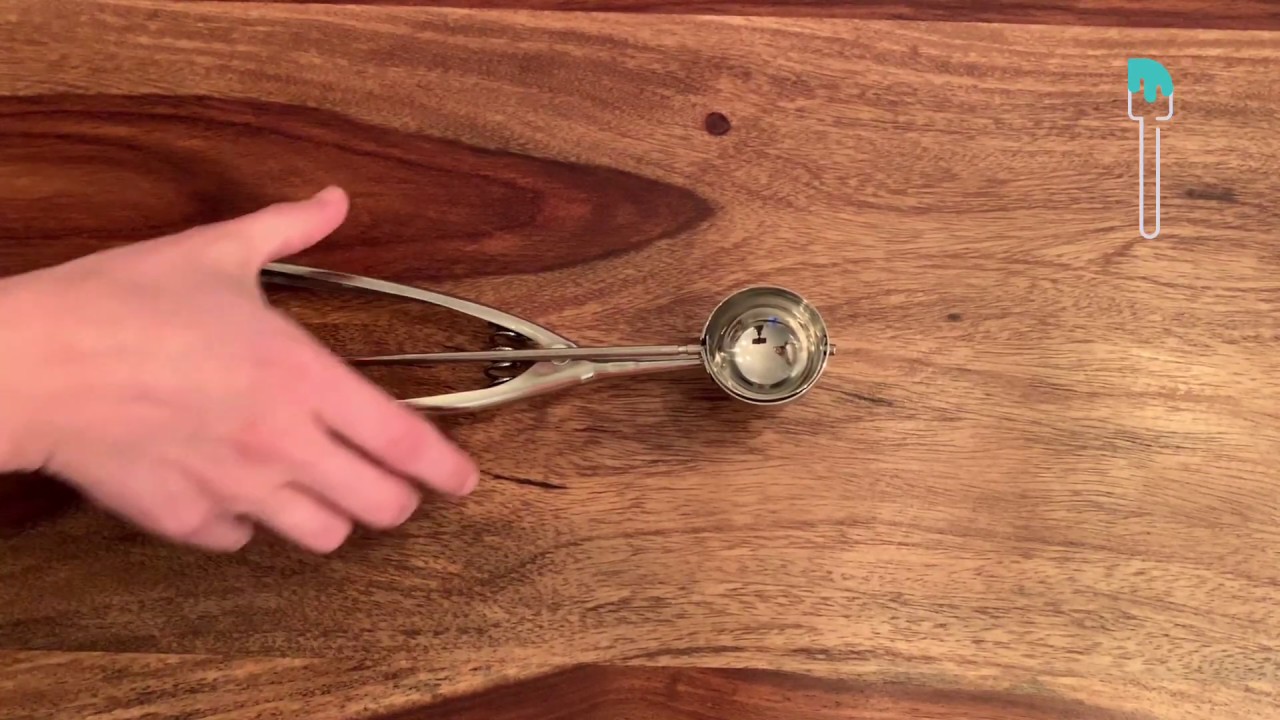
Repairing a bent scoop bowl
- Warm metal bowls slightly with warm (not boiling) water to make them more pliable.
- Gently bend the bowl back into shape with pliers wrapped in a cloth.
- Smooth rough edges with fine sandpaper.
- Test the scoop with dough and make tiny adjustments as needed.
Plastic bowls that are badly warped often need replacement. Metal is usually salvageable.
Temporary fixes and DIY hacks
- Use a paperclip as a temporary spring if you have no replacement. Bend it to mimic the spring shape.
- Wrap a cracked plastic handle with food-safe tape for short-term use.
- Use epoxy to bond a cracked handle; allow 24 hours to cure before use.
These hacks kept my scoop working during holiday baking when I had no spare parts on hand.
Preventive maintenance and care
Proper care prevents many repairs and extends the life of a scoop. Simple habits help a lot:
- Clean the scoop immediately after use to avoid hardened dough.
- Dry thoroughly to prevent rust and sticky joints.
- Apply a tiny amount of food-safe oil to pivot points every few months.
- Store scoops in a dry drawer and avoid stacking heavy items on them.
- Replace springs and small parts proactively if you bake often.
Regular checks cut down on emergencies and keep your baking smooth.
When to replace your cookie scoop
Sometimes repair is not worth the effort. Replace your scoop when:
- The bowl is cracked and chews on dough, or the plastic is brittle.
- Key parts are missing and replacements are unavailable.
- Multiple repairs have failed and the scoop is unreliable for large batches.
A new scoop is inexpensive and can be a good choice if repairs cost more in time or parts.
Frequently Asked Questions of How to fix a cookie scoop
How do I open a jammed cookie scoop?
Soak the scoop in warm soapy water for 5–10 minutes, then use a brush or toothpick to clear dough. Dry and lubricate the pivot points.
Can I replace the spring myself?
Yes. Remove the handle fastener, note the spring orientation, and install a replacement spring from a small parts kit. Reassemble and test.
Is food-safe oil necessary?
Yes. Food-safe oil prevents rust and keeps the mechanism moving without contaminating dough. A tiny drop goes a long way.
What if the scoop handle is cracked?
Small cracks can be bonded with food-safe epoxy or reinforced with tape as a temporary fix. Replace the handle if it risks breaking during use.
Are all cookie scoops repairable?
Many scoops are repairable, especially metal ones. Cheap plastic scoops sometimes warp or crack beyond repair and are better replaced.
How often should I maintain my scoop?
Clean after every use and apply lubricant monthly if you bake weekly. Regular checks catch wear early.
Conclusion
Fixing a cookie scoop is usually simple: clean, free the mechanism, lubricate, and replace worn springs or handles as needed. With the right tools and a little patience, you can restore most scoops in 15–30 minutes. Try the steps above, keep a small parts kit handy, and don’t toss a scoop at the first sign of trouble. If this guide helped, leave a comment, share your repair wins, or subscribe for more practical kitchen fixes.


