A working meat thermometer gives accurate temps; test it with ice water and boiling water.
I’ve spent years testing kitchen tools and teaching safe cooking. In this guide I’ll show how to know if a meat thermometer is working, step by step. You’ll learn fast checks, proper tests, calibration tips, and when to replace the unit. Read on to make sure your thermometer keeps food safe and perfectly cooked.
Why it matters to know if a meat thermometer is working
A reliable thermometer keeps food safe and helps you cook to the texture you want. Knowing how to know if a meat thermometer is working prevents undercooked meat and foodborne illness. It also saves money by avoiding wasted meals and frustrated guests. A small check can protect health and improve results in the kitchen.

Quick signs your meat thermometer is working
- Reads a sensible value when placed in room temperature food. If it shows extreme numbers, it may be faulty.
- Moves quickly toward a stable number when left in warm food. Slow or sticky responses signal issues.
- Matches another trusted thermometer within a few degrees. Consistent agreement shows it’s working.
- Shows no error codes or flashing symbols that indicate sensor faults.
- Powers on and off normally, with clear display and unbroken probe.
How to know if a meat thermometer is working often starts with these simple signs. If one or two checks fail, perform a formal test before you throw it out.
How to test if a meat thermometer is working: step-by-step
-
Ice water test for 32°F (0°C)
- Fill a glass with crushed ice and add cold water.
- Insert the probe so the tip sits in the ice water, avoiding contact with the glass.
- Wait 15–30 seconds and read the temperature. A working thermometer should read about 32°F (0°C). Adjust for a 1–2°F tolerance.
-
Boiling water test for ~212°F (100°C)
- Bring a pot of clean water to a rolling boil.
- Insert the probe into the boiling water, avoiding contact with the pot sides or bottom.
- Wait for the reading to stabilize. At sea level, a working unit should read close to 212°F (100°C); expect lower readings at higher altitudes.
-
Cross-check with a trusted thermometer
- Compare readings in the same food or liquid. Place both probes side by side.
- If your thermometer consistently reads within 2–3°F of the trusted device, it’s likely accurate.
-
Test response time
- Move the probe from a cold to a hot liquid and watch how quickly the reading updates.
- A significantly delayed response suggests a damaged sensor or wiring.
-
Repeat tests across range
- Test cold, warm, and hot readings to ensure accuracy across the temperature range you use for cooking.
How to know if a meat thermometer is working improves with repeated checks. Doing both ice and boiling tests covers most failure modes.
Calibrating and adjusting different thermometer types
Digital instant-read
- Many digital probes can’t be user-calibrated but will hold a stable offset. Note the offset and mentally correct it or log it for future cooks.
- Some higher-end models include a calibration or offset setting—follow the maker’s steps.
Dial (analog) thermometers
- Most analog dials have a small nut behind the dial you can adjust.
- Use the ice water test. Turn the nut until the dial reads 32°F (0°C).
Oven or leave-in probes
- Test these the same way, but verify the probe cable and oven display match the probe’s reading in an ice bath and boiling water.
Tips
- Record the offset after testing: "reads 3°F high." Apply that offset to future reads.
- Remember boiling point varies with altitude. Use local boiling temp or rely more on ice test for calibration.

Troubleshooting: common problems and fixes
-
Dead or weak battery
- Symptom: dim or blank display, intermittent power.
- Fix: replace batteries and retest ice and boiling.
-
Bent or corroded probe tip
- Symptom: slow response, strange readings.
- Fix: replace the probe or the whole unit if the probe is integral.
-
Damaged cable or connector (for wired probes)
- Symptom: fluctuating or jumpy readings.
- Fix: inspect the cable, replace if frayed, or swap probes if possible.
-
Water damage
- Symptom: fogged display, erratic behavior.
- Fix: dry thoroughly and test; replace if behavior persists.
-
Calibration drift
- Symptom: consistent offset that gets worse over time.
- Fix: recalibrate if possible; otherwise factor the offset or replace.
-
Slow response time
- Symptom: reading lags when moving between temps.
- Fix: clean or replace the probe; some cheap probes are just slow.
How to know if a meat thermometer is working becomes clear when you isolate these issues and test again.

When to replace your meat thermometer
- It consistently fails ice or boiling tests by more than a few degrees.
- The probe is bent, broken, or shows corrosion that cleaning won’t fix.
- The device won’t calibrate or continues to show erratic readings after battery replacement.
- Repair parts or probes aren’t available for your model.
- You need faster or more accurate readings for professional or frequent use.
Replacing a cheap, unreliable thermometer is often cheaper than risking food safety or ruined meals.
Personal experience and practical tips
I once cooked a roast and relied on a small digital stick. It read fine in the oven but failed the ice bath test by 10°F. I used another thermometer and saved the meal by pulling the roast earlier for carryover cooking. Lesson: always test new tools before important meals.
Practical tips I follow
- Test new thermometers right away with ice water.
- Keep a small notebook or phone note of offsets for each device.
- Clean probes after each use and store them safely to avoid bends.
- Replace cheap probes used for grilling; they wear faster.
These simple habits show how to know if a meat thermometer is working in everyday cooking.
Related concepts and best practices for safe cooking
-
Safe internal temps
- Poultry: 165°F
- Ground meats: 160°F
- Steaks/roasts: 145°F plus 3-minute rest
-
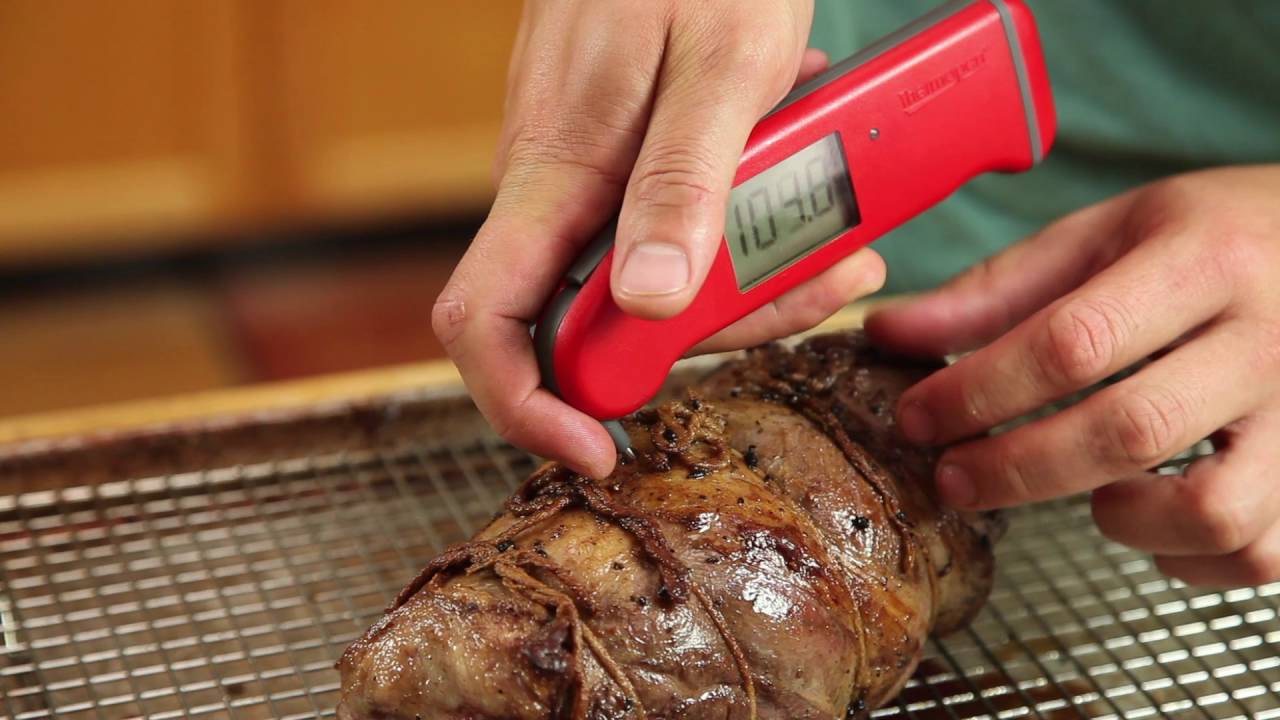
Correct placement
- Insert the probe into the thickest part, avoiding bone and fat.
- For poultry, aim between thigh and body for the deepest muscle.
-
Carryover cooking
- Meat can rise 5–10°F after removal. Account for carryover when planning target temps.
-
Cleaning and sanitation
- Wash probes with hot, soapy water after each use.
- Sanitize between different proteins to prevent cross-contamination.
Following these practices pairs with knowing how to know if a meat thermometer is working to keep meals safe and tasty.
Frequently Asked Questions of How to know if a meat thermometer is working
How often should I test my meat thermometer?
Test a new thermometer before first use and retest every few months or after a heavy fall or damage. Frequent cooks should test monthly.
Can I calibrate any meat thermometer at home?
Many analog thermometers can be calibrated at home; some digital models let you set an offset. If a device can’t be adjusted, record the offset or replace it.
Why does my thermometer read lower in boiling water?
Boiling point drops at higher altitudes, so water boils below 212°F. Use an ice water test for a reliable 32°F reference.
What is an acceptable error range for a meat thermometer?
A 1–2°F error is acceptable for most home cooks; more than 3°F needs attention or recalibration. Food safety needs consistent accuracy.
How long should an instant-read thermometer take to stabilize?
A good instant-read probe should stabilize within 3–10 seconds. If it takes much longer, the sensor may be failing.
Can damaged probes give safe readings sometimes?
Yes, they can be inconsistent. If readings are sometimes accurate and sometimes not, do not rely on it for food safety; replace it.
Conclusion
Testing a thermometer is quick and simple. Use ice water and boiling water checks, compare with a trusted device, and note any consistent offset. Regular checks keep meals safe and let you cook with confidence. Try these tests today, note your thermometer’s behavior, and replace it if it fails repeatedly. If you found this helpful, try testing your thermometer now, share your experience, or subscribe for more cooking safety tips.


