Replace the meat thermometer battery when readings drift or every 1–3 years for safe cooking.
I’ve fixed dozens of kitchen probes and grills, and I’ll walk you through how to replace a meat thermometer battery with clear steps, safety tips, and real-world tricks. This guide covers tools, battery types, step-by-step instructions, troubleshooting, and simple care so your thermometer stays accurate and your food stays safe.

Why replacing a battery matters and when to do it
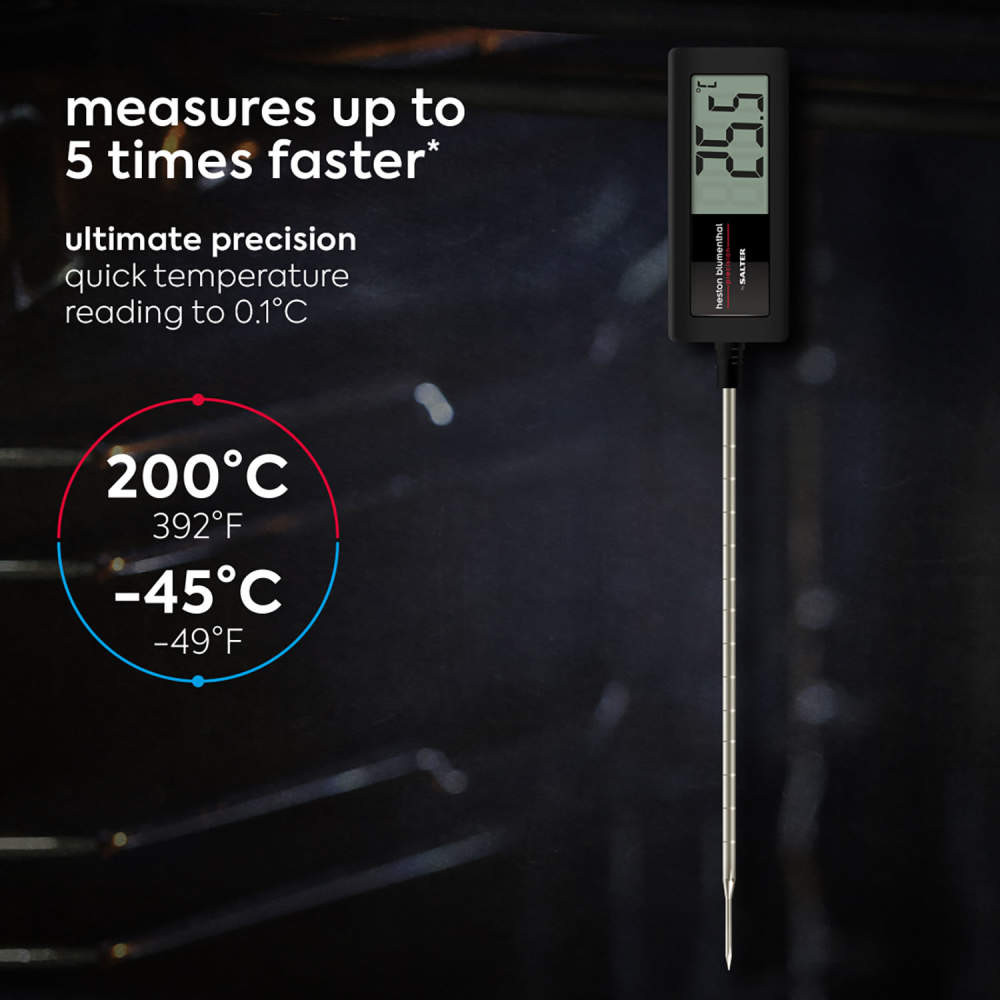
A weak battery makes readings slow, erratic, or wrong. Bad readings can ruin a roast or cause undercooked poultry. Replacing the battery restores speed and accuracy.
Signs you need a new cell:
- The display is dim, flickers, or does not turn on.
- Temperatures jump or read very low/high.
- Probe response is slow or shows error codes.
Common timelines:
- Most digital meat thermometers last 1–3 years on a single battery.
- Frequent use or leaving the unit on reduces life.
- Wireless or Bluetooth units use more power and may need batteries sooner.

Tools and parts you’ll need
Gather simple tools before you start. This makes replacing the battery quick and safe.
Required items:
- Correct replacement battery (see your manual). Many models use CR2032, LR44, or AAA.
- Small Phillips or flat screwdriver for battery covers.
- Tweezers or needle-nose pliers for small coins or cells.
- Soft cloth to set down parts.
Optional but useful:
- Small bowl to hold screws and old batteries.
- Isopropyl alcohol and cotton swab for cleaning contacts.
- New O-ring or gasket if your probe is waterproof and seal is worn.
Step-by-step: How to replace a meat thermometer battery
Follow these short steps for best results. Read your thermometer manual first if you have it.
- Power off the thermometer.
- Find the battery cover on the back or handle.
- Remove screws or twist the cover open.
- Note the battery orientation (plus/minus up).
- Remove the old battery with tweezers.
- Clean the contacts gently with alcohol if corroded.
- Insert the new battery in the same orientation.
- Close the cover and secure screws or cap.
- Power on and test the thermometer at room temperature and in ice water.
Safety tips while doing this:
- Use the correct battery type. Wrong cells can leak or damage the unit.
- Avoid touching the battery contacts with bare hands too much. Skin oils reduce contact quality.
- Recycle old batteries at proper collection points.

Battery types and compatibility
Knowing battery types prevents mistakes. Many thermometers use coin cells or small alkaline cells.
Common battery types:
- CR2032 coin cell: often in slim instant-read probes.
- LR44 or AG13 button cells: used in compact models.
- AAA or AA: found in fold-out or leave-in thermometers.
- Rechargeable packs: some wireless thermometers use built-in lithium packs.
How to check compatibility:
- Look inside the battery compartment for the code.
- Check the manual or imprint on the old battery.
- Never force a larger or different battery into the slot.

Troubleshooting after replacement
If the device still fails after you replace the battery, try these checks.
Quick fixes:
- Reinsert the battery making sure polarity matches.
- Tighten the battery cover so the contacts press firmly.
- Reset the thermometer if it has a reset button or remove the battery for a minute.
If problems persist:
- Check for corrosion on contacts. Clean gently.
- Verify the new battery is fresh by testing voltage.
- For wireless models, re-pair the device with the app after battery change.

Common mistakes and how to avoid them
I’ve seen these errors many times. Avoid them and save time.
Mistakes to avoid:
- Using the wrong battery size or chemistry.
- Over-tightening screws and cracking plastic.
- Skipping the seal replacement on waterproof models.
- Not testing the thermometer after the swap.
A tip from experience:
- Keep a small stock of the right battery type at home. It’s faster than hunting one down when a roast is on.

Maintenance tips to extend battery life
A little care keeps your thermometer healthy and saves batteries.
Simple habits:
- Turn the unit off after each use.
- Store the thermometer in a dry place.
- Remove batteries if you won’t use the device for months.
- Wipe contacts occasionally and dry the probe fully after washing.
When you buy a new thermometer:
- Check if it has auto-off features.
- Prefer models with easy battery access.

Personal experience and real-life advice
I once took a wireless probe to a backyard cookout that kept losing connection. A fresh battery and a firmware reset fixed it. I learned to pack spare CR2032 and a tiny screwdriver in my kit.
Lessons I learned:
- Always test new batteries before a big meal.
- Keep spare seals for waterproof probes.
- Document the battery type on a sticker inside the battery door.
Troubleshooting PAA-style questions
What if the thermometer reads wrong after a battery change?
- Check polarity, clean contacts, and test in ice water and boiling water to verify accuracy.
How long should a replaced battery last?
- Expect 1–3 years for simple digital probes; wireless units may need replacement yearly.
Why does the battery leak sometimes?
- Old or wrong-type batteries can leak. Replace immediately and clean contacts with vinegar or alcohol.
Frequently Asked Questions of How to replace a meat thermometer battery
How do I know which battery my thermometer uses?
Check the battery compartment or the manual for the battery code; common types include CR2032, LR44, AAA, or AA. If unsure, remove the old battery and read the code printed on it.
Can I use rechargeable batteries in my meat thermometer?
Rechargeables may not fit or supply the correct voltage for all models, and they often have lower voltage. Use only the recommended type unless the manual says rechargeable is okay.
Is it safe to replace the battery on a waterproof thermometer?
Yes, but replace the O-ring or gasket if it looks damaged and ensure the cover seals tightly to keep it waterproof.
My thermometer still shows wrong temps after a new battery. What now?
Double-check battery orientation, clean contacts, and test the probe in ice water and boiling water. If errors remain, the sensor may be damaged.
How should I dispose of old batteries?
Recycle used batteries at a local battery drop-off point or household hazardous waste site to prevent pollution and follow local rules.
Conclusion
Replacing a meat thermometer battery is a quick, low-risk task that keeps your cooking safe and accurate. Follow the steps, use the correct battery, and check seals and contacts to avoid problems. Try replacing the battery before a big cook to avoid last-minute stress, and keep a spare battery in your kitchen kit. If this guide helped you, subscribe for more practical kitchen tips or leave a comment about your thermometer type and experience.


