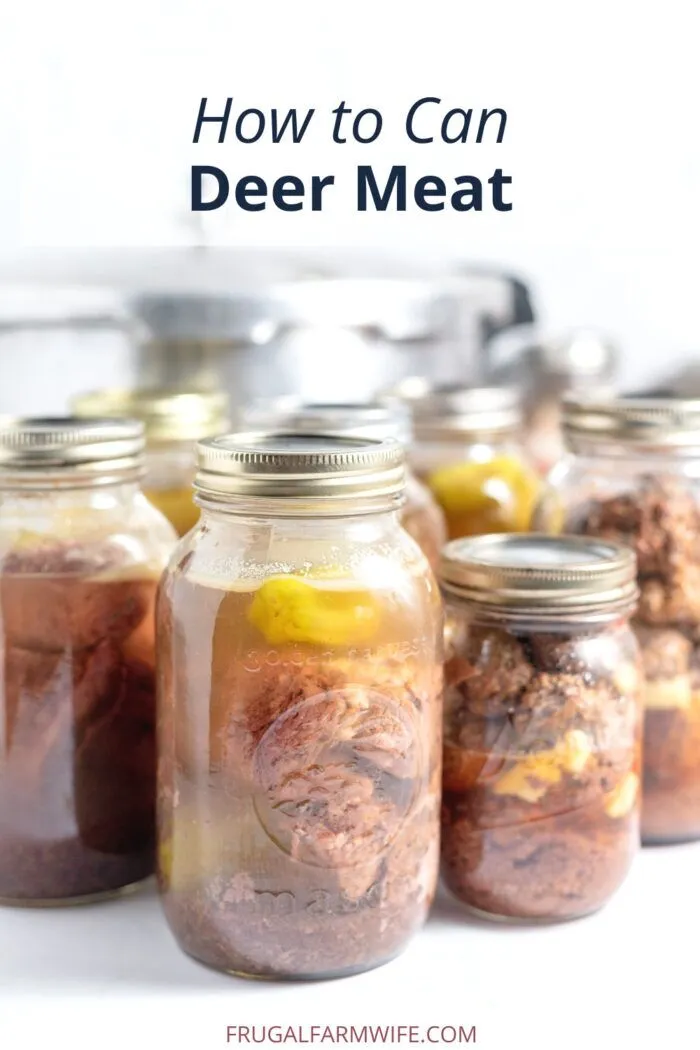
You can safely can deer meat using a pressure canner rated for home canning, not an electric cooker.
I have canned deer meat for years and helped friends learn the safe way to preserve wild game. This guide walks you through how to can deer meat in a pressure cooker context, explains the critical safety differences between pressure cookers and pressure canners, and gives clear, step-by-step advice you can trust. Read on to learn the gear, prep, processing times, and real-life tips that make home-canned venison safe, tasty, and shelf-stable.
:max_bytes(150000):strip_icc()/RM-AR-220869-easy-pressure-cooker-pot-roast-ddmfs-hero-4x3-0ce2836ae9f94912a05bf3b17631498c.jpg)
Why pressure canning is required for deer meat
Low-acid foods like deer meat can harbor Clostridium botulinum spores. Heat from a pressure process is the only safe way to kill these spores. That is why learning how to can deer meat in a pressure cooker context means using a device rated for canning and following tested time-and-pressure charts.
I once tried using a small multicooker and stopped immediately when I learned it was unsafe for canning. After that I switched to a proper pressure canner and followed tested recipes. The result was safe jars and much less waste.
Pressure canner versus pressure cooker: crucial differences
- Pressure canner means a tall, heavy pot with a rack and tight lid made for processing jars, and it holds steady pressure for long times.
- Pressure cooker or electric multicooker often cannot hold the exact pressure or steam needed and are not approved for home canning.
- Always check the manufacturer label and USDA guidance before deciding which device to use.
If your goal is to can deer meat, treat the term "pressure cooker" as shorthand and verify you are using an approved pressure canner. Safety must come first.

Equipment and supplies you need
- Pressure canner rated for home canning with a working gauge or weight
- Wide-mouth canning jars in pint or quart sizes
- New two-piece canning lids (flat lids and screw bands)
- Jar lifter, funnel, bubble remover/headspace tool, and a clean towel
- Sharp knife and cutting board for trimming venison
- Measuring cup, water, and optional salt for flavor
- Clean work surface and good lighting
I keep a checklist on the wall near my prep area so nothing is forgotten. It saves time and prevents cold jars on a hot stove.
Preparing deer meat for canning
- Cool and age the meat briefly after dressing. Chill to firm texture before canning.
- Trim fat and silver skin. Excess fat can turn rancid and reduce shelf life.
- Cut into 1- to 1.5-inch cubes or strips for even packing and heat penetration.
- Choose raw pack for most venison: jar meat raw and cover with hot broth, water, or tomato juice if desired.
When I first started, I left too much fat on my jars. The flavor was okay, but the jars clouded sooner. Trimming pays off.

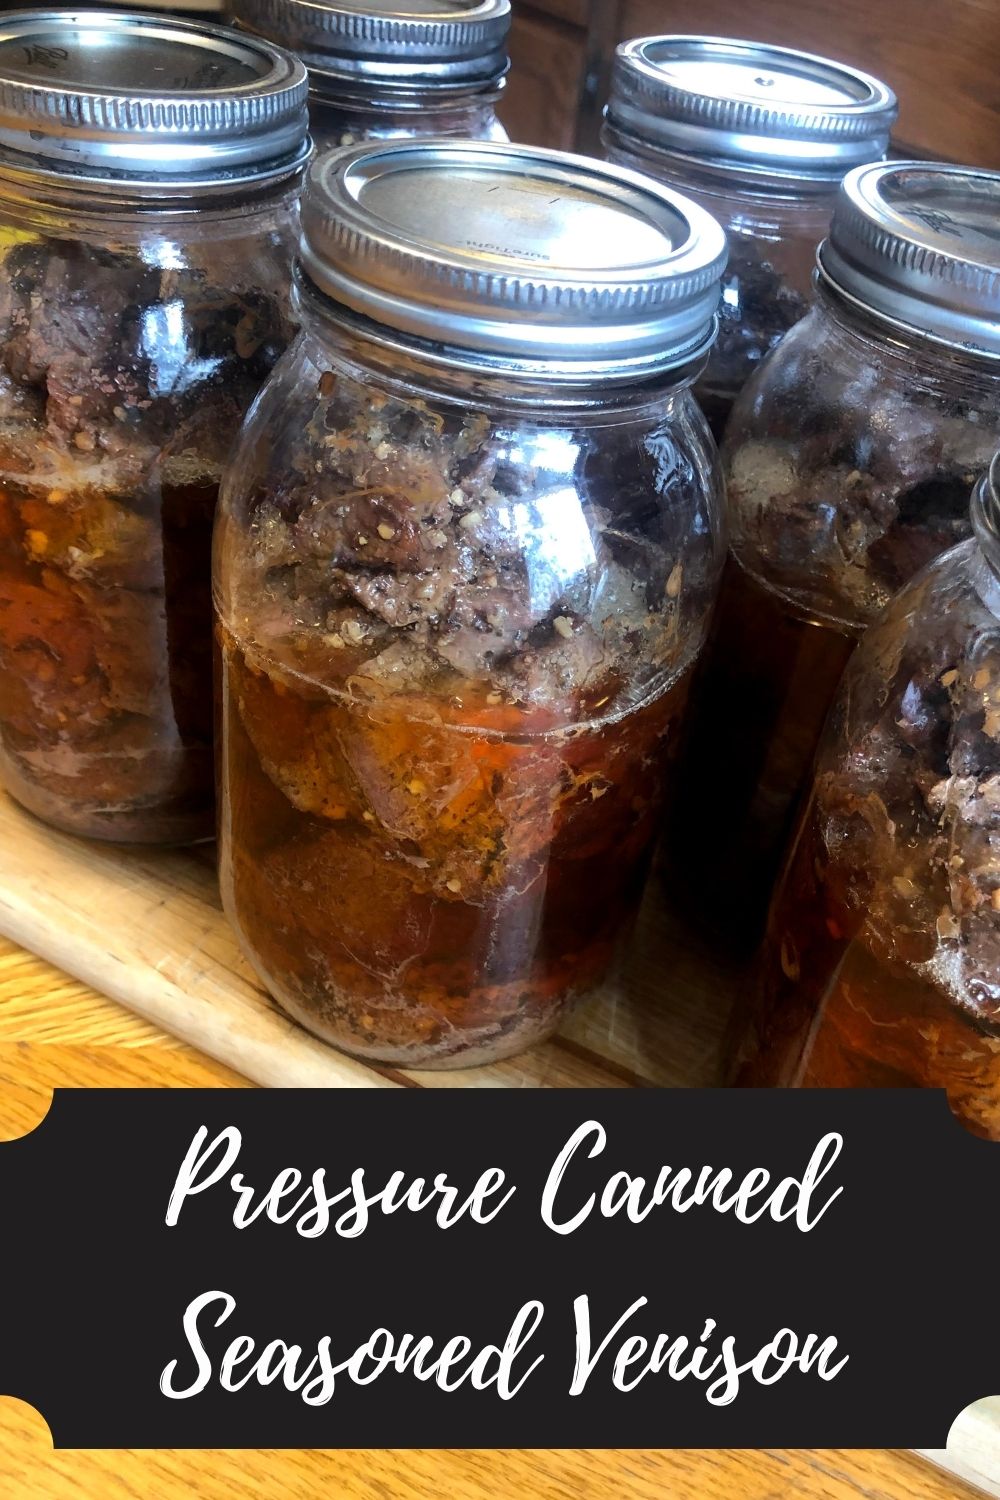
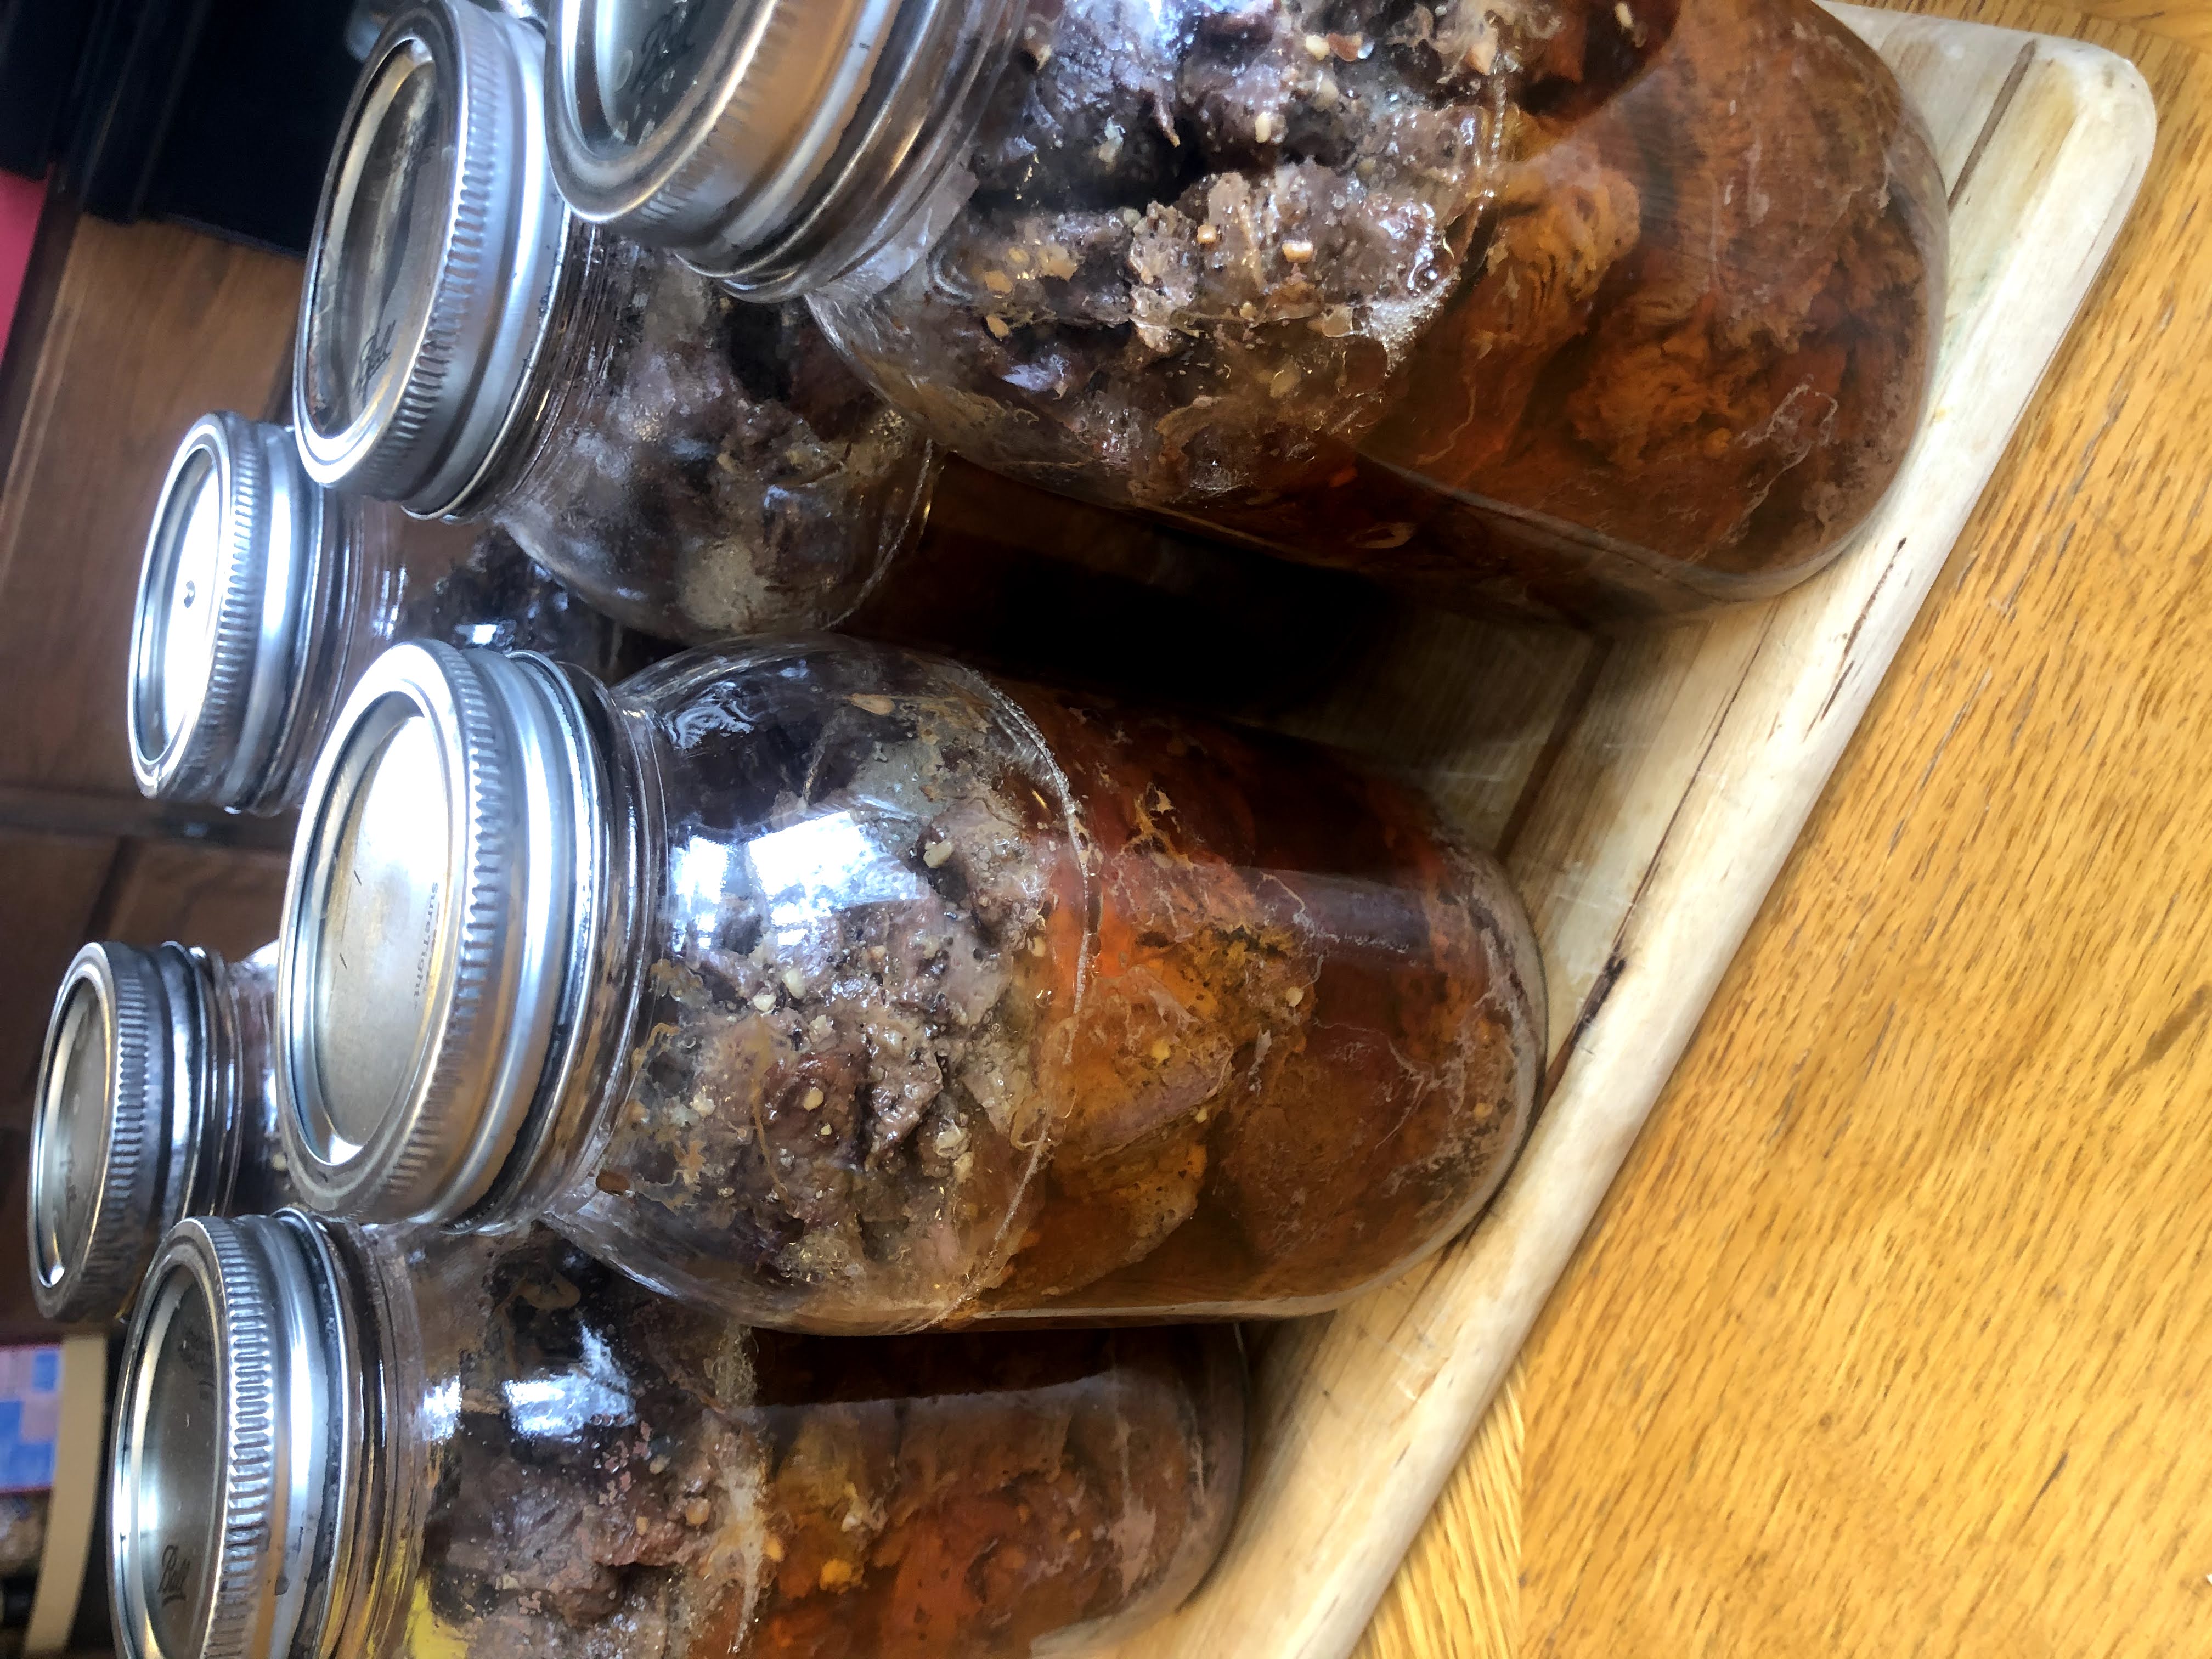
Packing jars: raw pack and hot pack options
- Raw pack method: place raw venison pieces tightly in jars without pre-cooking, leaving 1-inch headspace, and pour boiling liquid to cover.
- Hot pack method: simmer venison in water or broth 10 minutes, then pack hot into jars with 1-inch headspace.
- Add 1/2 teaspoon of salt per pint or 1 teaspoon per quart if you want seasoning; salt is for flavor only, not safety.
- Remove air bubbles and wipe jar rims before applying lids.
I use raw pack for speed and texture. Hot pack reduces shrinkage but adds a step. Both are safe when processed properly.

Processing times, pressure, and altitude guidance
- Always follow tested processing times and pressure settings from reliable canning references and local extension guidance.
- Typical tested example: process pints for 75 minutes and quarts for 90 minutes in a dial-gauge or weighted-gauge pressure canner at the correct pressure for your altitude. Adjust pressure for altitude per official charts.
- If you have a weighted-gauge canner or a dial-gauge canner, use the correct pressure numbers stated by the manufacturer or extension resources.
- Never shorten time or lower pressure to save time; under-processing risks botulism.
I double-check my altitude correction before each canning session. It is a small step that keeps jars safe for years.
Step-by-step canning process
- Prepare jars and lids by washing in hot soapy water and keeping jars hot until use.
- Trim and cut venison into 1- to 1.5-inch cubes.
- Pack jars using raw pack or hot pack. Leave 1-inch headspace.
- Add optional salt for flavor.
- Remove air bubbles and wipe rims clean.
- Apply lids and screw bands fingertip tight.
- Place jars on the canner rack, add 2 to 3 inches of hot water if required, and lock the lid.
- Vent steam for 10 minutes before bringing the canner to pressure.
- Process at the correct pressure and time for your jar size and altitude.
- Let the canner cool and return to zero pressure naturally before opening.
- Remove jars with a lifter and rest them on a towel. Do not retighten bands.
I follow these steps every time. Ritual helps me focus and avoid mistakes.
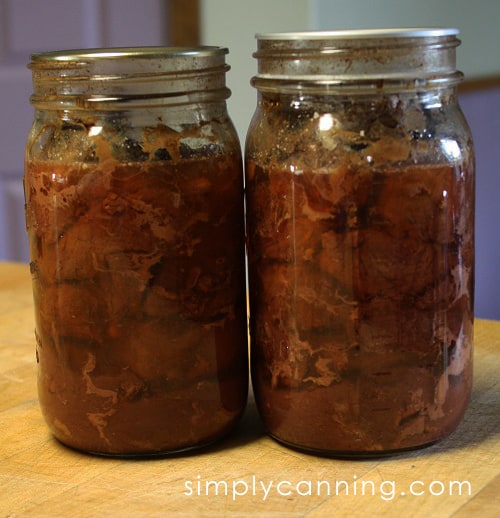
Cooling, checking seals, and storage
- Let jars cool undisturbed for 12 to 24 hours.
- Check seals. The lids should be concave and not flex when pressed. Wash jars and label with contents and date.
- Store in a cool, dark place. Use within 1 to 5 years for best quality, and rotate stock.
- Discard jars that show bulging lids, leaks, bad odor, or clouded liquid with sediment that looks off.
I mark jars with the year and type. That way I always use the oldest first and avoid tasting decades-old venison.
Troubleshooting and common mistakes
- Using the wrong device: Do not can meat in an electric multicooker unless it is explicitly approved for canning. This is a common hazard.
- Under-processing jars: Always follow tested times and pressures. Under-processing can be deadly.
- Too much fat: Trim meat. Fat shortens shelf life and can interrupt heat flow.
- Cold jars in a hot canner or vice versa: Pre-warm jars and follow steps to avoid thermal shock.
- Seals fail: Make sure rims are clean and lids are new. Do not reuse flat lids.
I once had a batch with a few failed seals because I rushed lids on. Slowing down fixed the issue in later batches.
Flavor tips and recipe ideas
- Add a bay leaf or garlic clove to the jar for mild flavor but keep it minimal.
- Use beef or game broth for a richer jar when using hot pack.
- After opening, use canned venison in stews, chili, tacos, or soups. It rehydrates well and cooks fast.
- Taste-test small amounts to adjust salt and seasoning for future batches.
My favorite is canned venison chili. It saves time on busy weeknights and it tastes like wild game with minimal effort.
Safety reminders and legal notes
- Always follow USDA or extension-tested canning guidelines for time and pressure to ensure safety.
- Verify your pressure canner's gauge accuracy and replace worn parts. A faulty gauge can cause unsafe processing.
- Be cautious with home recipes that deviate from tested methods. Safety is non-negotiable.
I stay conservative. If a method sounds untested, I don’t use it.
Frequently Asked Questions of how to can deer meat in a pressure cooker
What is the difference between a pressure cooker and a pressure canner?
A pressure canner is designed to hold jars upright and maintain steady pressure for long processing times, while many pressure cookers are not built for safe home canning. Using a device not rated for canning risks under-processing and foodborne illness.
Can I use my electric pressure cooker to can deer meat?
Most electric pressure cookers are not approved for home canning and should not be used for low-acid foods like deer meat. Use an approved pressure canner and follow tested processing charts instead.
How long do canned deer meat jars last on the shelf?
Properly processed and stored canned venison can last 1 to 5 years for best quality; nutritional safety can last longer but quality declines over time. Rotate jars and use the oldest first for best flavor.
Should I trim all the fat off venison before canning?
Trim excess fat and silver skin because fat can shorten shelf life and affect flavor. A small amount of fat is okay, but less is better for long-term canned quality.
What do I do if a jar does not seal after canning?
If a jar fails to seal, refrigerate and use within a few days, or reprocess with a new lid and proper processing time. Inspect the rim for nicks or food residue before reprocessing.
Conclusion
Canning venison safely comes down to using the right gear, following tested times and pressures, and keeping good prep habits. Start with a proper pressure canner, trim and pack the meat correctly, and always verify processing parameters for your altitude. With practice, how to can deer meat in a pressure cooker context becomes a reliable way to enjoy wild game year-round. Try one small batch, note what worked, and improve on the next run — then share your results or questions in the comments so others can learn from your experience.


