Use a pressure canner, follow tested times and pressures, and never use a countertop multicooker.
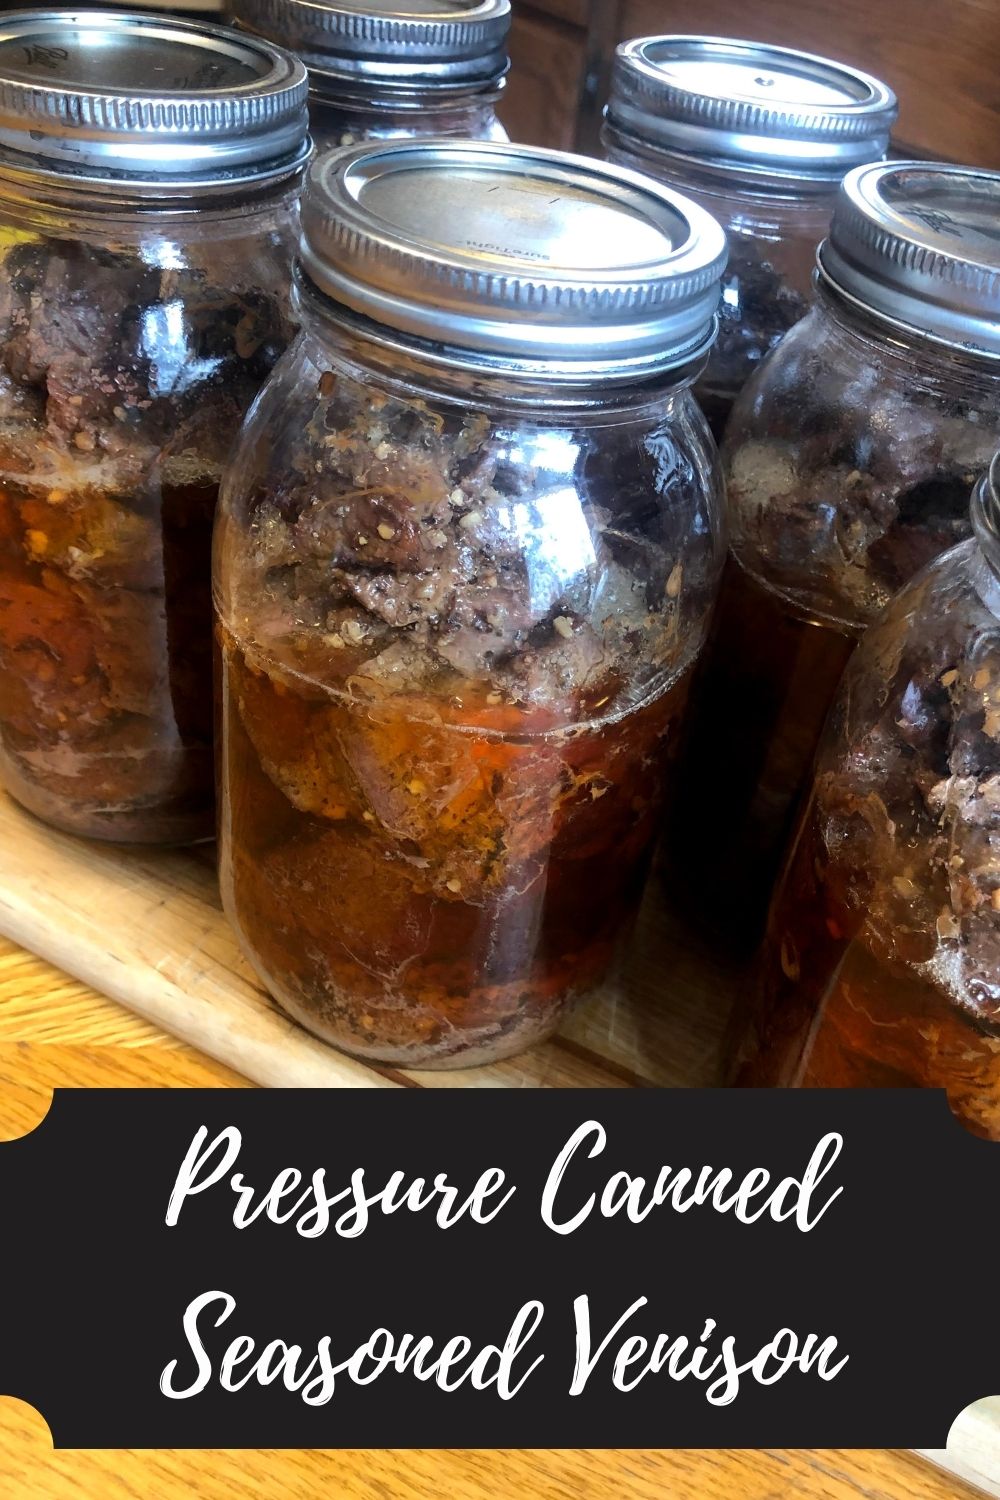
I have canned venison for years after hunts. I know how to can venison in a pressure cooker safely and well. This guide explains gear, safety, prep, step-by-step canning, timing, altitude notes, and real tips from my kitchen and hunting trips. Read on for clear, tested steps that keep your venison safe, tasty, and shelf-stable.

Equipment and Safety Essentials
You must use a pressure canner made for home canning. A pressure canner holds many jars and keeps heat high and steady. Do not use an electric multi-cooker or small stovetop pressure cooker for low-acid meat. Those do not reach the tested conditions needed to kill botulism spores.
- Pressure canner: large, with a reliable gauge or weighted regulator.
- Canner gauges: check accuracy annually. Replace if off.
- Canning jars: standard mason jars with new lids.
- Jar lifter and canning funnel: for safe handling.
- Clean towels and a timer: for tidy work.
I learned this the hard way. Early on, I tried small cookers. I switched to a true pressure canner after reading safety guidance and testing my gear. That choice improved results and gave peace of mind.

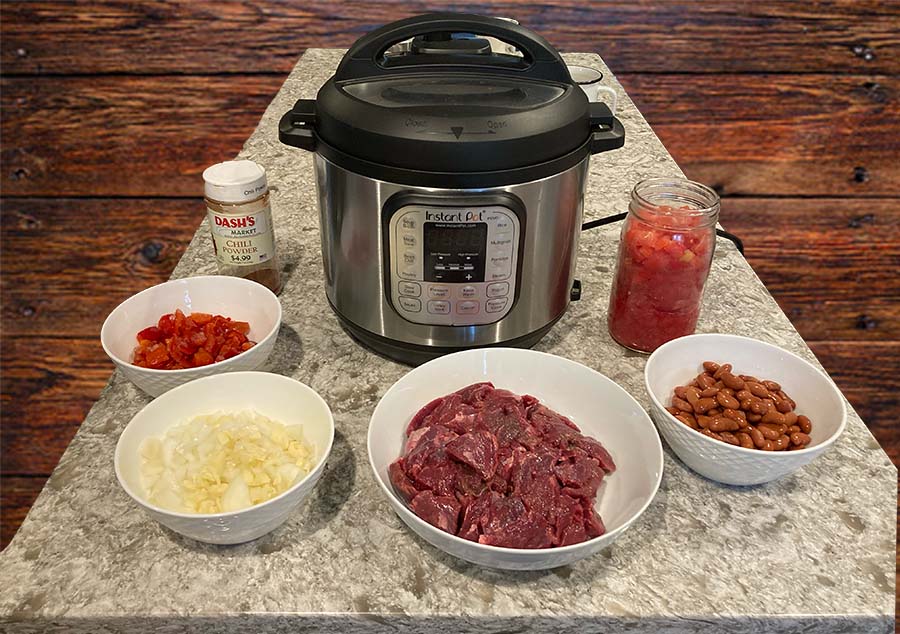
Ingredients and Prep
Start with good venison. Lean meat works best. Trim fat, silver skin, and connective tissue. Fat can go rancid faster and affect seal quality. Keep meat cold while you work.
- Meat: trimmed, cut into 1- to 1.5-inch cubes.
- Salt: optional, 1/2 tsp per pint for flavor.
- Liquid: plain water, broth, or meat stock for packing.
- Optional seasonings: pepper, garlic powder, bay leaf — use sparingly for canning tests.
I like to brown a small batch first to test seasoning. Browning adds flavor but is optional. Pack raw or hot. Both methods are safe when pressure canned correctly.
Step-by-step Guide to Pressure Canning Venison
Below are clear steps for how to can venison in a pressure cooker that is a pressure canner. Follow tested times and methods for safety.
- Prepare jars and lids
- Wash jars and keep them hot. Place lids in warm water (do not boil).
- Cut and trim venison
- Trim fat and cut meat to uniform cubes.
- Pack jars
- Raw pack: pack raw cubes into hot jars, leaving 1-inch headspace.
- Hot pack: simmer meat briefly in broth, then pack hot with 1-inch headspace.
- Add liquid and salt
- Pour hot broth or boiling water over meat. Remove air bubbles. Wipe rims.
- Place lids and rings, fingertip-tighten rings.
- Load canner
- Add 2–3 inches of hot water to the canner. Place jars on the rack.
- Vent and pressurize
- Vent steam for 10 minutes. Close vent and bring to required pressure steadily.
- Process jars
- Process pints and quarts according to tested times and pressures.
- Cool and store
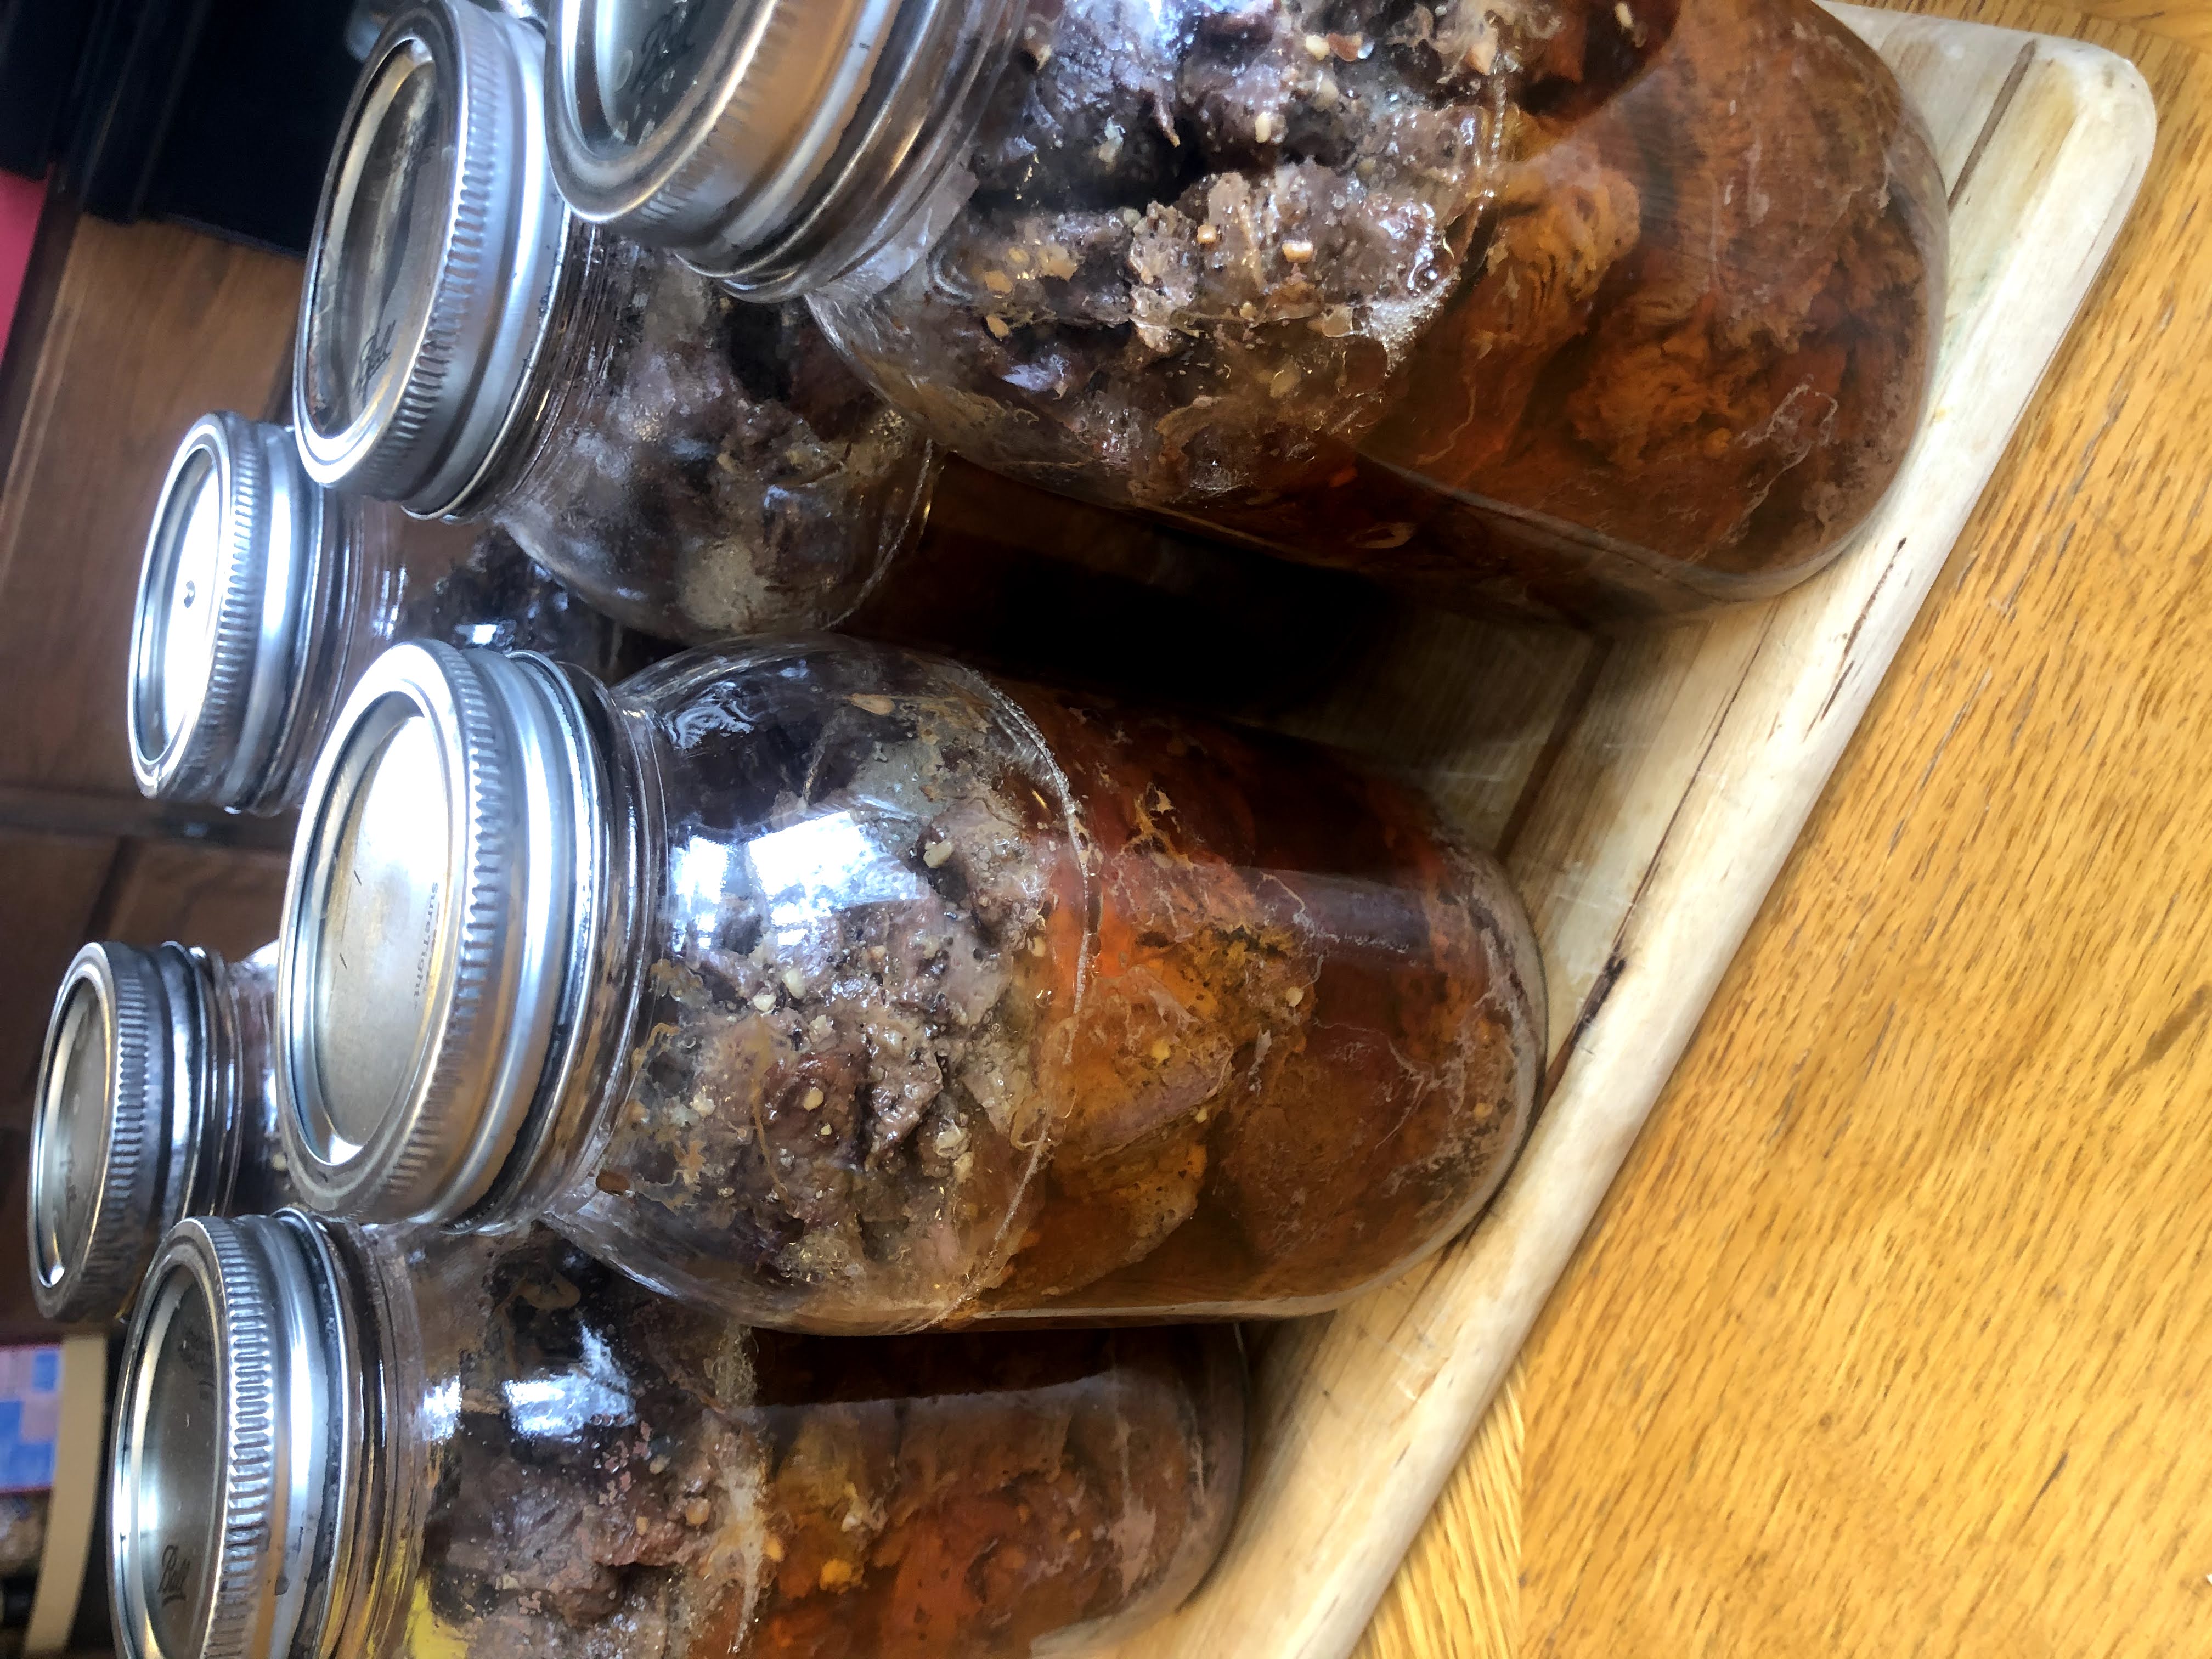
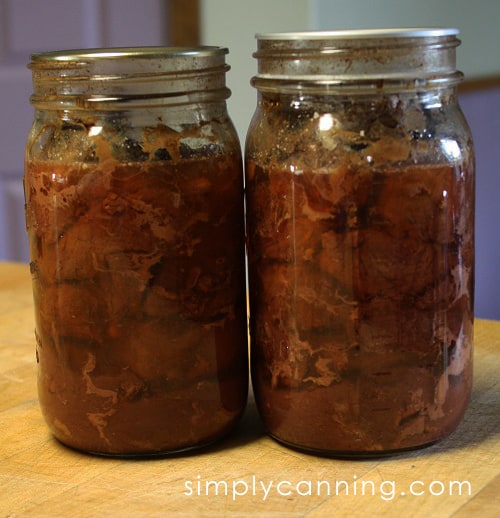
- Let pressure drop naturally. Remove jars and cool 12–24 hours. Check seals.
I follow this routine every time. It keeps canning steady and safe. Small steps matter, like wiping jar rims and venting the canner fully.

Pressure Canning Times and Altitude Adjustments
Safe canning relies on time and pressure. For meat, common tested processing times are standard starting points. Always verify with current official tables before you start.
- Typical processing times used by experienced home canners:
- Pints: about 75 minutes at the correct pressure.
- Quarts: about 90 minutes at the correct pressure.
- Pressure ranges: follow your canner type and altitude adjustments. Many canners use 10–15 psi ranges.
- Altitude: higher altitude reduces boiling temperature. Increase pressure per guidelines as altitude rises.
I always check my altitude, canner manual, and up-to-date safety tables before every canning session. If you are unsure, err on the side of longer time or higher verified pressure.
Storing, Shelf Life, and Reheating
Store sealed jars in a cool, dark place. Label with date and contents. Use the oldest jars first.
- Shelf life: properly canned venison lasts 1–5 years for quality; best within 1 year for flavor.
- Signs of spoilage: broken seal, bulging lid, off smell, cloudy liquid, or foam.
- Reheating: open jar and heat meat to a full boil. Use in stews, chilis, or casseroles.
I keep a canning log with dates and recipes. That helps me rotate jars and avoid waste.
Troubleshooting and Common Mistakes
Here are common pitfalls and how to avoid them.
- Using the wrong equipment: never use countertop electric pressure cookers for low-acid canning.
- Poor seals: ensure rims are wiped clean and lids are new. Rings should be fingertip-tight.
- Improper pressure: always adjust for altitude and follow your canner’s instructions.
- Too much fat: trim venison well. Excess fat can affect the jar seal and shelf life.
- Underprocessing: if unsure about process time or pressure, don’t use the jars. Safety first.
I once had jars weep because I over-tightened lids. Now I tighten by fingertip only and re-test seals next day.
Frequently Asked Questions of how to can venison in a pressure cooker
What is the difference between a pressure canner and a pressure cooker for canning?
A pressure canner is made for canning and holds many jars with steady, validated pressure. A small pressure cooker or electric multi-cooker does not meet tested requirements for safe low-acid food canning.
Can I use an electric pressure cooker to can venison?
No. Electric multi-cookers are not recommended for canning low-acid foods like venison. They do not reach or maintain the pressures needed to kill botulism spores reliably.
How long do I process pints and quarts of venison?
Typical tested times many canners use are about 75 minutes for pints and 90 minutes for quarts. Always confirm with current official canning tables for your canner and altitude.
Do I need to add liquid when canning venison?
Yes. Add hot water or broth to achieve 1-inch headspace. Liquid helps transfer heat and prevents jars from forming voids.
How do I know if a jar is safe after canning venison?
A proper sealed jar will have a concave lid and will not pop when pressed. If a lid is bulging, unsealed, or smells bad when opened, discard the contents.
Conclusion
You can safely preserve your harvest when you follow tested steps. Use a true pressure canner, trim and prep your venison well, pack jars correctly, and process at the right time and pressure for your altitude. Start with one batch and keep notes. Practice builds confidence and reduces mistakes. Try one canning session this season, share the results, and join a local canning group or leave a comment about your experience.


