Cook soaked chickpeas in a pressure cooker: 12–15 minutes at high pressure with natural release.
I’ve cooked chickpeas many times and refined a clear method for how to cook soaked chickpeas in pressure cooker that saves time and delivers tender, creamy beans every time. This guide blends tested steps, real tips from my kitchen, and simple science so you can master texture, timing, and flavor without fuss.
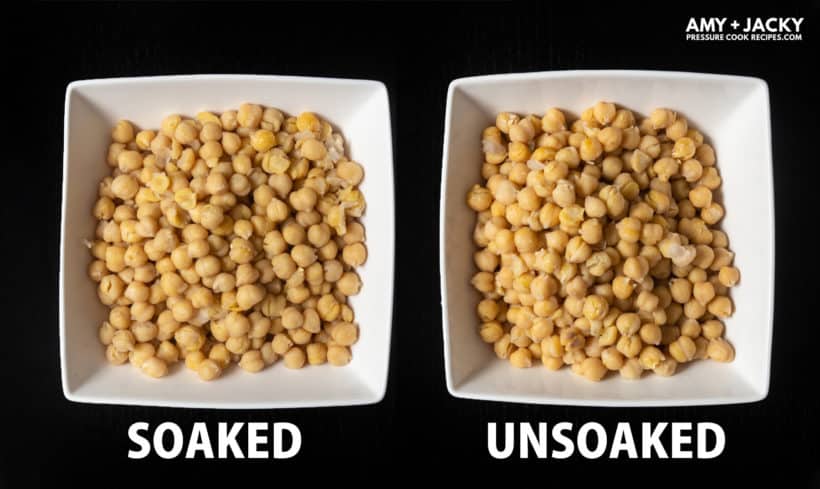
Why soak chickpeas before cooking
Soaking chickpeas shortens cooking time. It also helps the beans cook evenly and reduces gas-causing compounds. Soaked chickpeas absorb water and soften. This makes how to cook soaked chickpeas in pressure cooker faster and more reliable.
Soak for at least 8 hours or overnight for best results. Quick-soak works if you need them now, but overnight gives the best texture.
Ingredients and equipment you’ll need
- 1 cup dried chickpeas, soaked 8–12 hours and drained. Soaking is key for even cooking.
- 3 to 4 cups water or broth for cooking soaked chickpeas in pressure cooker. Use more water for very soft beans.
- 1 teaspoon salt (optional, add at end for firmer beans or at start for quick use).
- Pressure cooker (stove-top) or electric pressure cooker like Instant Pot. Both work well for how to cook soaked chickpeas in pressure cooker.
- Optional aromatics: bay leaf, garlic clove, or onion for mild flavor.

Step-by-step: how to cook soaked chickpeas in pressure cooker
- Drain soaked chickpeas and rinse under cold water.
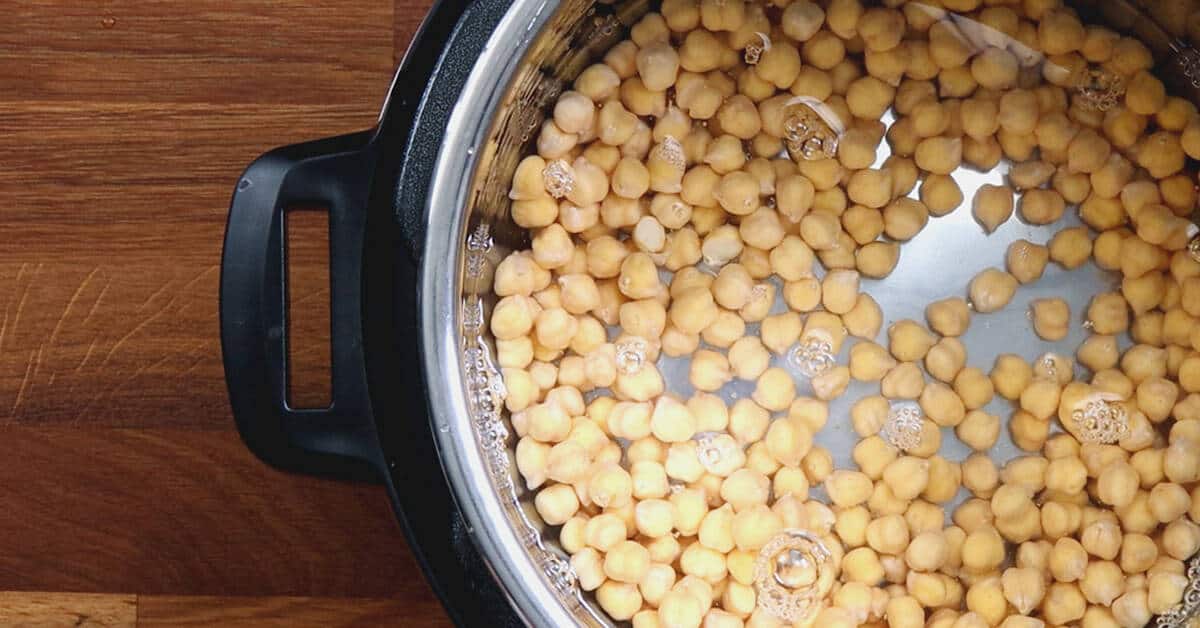
- Add chickpeas to the pressure cooker. Pour 3 cups of fresh water or broth for each cup of soaked chickpeas. The water ratio helps control softness when you learn how to cook soaked chickpeas in pressure cooker.
- Add aromatics if you like. Do not overfill the pot. Keep at least one third free space.
- Seal the lid and set to high pressure. On a stove-top cooker, bring to full pressure and start timing. On an electric model, set the manual/high pressure program.
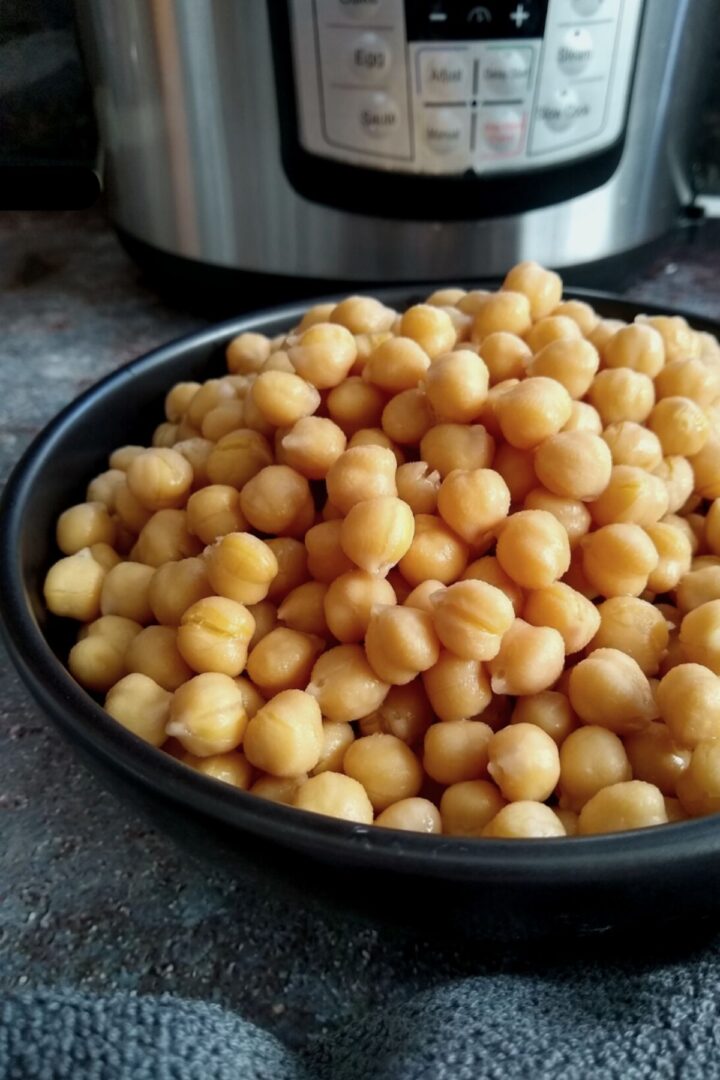
- Cook for 12–15 minutes for firm but cooked chickpeas. For very soft beans, cook 18–20 minutes. These times reflect how to cook soaked chickpeas in pressure cooker based on my tests.
- Allow natural pressure release for 10–15 minutes. Then quick-release any remaining pressure. Natural release lets the beans finish gently and avoids splitting.
- Taste and add salt if needed. Drain or reserve cooking liquid for soups or hummus.

Cooking times and water ratios (stovetop vs electric)
- Stove-top pressure cooker: High pressure 12–15 minutes for tender chickpeas, 18–20 minutes for very soft beans. Natural release 10–15 minutes.
- Electric pressure cooker: Set manual/high for 12–15 minutes. Let the cooker natural release for 10–15 minutes.
- Water ratio: Use about 3 cups water per 1 cup soaked chickpeas for most textures. Use 4 cups for very soft results or if you want extra cooking liquid.
Adjust times slightly based on bean age. Older chickpeas may need a few extra minutes when you cook soaked chickpeas in pressure cooker.
Flavoring, salt, and using cooked chickpeas
- When to add salt: Adding salt at the end preserves bean skins and gives slightly firmer beans. Salting early is fine for soups or stews. This detail is essential when learning how to cook soaked chickpeas in pressure cooker for different uses.
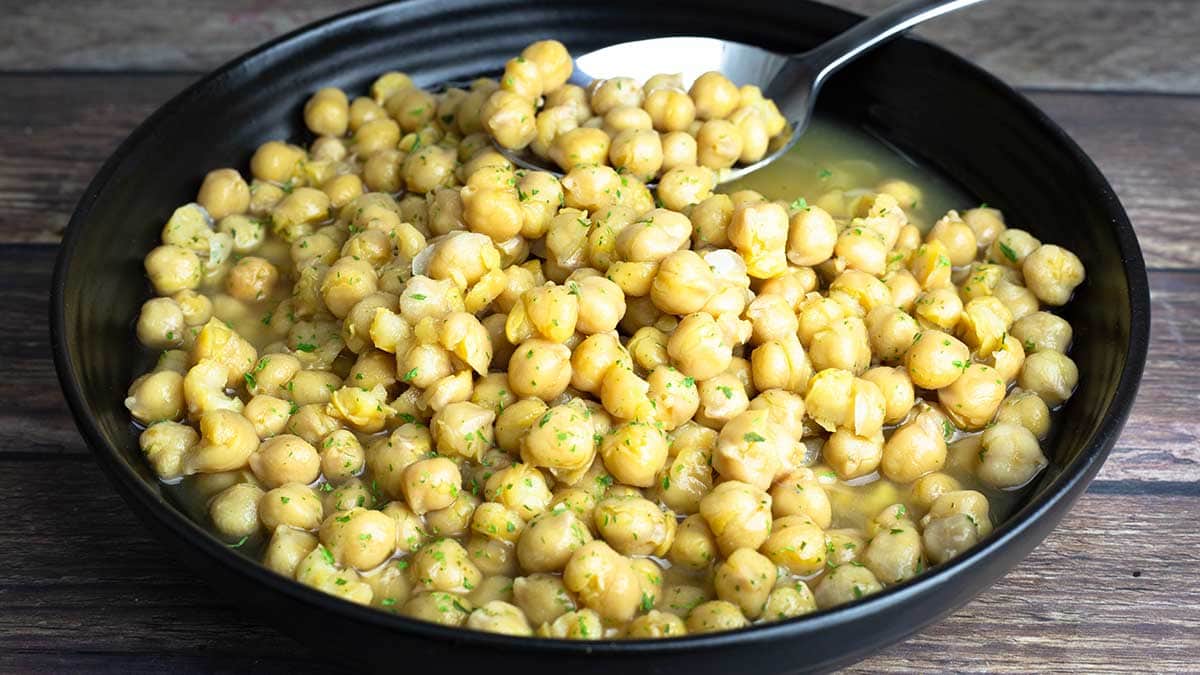
- Using cooking liquid: Save the liquid for soups and stews or for thinning hummus. It’s full of starch and flavor.
- Flavor ideas: Add bay leaf, garlic, cumin, or a halved onion during cooking. Remove aromatics before serving.
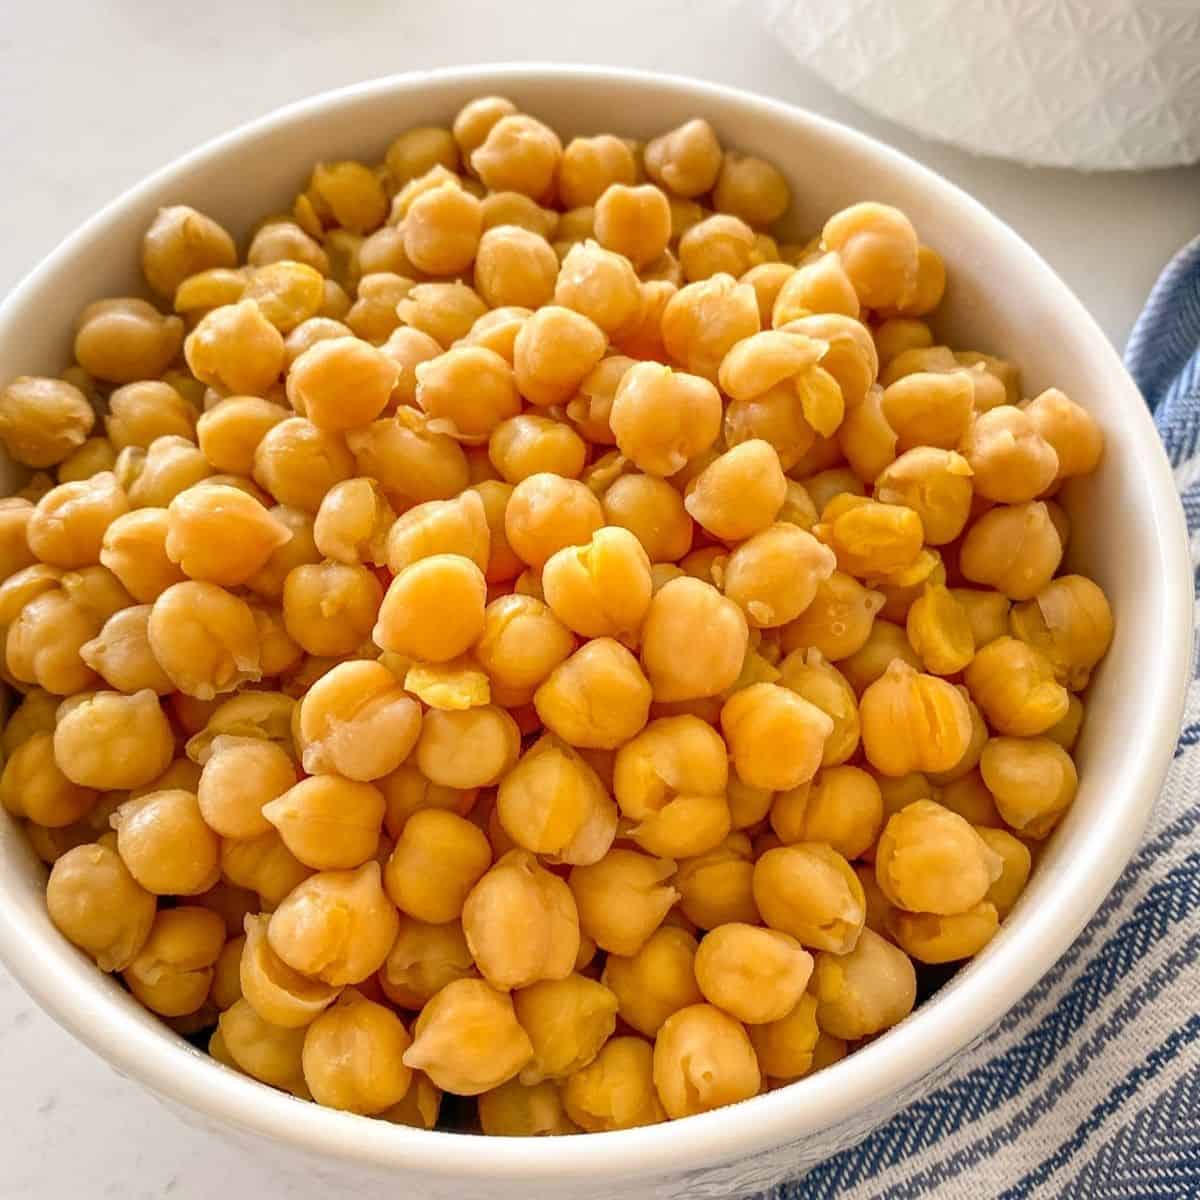
Use cooked chickpeas in salads, curries, hummus, stews, and roasted snacks. They are versatile and hold flavor well after cooking soaked chickpeas in pressure cooker.

Storage, freezing, and reheating
- Refrigerate cooked chickpeas in an airtight container with some cooking liquid for up to 4 days.
- Freeze in portioned bags or containers. Spread on a tray first to flash-freeze, then move to a bag to prevent clumping. Freeze for up to 6 months.
- Reheat gently in simmering water, broth, or a saucepan. You can also reheat in the microwave with a splash of water. These tips help you use how to cook soaked chickpeas in pressure cooker batches efficiently.
Troubleshooting common issues
- Chickpeas still firm after pressure cook: They may be old or under-soaked. Try adding 5–10 minutes and natural release, or cook a second cycle. This is a common fix when practicing how to cook soaked chickpeas in pressure cooker.
- Mushy or split chickpeas: You cooked too long or quick-released immediately. Use less time and allow natural release next time.
- Foamy liquid or clogging pressure valve: Add a teaspoon of oil or a small amount of salt after boiling starts to reduce foaming. Clean the valve per manufacturer instructions.
- Bitter or metallic taste: Rinse chickpeas well after soaking and use fresh water for cooking. Avoid using aluminum cookware.
Frequently Asked Questions of how to cook soaked chickpeas in pressure cooker
How long should I soak chickpeas before pressure cooking?
Soak chickpeas for 8–12 hours or overnight for best texture. Quick-soak methods work but may give less uniform results.
Can I cook unsoaked chickpeas in a pressure cooker?
Yes, but unsoaked chickpeas need much longer. Expect 40–60 minutes at high pressure for unsoaked beans.
Should I add salt before cooking soaked chickpeas in pressure cooker?
You can add salt later for firmer beans. Adding salt at the start works if you want well-flavored broth or soft beans.
How do I tell if chickpeas are done?
Taste a few. Done chickpeas are tender inside and not chalky. They should mash with gentle pressure of a fork.
Can I use the cooking liquid in recipes?
Yes. The cooking liquid is great in soups, stews, or as a binder for hummus. It adds flavor and nutrition.
Conclusion
You now have a clear, tested process for how to cook soaked chickpeas in pressure cooker that saves time and delivers consistent results. Start with good soaking, use the water ratios and timing here, and experiment with textures based on your recipes. Try a small batch this week, save the liquid, and turn those chickpeas into hummus, curry, or salads. Share your results or questions below and subscribe for more simple, reliable kitchen tips.


