Secure cabinets, add blocking, shim level, miter or cope crown, caulk, and finish for a polished look.
I’ve installed kitchen cabinets with crown molding on dozens of remodels, and this guide explains every step clearly so you can do it right. You'll learn how to install kitchen cabinets with crown molding from planning and measuring to cutting, attaching, and finishing. I’ll share tools, real-world tips, common mistakes I’ve made, and simple solutions so your kitchen looks professional and lasts for years.
Tools and materials you’ll need
Gathering the right tools saves time and avoids frustration. Here’s a practical list to get started.
- Tools
- Tape measure
- Level (4-foot recommended)
- Laser level or chalk line
- Cordless drill and driver
- Oscillating multi-tool or jigsaw
- Miter saw (compound) and coping saw
- Finish nailer (or brad nailer) with 1.25–2 inch brads
- Clamps and cabinet jack or temporary supports
- Stud finder and pencil
- Materials
- Crown molding pieces (solid or mdf)
- Backer or filler strips (1×3 or similar)
- Wood glue and construction adhesive
- Screws: cabinet screws and trim screws
- Wood filler, caulk, and paint or stain
- Paintable caulk and touch-up paint
I always pick slightly longer screws and extra molding to allow mistakes. That extra molding once saved a day of trips to the store. Industry practice favors backer strips when crown sits above cabinets. This prevents gaps and gives a secure attachment.
Planning, measuring, and layout tips
Good planning prevents costly errors. Take your time measuring and sketching.
- Measure the kitchen twice for cabinet heights, wall irregularities, and ceiling slope.
- Find and mark studs along the top and bottom walls. Cabinets and crown need solid blocking for secure fastening.
- Decide reveal and toe: determine how much crown will overhang the cabinet face and how it meets the ceiling.
- Sketch each run with cabinet widths and where seams will fall. Note appliance clearances and HVAC vents.
If ceilings are not level, plan for scribe cuts or filler between crown and ceiling. I once skipped measuring a bowed wall; the result was uneven crown lines that took hours to fix. Blocking behind drywall or top plates is cheap and wise.
Installing cabinets (base and upper) before crown
Crown molding should be the last cabinet trim step. Install cabinets flush and secure first.
- Assemble and set base cabinets.
- Shim and level each cabinet. Use a long level and fasten cabinets to studs through the face frames or the mounting rails.
- Rack and clamp cabinets together, then drive screws through adjacent cabinet sides.
- Install upper cabinets: mark a level line at the desired bottom of the upper cabinet, ride that line as you attach.
- Use temporary supports or a cabinet jack when lifting uppers. Fasten each unit into studs and to neighboring cabinets.
Make sure doors and drawers operate before adding crown. If cabinets are not perfectly plumb, the crown will exaggerate the flaws. Adjust now, not later. When you know how to install kitchen cabinets with crown molding, the secret is a rock-solid cabinet run.

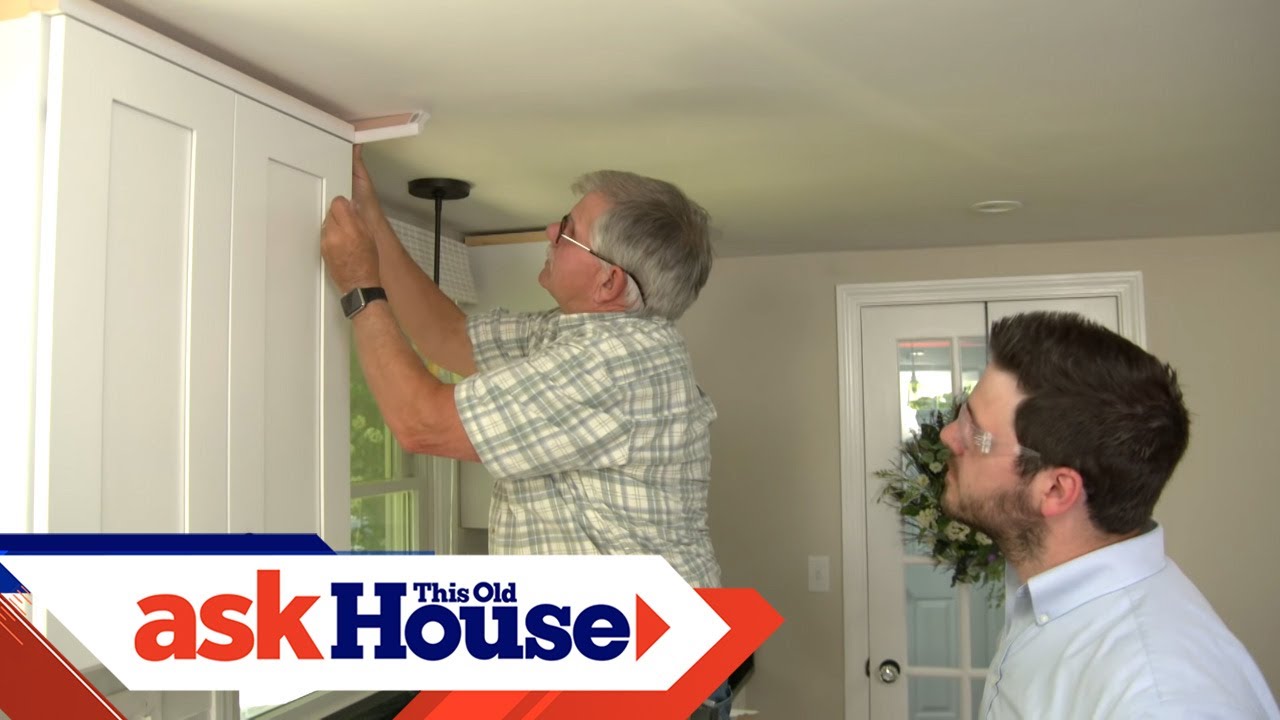
How to install crown molding on cabinets: step-by-step
Installing crown molding on cabinets uses two common methods: attached directly to cabinets or to a filler/backer strip. Choose the method that fits your cabinet depth and ceiling condition.
- Prep and test fit
- Dry-fit the crown pieces without glue or nails.
- Label each piece top and left/right. Mark long runs and inside/outside corners.
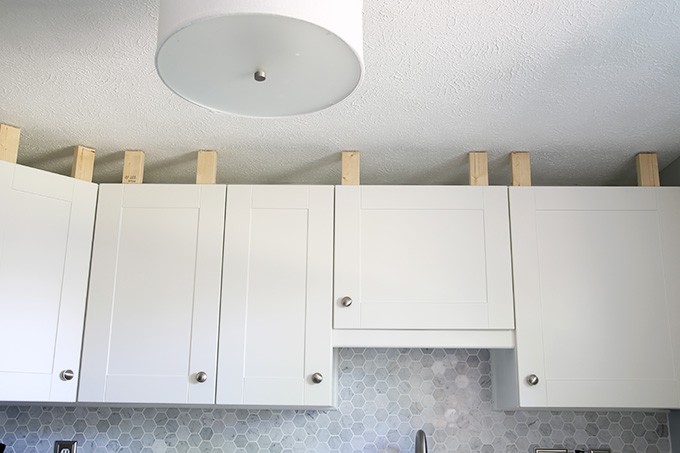
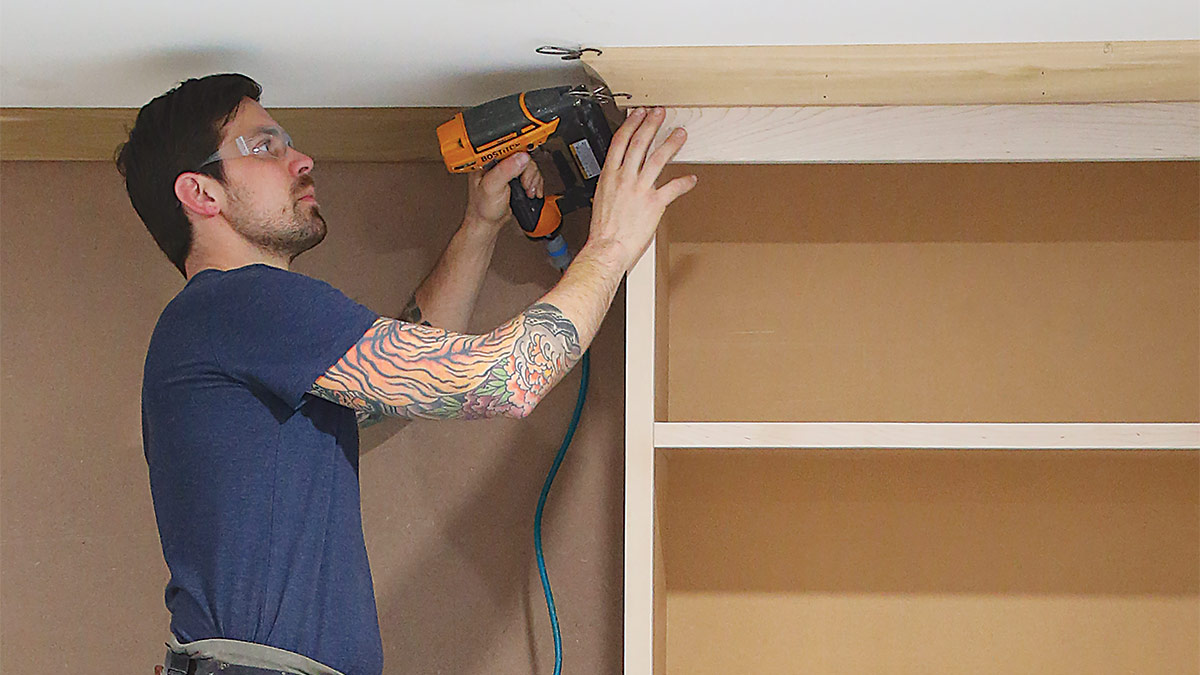
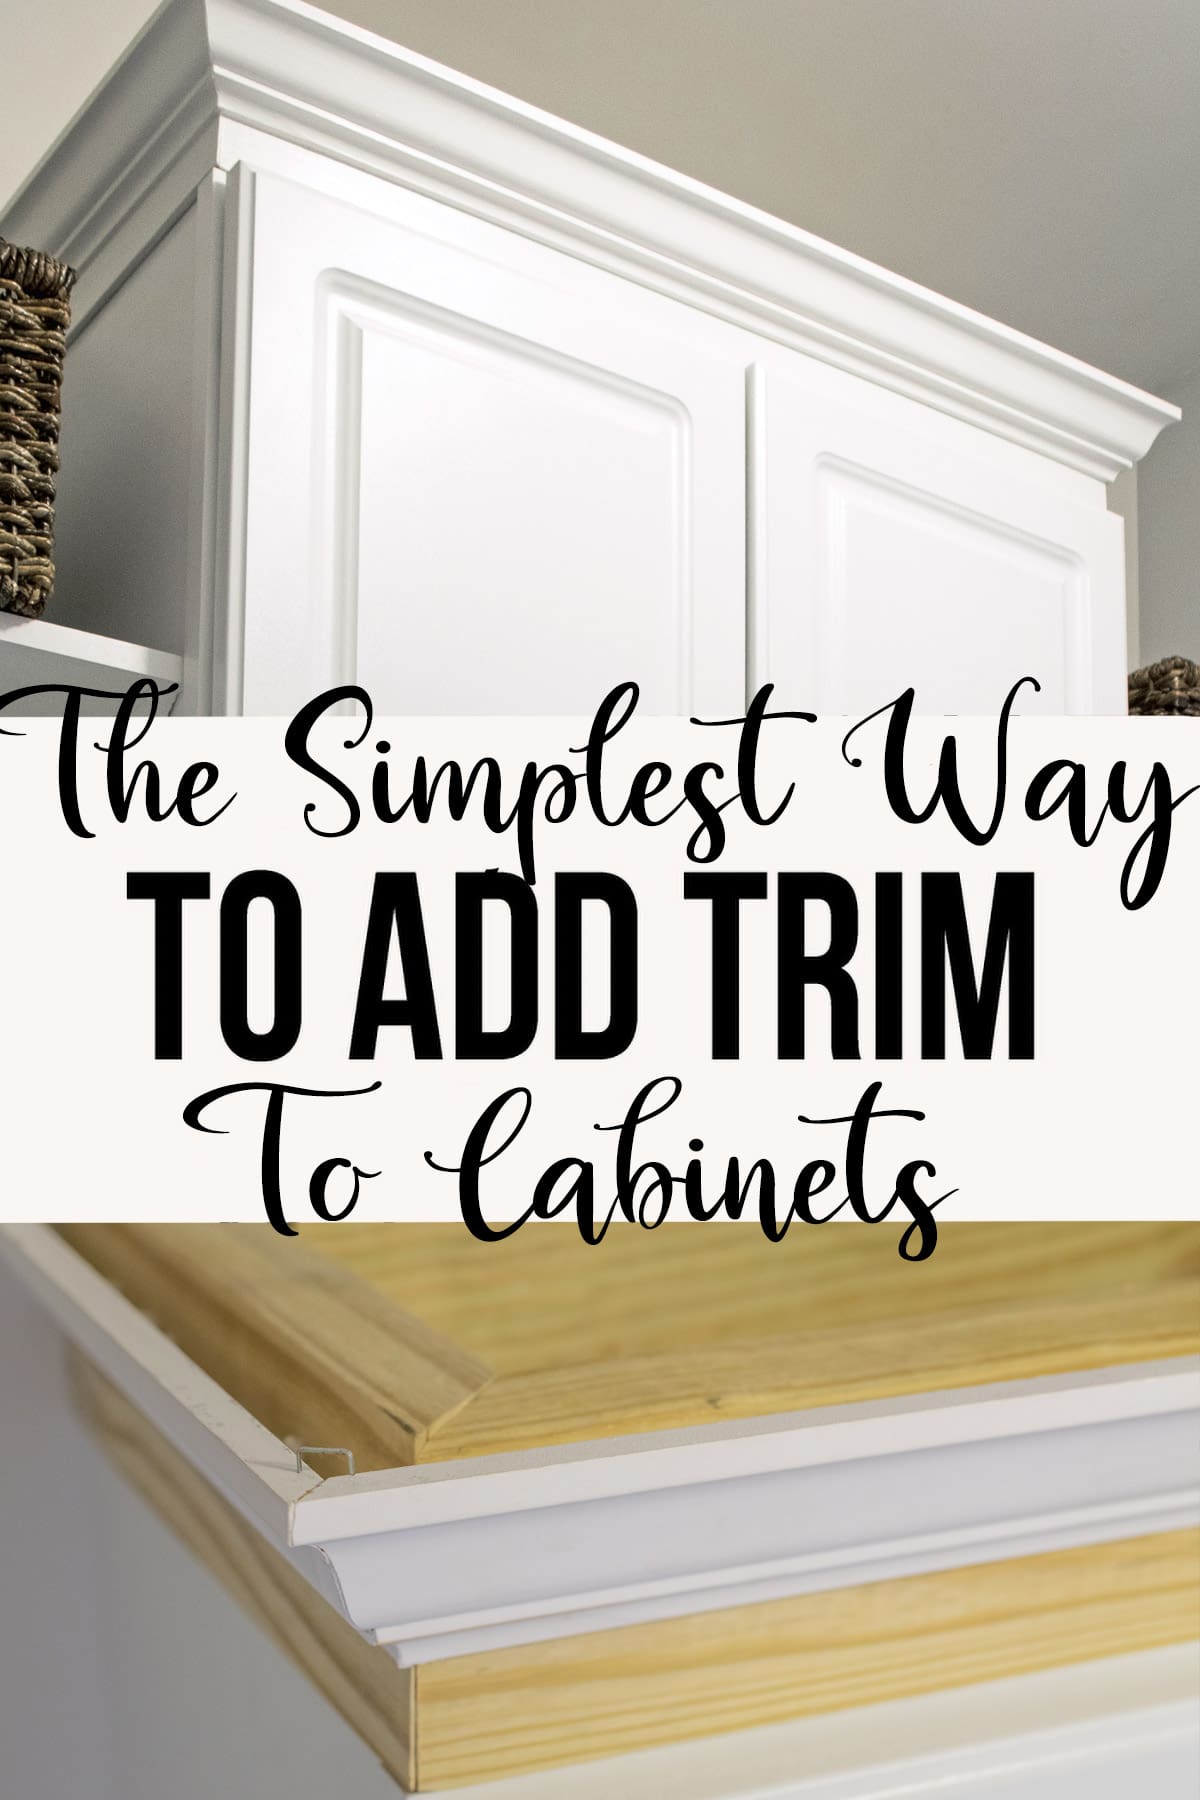
- Add backer or filler strip when needed
- Attach a 1×3 or similar backer to the cabinet top face. Fasten through the cabinet into studs or blocking.
- Backer brings the crown forward so it has a flat nailing surface.
- Cutting corners: miter vs. cope
- For outside corners, use two 45-degree miters.
- For inside corners, prefer coping one piece to fit the profile tightly against the other. Coping gives a cleaner look if walls are not square.
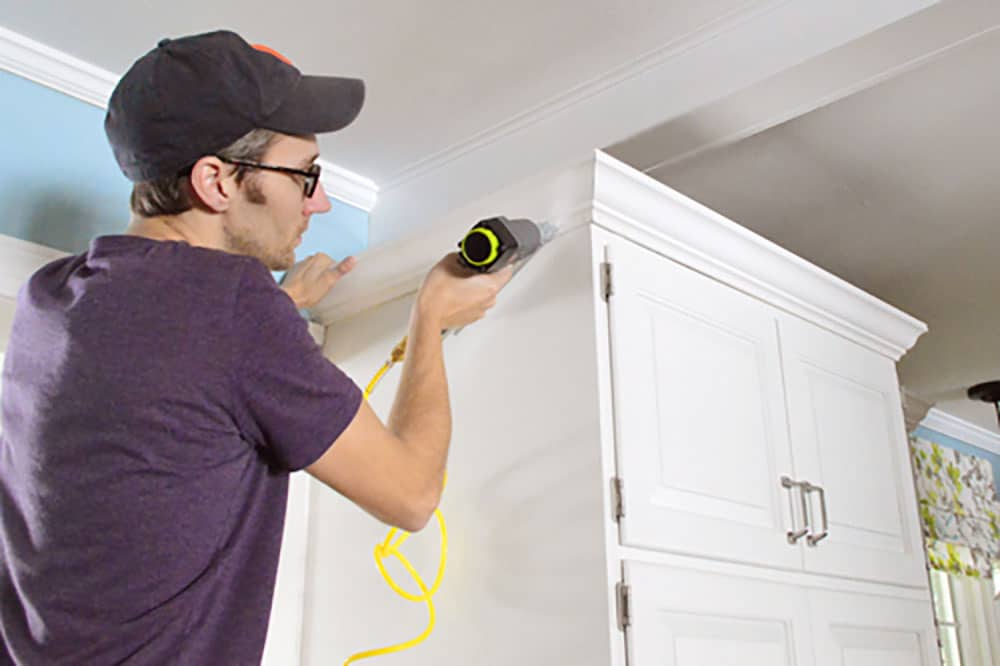
- Fastening
- Apply wood glue at joints.
- Nail crown to backer and to cabinet top with finish nails angled into blocking. Use a finish nailer where possible.
- For long runs, add centered screws from above through the crown into the backer, then countersink and fill.
When ceilings are uneven, cut crown slightly longer and scribe the top. You can also tilt crown slightly to match the ceiling profile. On one job with very crooked ceilings, a filler strip and scribe saved the look; coping alone would not have hidden gaps.
Joinery, coping details, and common joint fixes
Small details make the installation look custom. Focus on joints and transitions.
- How to cope inside corners
- Cut a 45-degree on the face side, then use the coping saw to remove the profile behind the cut.
- Test fit and trim with a file or rasp until tight.
- Fixing small gaps
- Use paintable caulk at the top and inside seams.
- Use wood filler for nail holes and sand smooth before painting.
- Scarf joints for long runs
- Use scarf joints at weak points to avoid visible seams.
- Glue and clamp scarf joints; reinforce with a finish nail if needed.
If you are new to coping, practice on scrap pieces. I learned coping with a few wasted scraps; now I can cope faster than I can set up a miter. That practice prevents tight-fitting seams later.
Finishing steps: paint, caulk, and final adjustments
Finishing makes crown look intentional and seamless.
- Sand and fill
- Sand joints and filled nail holes smooth with 120–220 grit.
- Clean dust before priming.
- Prime and paint
- Use a high-quality primer for MDF or bare wood.
- Two coats of paint give an even sheen and hide seams.
- Final caulking
- Use a thin bead of paintable latex caulk at top and bottom seams.
- Smooth with a wet finger or caulk tool quickly.
- Recheck doors and hardware
- Crown can shift doors slightly. Adjust hinges and drawer glides as needed.
A neat paint job hides many small errors. I always paint crown after installation to match color and sheen precisely to cabinet faces.

Troubleshooting and mistakes to avoid
Even pros hit snags. Here’s how to solve common problems quickly.
- Cabinets not level
- Re-shim and re-fastened before installing crown.
- Gaps at ceiling
- Use backer and scribe cut the top, or add decorative molding to disguise gap.
- Broken or chipped molding
- Replace the damaged piece; patching is visible on profile edges.
- Miter seams open
- Consider coping instead, or use a thin bead of color-matched filler and caulk.
Common mistake: trying to nail crown only into drywall. It will not hold. Always have solid blocking or backer. On one install I neglected blocking; the crown sagged after a year. Re-doing blocking took a full weekend. Learn from that.

People also ask
How long does it take to install crown molding on cabinets?
A small kitchen can take a weekend for a single person with basic tools. Larger kitchens or complex corners may take two to three days.
Should crown molding be installed before or after cabinet doors?
Install cabinets fully and adjust doors first, then fit crown as the last trim step. This prevents aligning issues.
Can I install crown molding if my ceiling is uneven?
Yes. Use backer strips and scribe the crown to the ceiling, or add a taller filler to conceal gaps.
Do I need a miter saw to cut crown molding?
A compound miter saw makes cuts faster and more accurate, but coping saws and jigs can work if you don’t own one.
Is crown molding heavy on cabinets?
Properly installed crown with backer and blocking is not a problem. Do not rely on drywall; fasten to solid support.
Frequently Asked Questions of how to install kitchen cabinets with crown molding
What is the first step when learning how to install kitchen cabinets with crown molding?
Start by measuring and planning. Mark studs, check ceiling level, and sketch cabinet and crown layouts before cutting any molding.
Do I need special screws to attach crown molding to cabinets?
Use finish nails for the molding and screws into the backer or blocking for strong holding. Countersink screws and fill for a clean look.
How do I hide gaps between crown molding and ceiling?
Scribe the top edge to match the ceiling or use paintable caulk and a small bead to mask minor gaps.
Can I reuse crown molding from old cabinets?
Yes, if the molding is undamaged. Check for warping and test fit; sand and refinish if needed.
Is it better to miter or cope inside cabinet corners?
Coping is preferred for inside corners because it tolerates imperfect walls and gives a tighter fit.
Conclusion
Installing crown molding on kitchen cabinets creates a finished, high-end look. Start with careful measuring, secure and level cabinets, add backer or blocking, and choose coping for inside corners when possible. Take your time cutting and fitting; small details like proper nailing, caulking, and paint make the difference between DIY and pro results. Try one cabinet run first to build confidence, and apply these steps to complete your kitchen with pride. If you found this guide helpful, leave a comment, share a photo of your project, or subscribe for more step-by-step home improvement guides.


