Reattach the Delta kitchen faucet sprayer thumb control by seating the clip, aligning the stem, and snapping the control into place.
I’ve fixed dozens of Delta faucets in homes and rentals, so I know how to reattach a Delta kitchen faucet sprayer thumb control quickly and reliably. This guide walks you through tools, clear steps, troubleshooting tips, and real-life notes from my experience so you can restore smooth spray control without guessing.

Tools and parts you will need
Prepare a small kit before you start.
You will need a flat screwdriver, Phillips screwdriver, needle-nose pliers, a towel, and flashlight.
Keep a replacement retainer clip and O-ring handy in case the originals are broken or worn.
Having these items saves time and prevents mid-job trips to the store.

Understand the sprayer thumb control and how it works
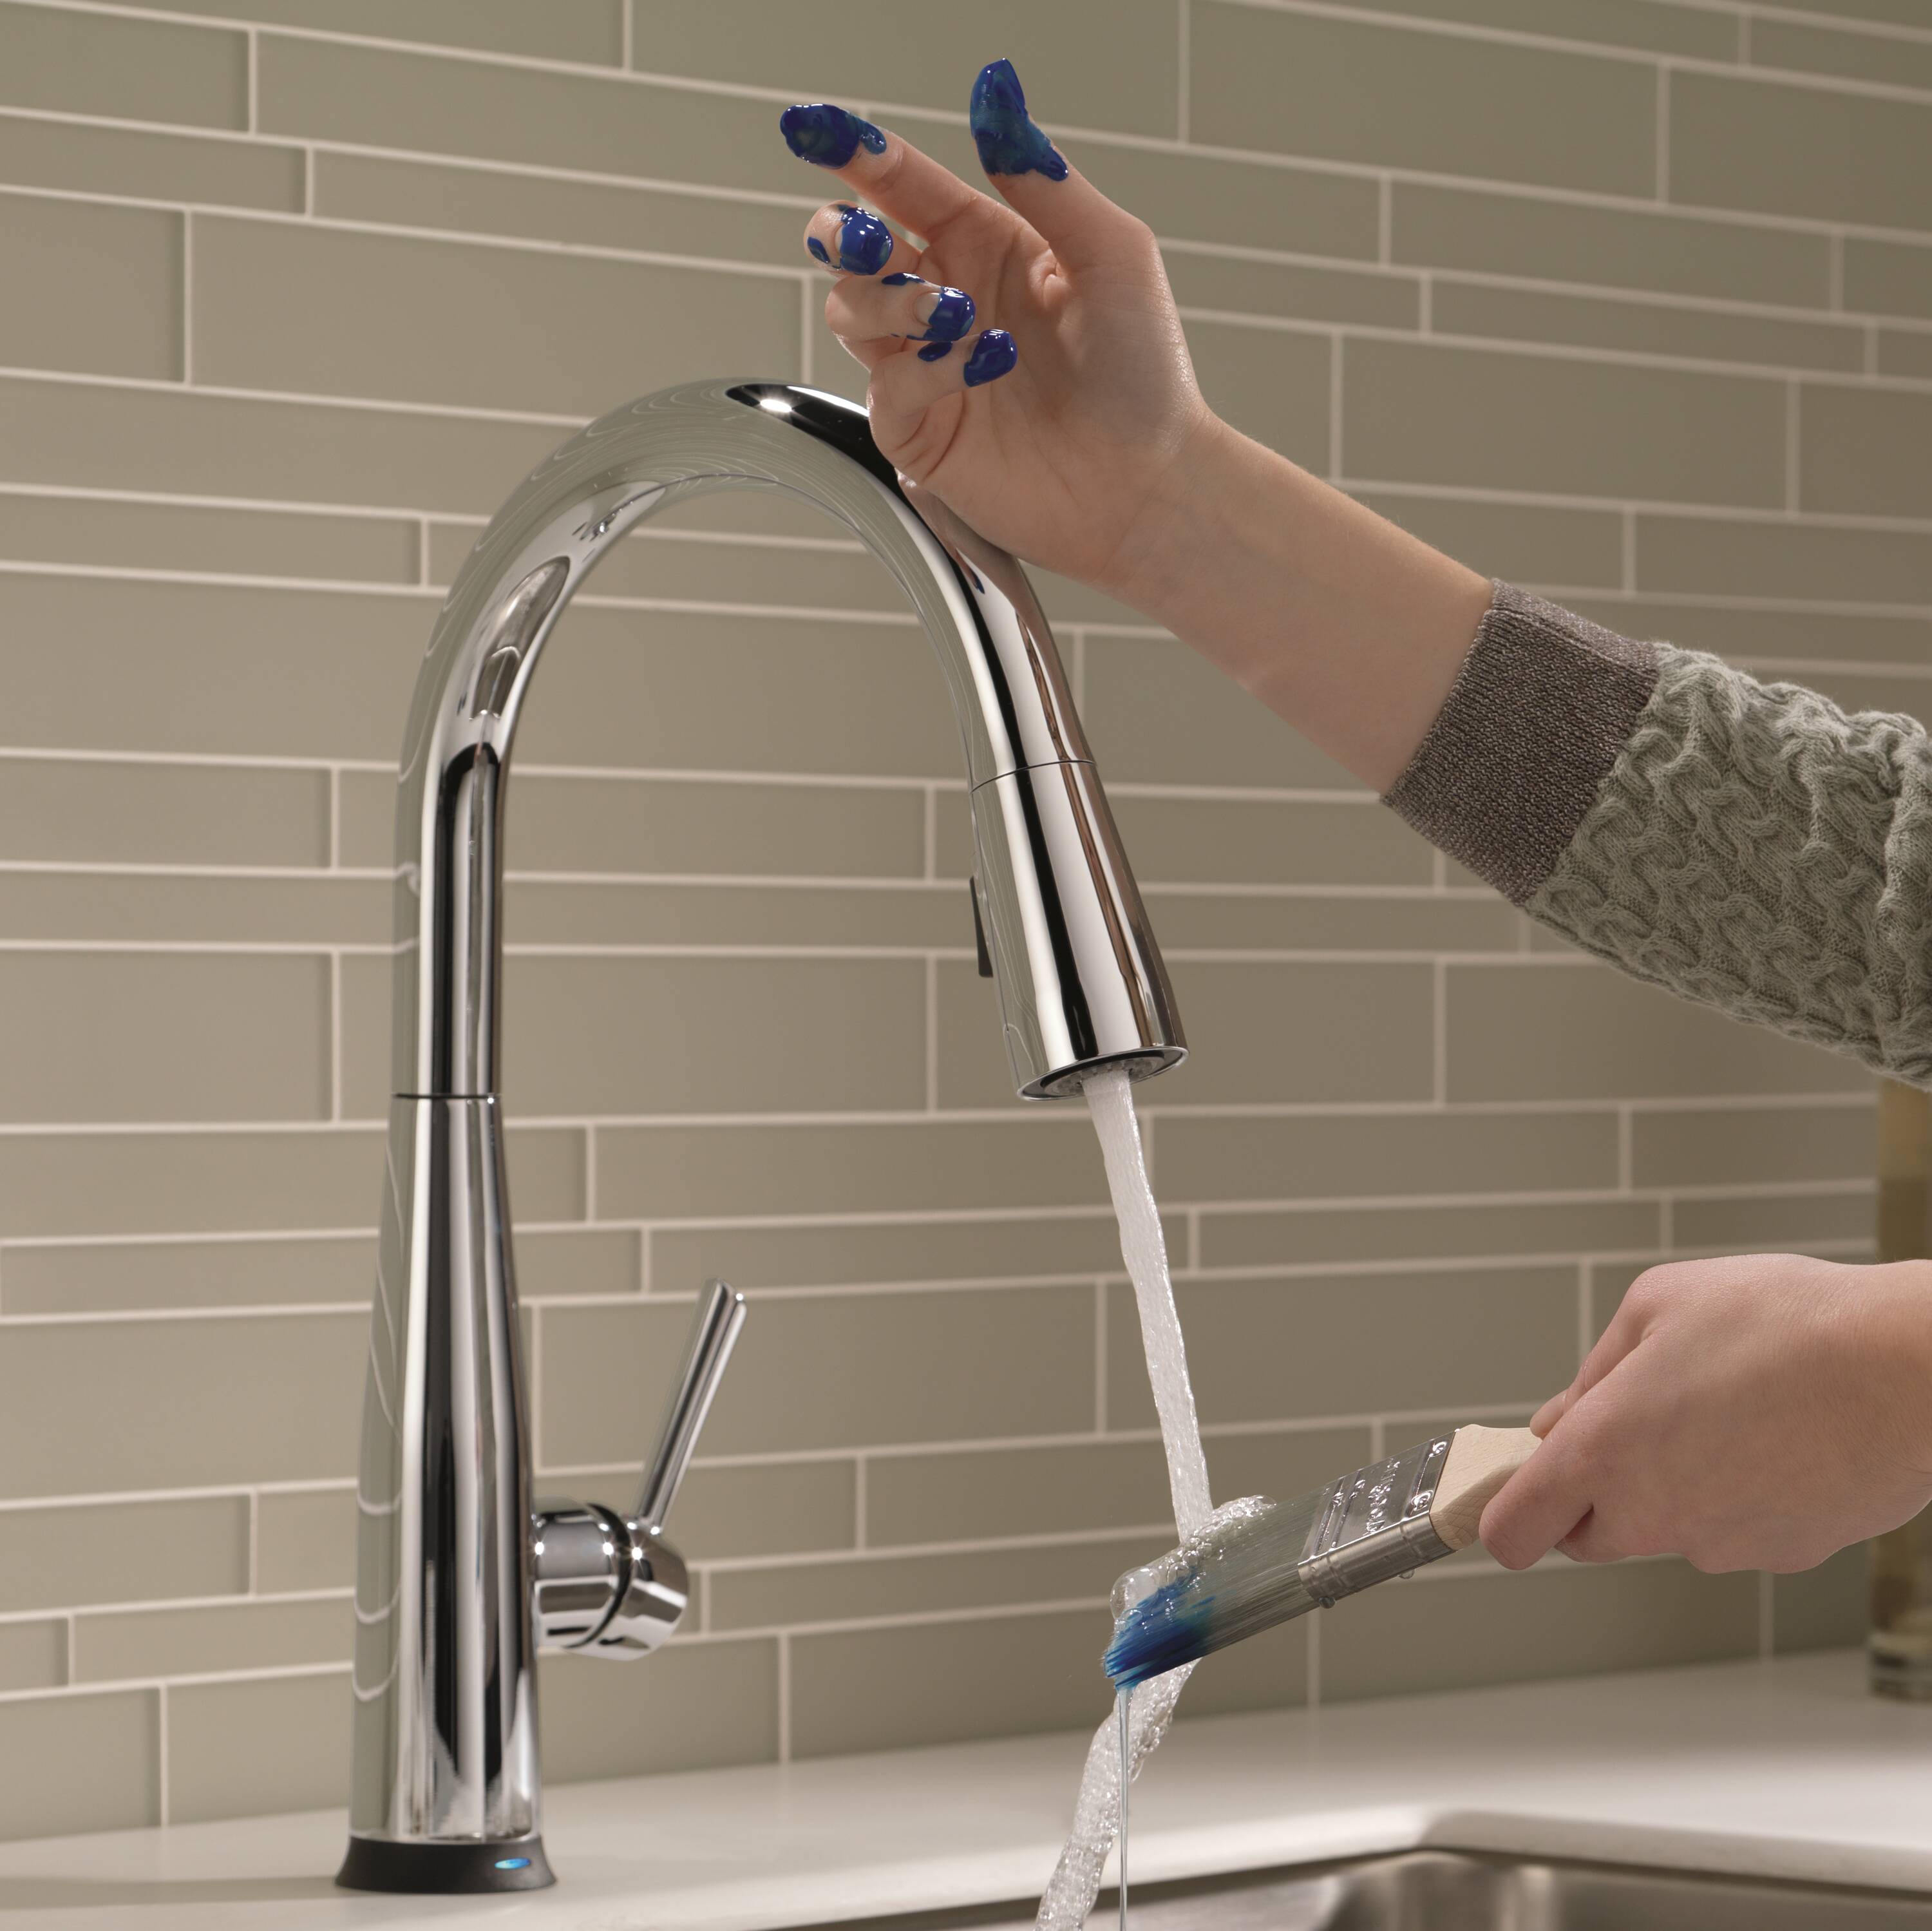
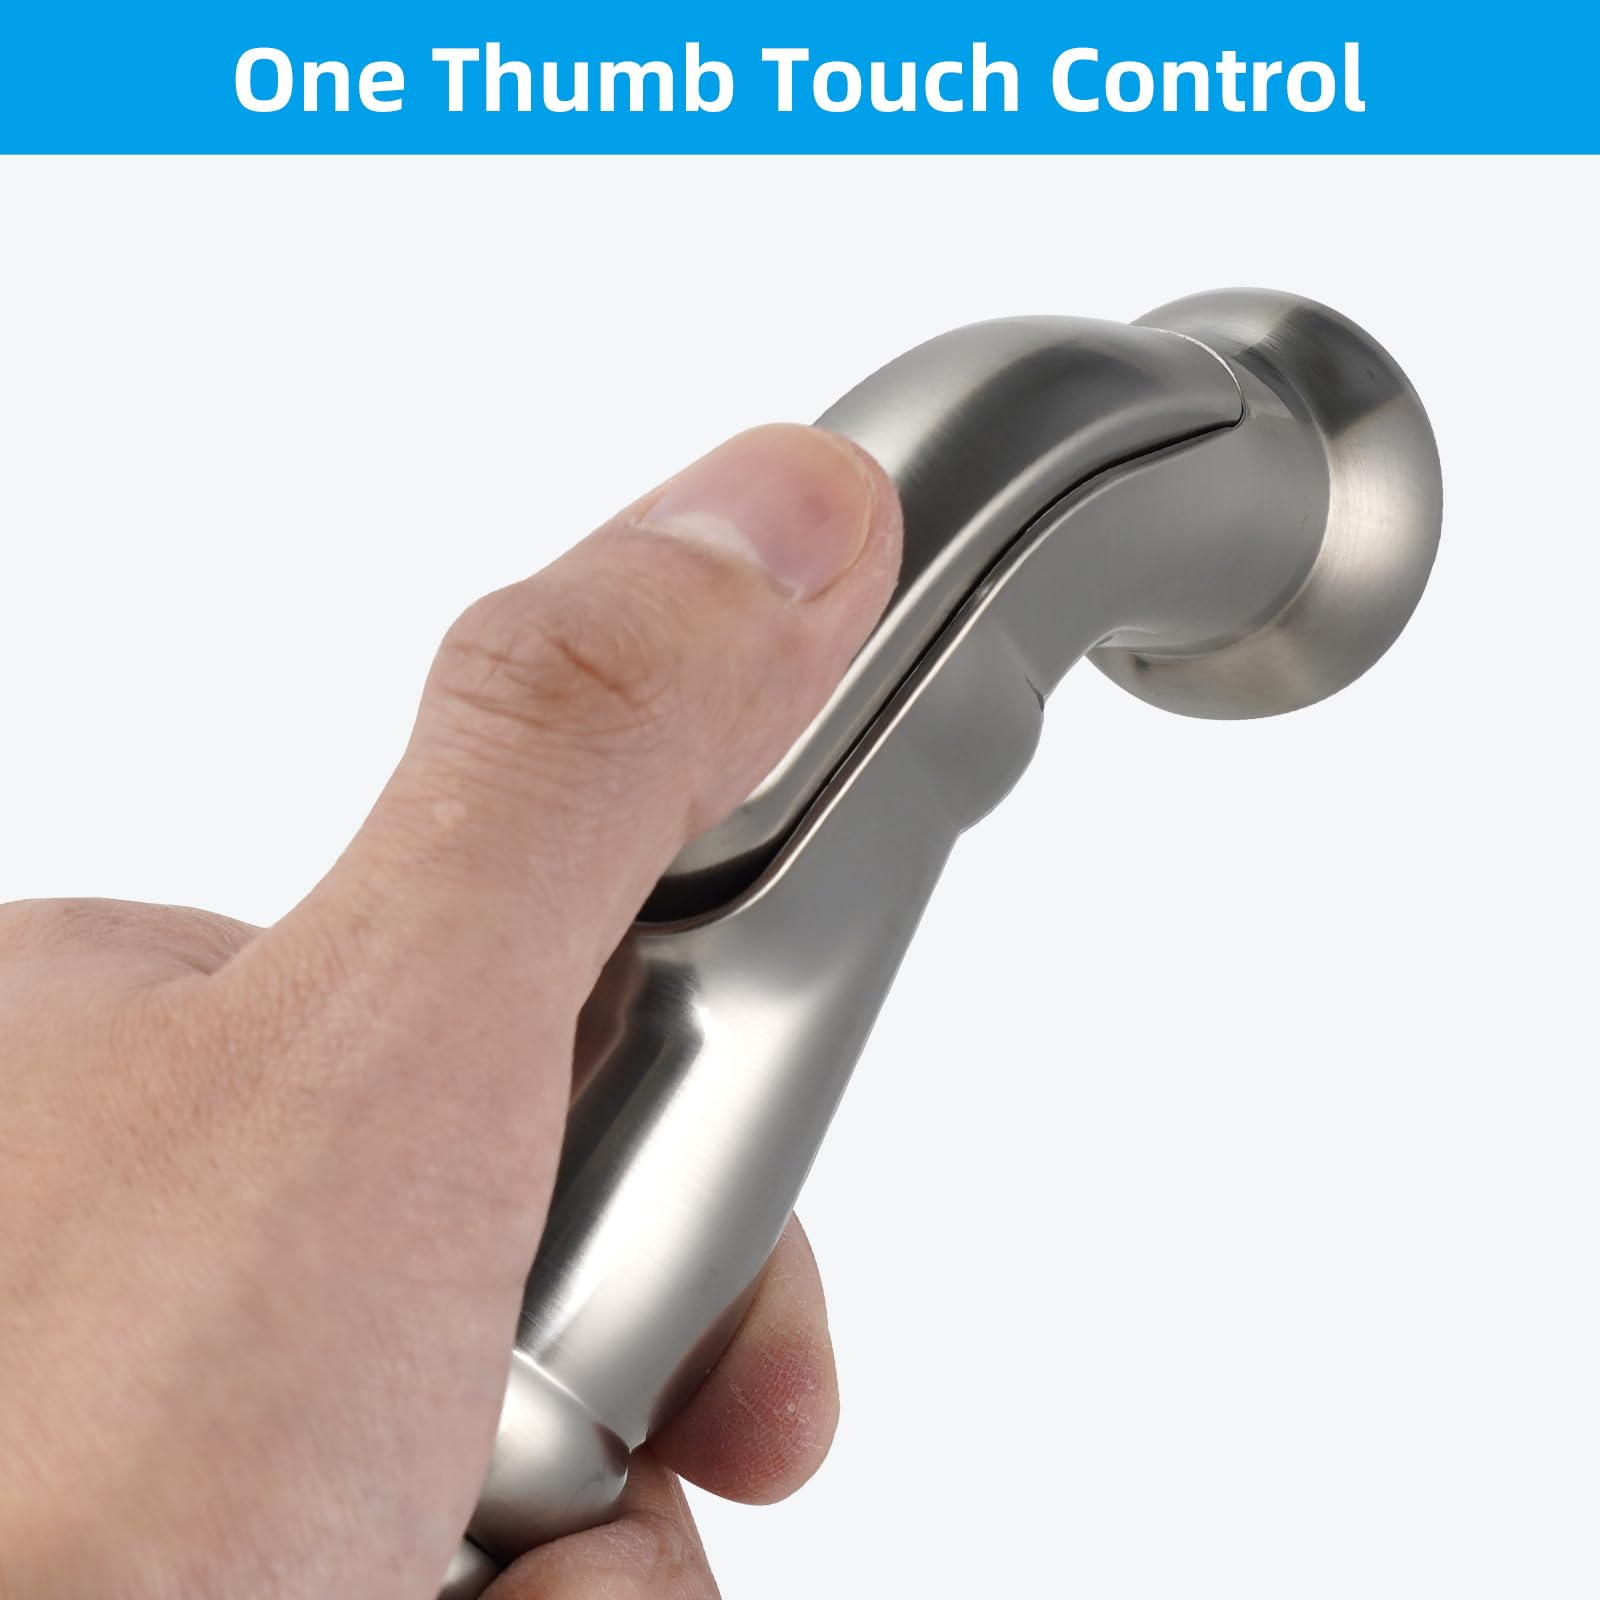
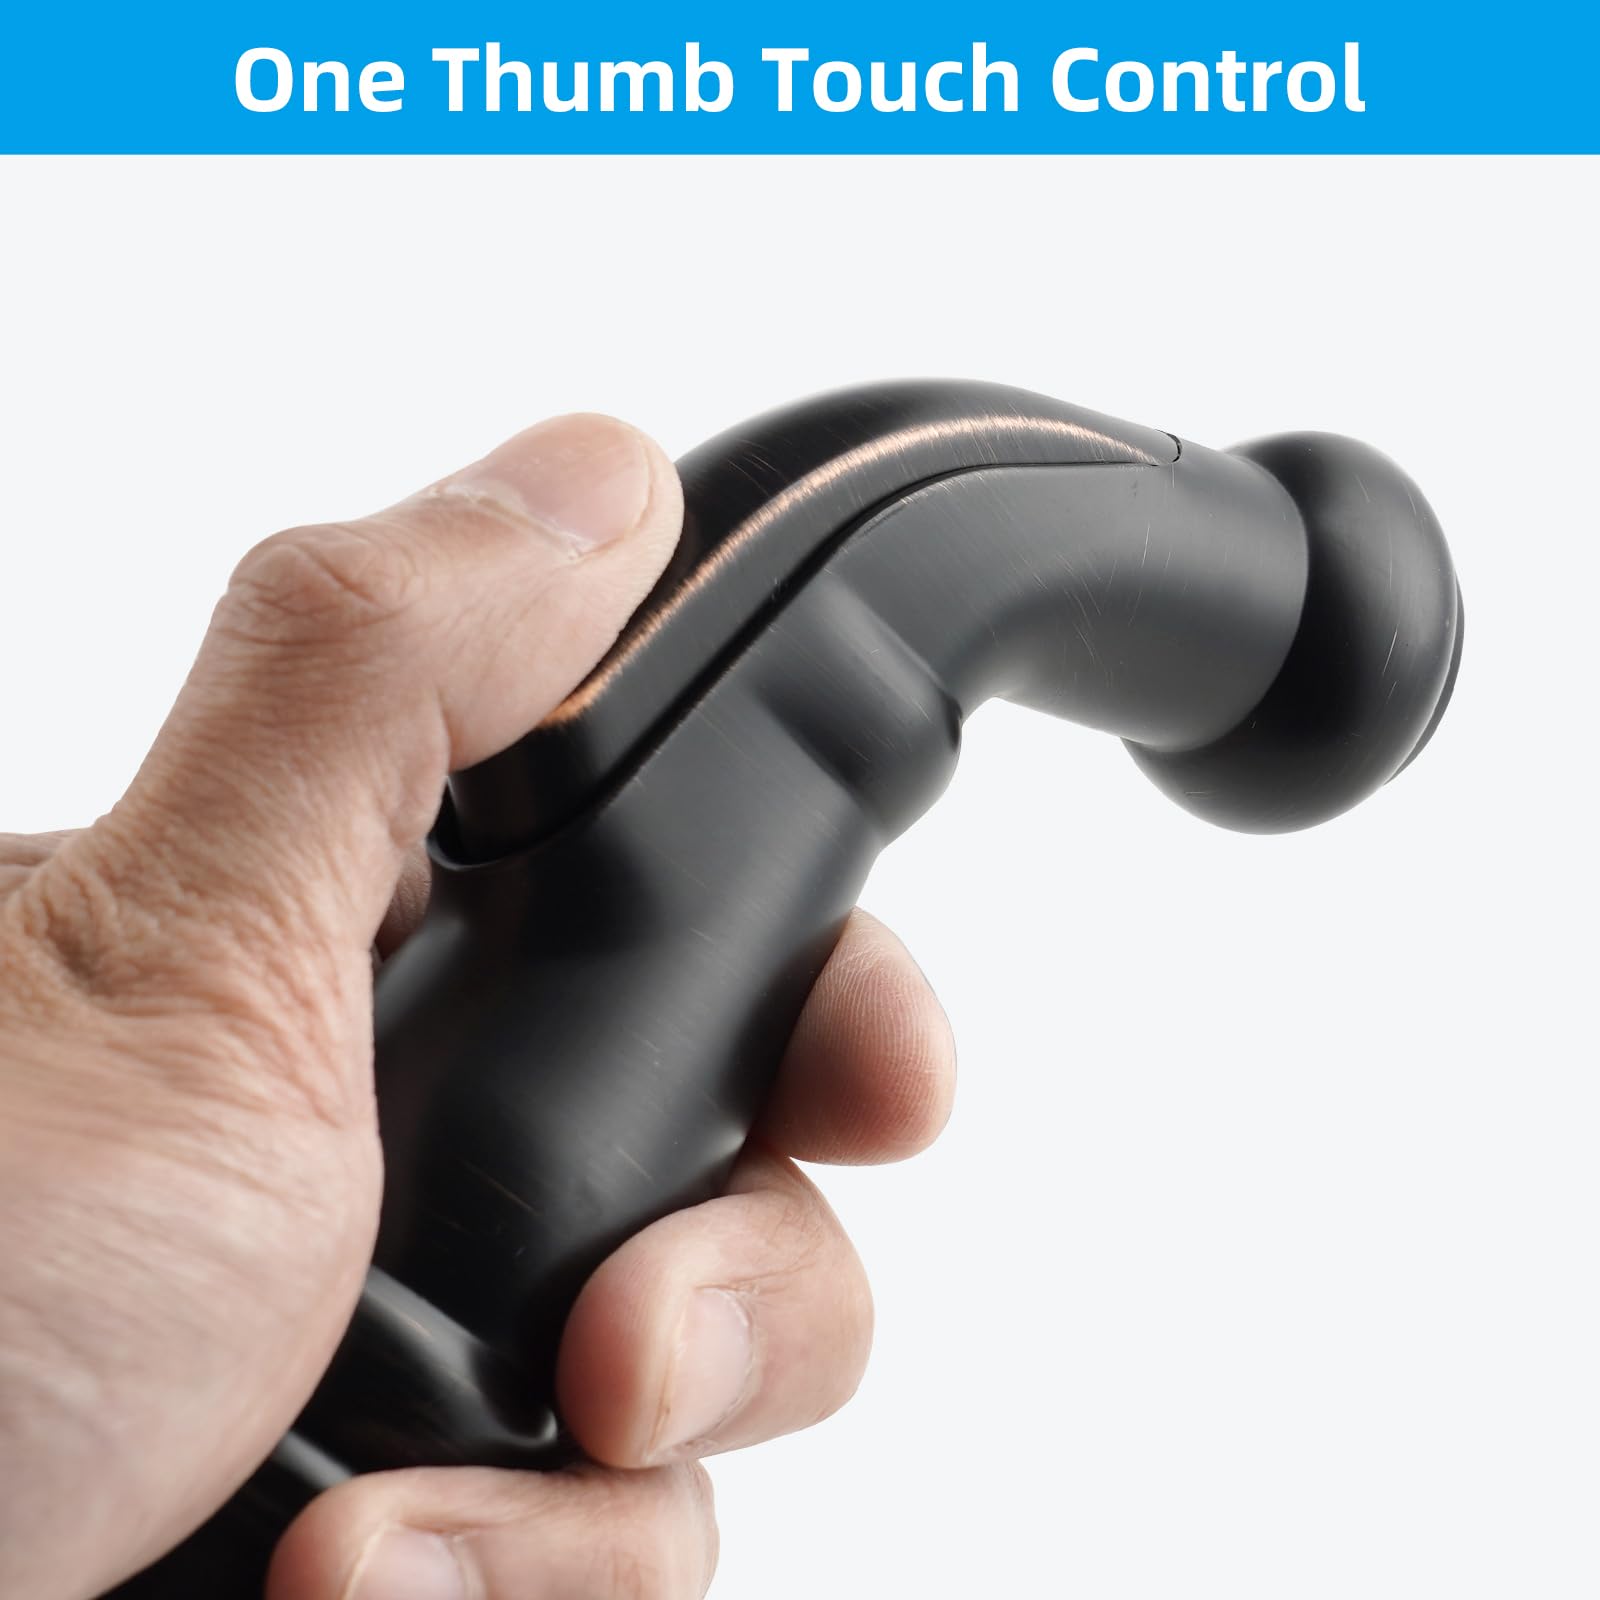
The thumb control is a small lever or button on the spray head.
It holds a small plastic or metal clip and a stem that engages the diverter.
When it detaches, the clip or stem often slipped out or the O-ring failed.
Knowing these parts helps you spot what to reattach and why it failed.
Step-by-step: how to reattach a delta kitchen faucet sprayer thumb control
This section gives clear actions you can follow right now.
Keep sentences short and work slowly.
If at any step parts are cracked, replace them before testing.
- Turn off the water supply under the sink.
- Place a towel in the sink to catch small parts.
- Pull the spray head gently from the hose and inspect the opening.
- Identify the retainer clip, stem, and O-ring area.
- If the retainer clip is out, position the control stem back into the slot.
- Use needle-nose pliers to hold the stem while you slide the clip into its groove.
- Make sure the O-ring sits flush and not twisted on the stem.
- Press the thumb control onto the head until you hear a soft snap.
- Reattach the spray head to the hose and turn on water to test.
Work slowly and feel each part seat. If the clip won’t hold, it may be bent or broken. Replace any damaged clip and try again.
Troubleshooting common problems when you reattach the thumb control
If the thumb control sticks or won’t return, check the O-ring.
If the control pops off again, the retainer clip may be bent or worn.
If spray modes do not switch, the control stem may be misaligned.
Replace parts as needed and retest until the control works smoothly.
PAA-style question: Why won’t my thumb control snap back into place?
Short answer: The clip or stem may be misaligned, bent, or the O-ring may be missing. Realign parts and inspect for damage.
PAA-style question: Can I use glue to hold the thumb control?
Short answer: Don’t use glue. Glue can block moving parts and make future repairs harder. Replace the clip or O-ring instead.

Maintenance tips to prevent the thumb control from detaching
Clean the spray head and control every few months.
Mineral deposits can jam moving parts and wear O-rings.
Replace O-rings and clips at first sign of wear.
A little silicone grease on the O-ring helps parts slide and last longer.

When to replace parts or the whole spray head
Replace the retainer clip if it is cracked or bent.
Replace the O-ring if it is flattened, torn, or hard.
Replace the spray head if internal pieces are corroded or missing.
Keeping spare small parts on hand avoids repeated problems.

My real-life tips and mistakes I learned
I once tried to force a stubborn clip back and broke the spray head. Now I always inspect parts first.
I learned to work on a soft towel to catch tiny clips and to take photos before disassembly.
Photos make reassembly faster and reduce mistakes.
These small habits save time and avoid trips to the hardware store.
Parts and compatibility to check
Delta uses several spray head styles and clips. Check part numbers if you replace parts.
Bring the old clip or a clear photo to get the right match.
Universal clips exist but may not fit as well as genuine parts.
Using the correct part ensures a snug fit and longer life for the thumb control.

Frequently Asked Questions of how to reattach a delta kitchen faucet sprayer thumb control
What if the clip won’t seat no matter what I try?
Try warming the plastic slightly with warm water to make it more flexible. If it still won’t seat, replace the clip and inspect the seating groove for damage.
How long does a typical O-ring last?
A good O-ring can last years, but heavy use and mineral water shorten life. Replace O-rings at the first sign of flattening or leaks.
Can I reattach the thumb control without tools?
Small repairs may be done by hand, but needle-nose pliers and a small screwdriver make it far easier and safer to align clips and stems.
Is it safe to run the faucet while testing the reattached control?
Turn water on slowly when testing. Full pressure is okay after you confirm parts are seated and there are no leaks.
Will using silicone grease harm the sprayer?
Silicone grease helps moving parts and is safe on rubber O-rings. Use a thin layer only to avoid attracting dirt.
Conclusion
You now have a clear, step-by-step plan for how to reattach a Delta kitchen faucet sprayer thumb control. Follow the tools list, inspect parts, and use gentle pressure to seat the clip and stem. If a part is cracked or warped, replace it rather than forcing it. Try these steps and you will likely fix the issue in under an hour. If this guide helped, leave a comment, subscribe for more DIY tips, or share a photo of your repair.


