
Replace worn seals and cartridges to stop a single-handle kitchen faucet leak quickly.
I’ve fixed dozens of single-handle kitchen faucets, and this guide shows you exactly how to fix a leaky kitchen faucet single handle with clear steps, simple tools, and safe tips. Read on to learn causes, step-by-step repairs, parts to buy, troubleshooting, and pro-level advice to save time and money.
:max_bytes(150000):strip_icc()/repairing-a-single-handle-disk-faucet-1824878-hero-b3daee9af5174d8f9b9cb4a2582e7140.jpg)
Understanding the leak: what’s going wrong and why it matters
A single-handle faucet mixes hot and cold water with one lever. Leaks usually come from a worn cartridge, damaged O-rings, or loose parts. Mineral build-up and age also wear seals and cause drips.
Why fix it now
- Small drips waste water and raise bills.
- Left alone, leaks can damage cabinets and lead to mold.
- Fixing it yourself often costs far less than a plumber.
Common causes
- Worn cartridge or ceramic disk.
- Cracked or flattened O-rings and seals.
- Loose handle or retaining nut.
- Mineral scale stuck in the valve.
How this guide helps
- Clear steps for how to fix a leaky kitchen faucet single handle.
- Parts, tools, and troubleshooting in plain language.
- Tips to avoid common mistakes and prolong the repair.
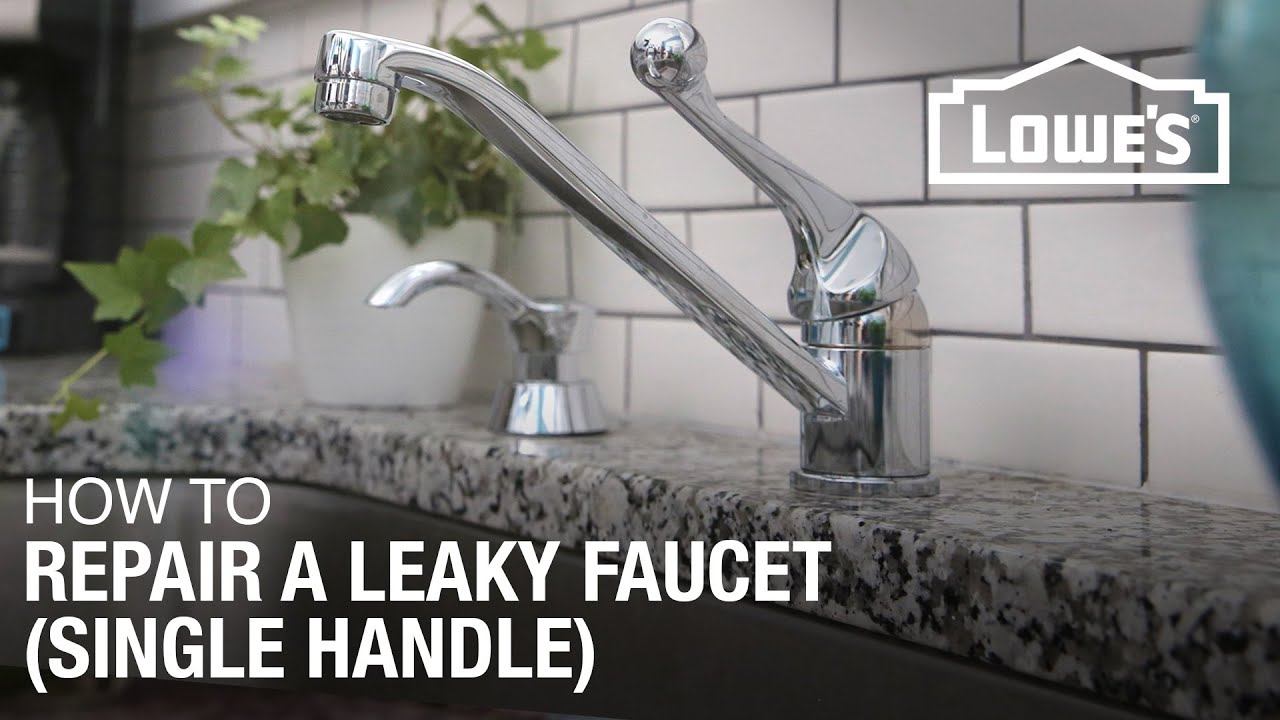
Tools and parts you’ll need
Buy or grab these before you start. Having parts on hand makes the repair quick.
Basic tools
- Adjustable wrench or basin wrench.
- Phillips and flat screwdriver.
- Allen key set (many handles use an Allen screw).
- Needle-nose pliers.
- Utility knife and clean rags.
Common parts to buy
- Replacement cartridge or ceramic disk cartridge for your faucet model.
- O-ring and seat kit for single-handle faucets.
- Faucet grease (silicone-based).
- Plumber’s tape for threaded fittings.
How to find the right cartridge
- Note the faucet brand and model under the sink or on the spout.
- Take the old cartridge to the store or compare photos online.
- If unsure, buy a universal single-handle faucet cartridge kit.
/repairing-a-single-handle-disk-faucet-1824878-06-443e3063ba28420abd54f6e932c0fd6f.jpg)
Step-by-step repair for a leaky single-handle faucet
Follow these steps to fix most leaks. Work slowly and keep parts in order.
- Turn off the water
- Shut the shutoff valves under the sink. If none, turn off the main.
- Open the faucet to drain remaining water.
- Remove the handle
- Look for a small cap or plug. Pry it off with a flat screwdriver.
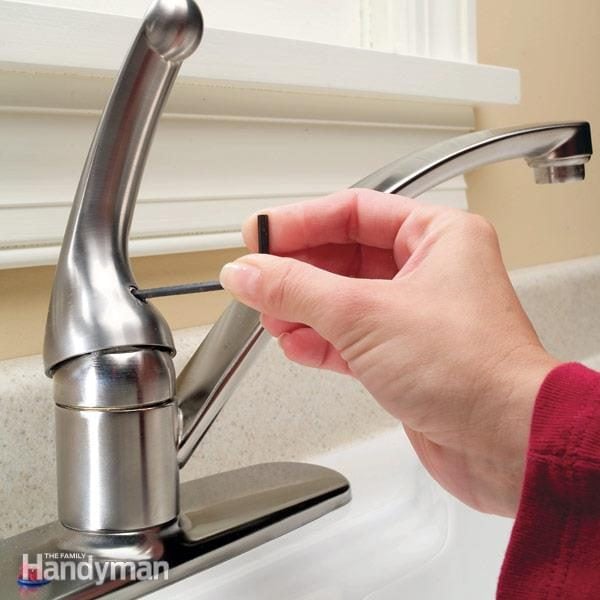
- Use an Allen key or screwdriver to remove the handle screw.
- Lift the handle straight up. If stuck, wiggle gently.
- Expose the cartridge
- Remove any decorative trim and the retaining nut.
- Pull out the cartridge using pliers. Note its orientation.
- If stuck, apply penetrating oil and wait, then pull.
- Inspect and replace seals or cartridge
- Check O-rings and seals for cracks or flattening.
- Clean the valve body of mineral deposits with vinegar or a soft brush.
- Replace the cartridge or worn O-rings with new parts.
- Reassemble and test
- Grease O-rings lightly with silicone grease.
- Reinstall the cartridge in the correct position.
- Tighten the retaining nut, replace the handle, and secure the screw.
- Turn the water back on and test for leaks.
Quick tips
- Take photos during disassembly. They help at reassembly.
- Keep small parts in a bowl to avoid loss.
- If the leak persists after replacing the cartridge, replace seats or call a pro.

How to replace a cartridge in detail
Replacing the cartridge is the heart of how to fix a leaky kitchen faucet single handle. Do this when drips come from the spout or when the handle leaks.
Steps for cartridge replacement
- Turn off water and open faucet.
- Remove handle and escutcheon plate.
- Loosen and remove the cartridge retaining nut.
- Pull the old cartridge straight up. Note tabs and grooves.
- Clean the valve body and check for damaged seats.
- Install new cartridge the same way the old one sat.
- Tighten the retaining nut and reassemble.
Signs you need a full cartridge replacement
- Faucet drips when off.
- Handle is hard to move or jams.
- Water mixes improperly (only hot or cold flows).
If the new cartridge still leaks, check seat washers and the inlet screens. Hard water can damage these small parts and let water bypass the cartridge.
Common mistakes and troubleshooting
Avoid these pitfalls when you try to fix a leaky faucet.
Mistakes to avoid
- Using metal grease or petroleum on rubber parts. Use silicone grease only.
- Over-tightening the retaining nut. Tighten until snug, not rock-solid.
- Skipping photos. You might not remember part order.
Quick fixes if the leak doesn’t stop
- Re-check the cartridge orientation and O-ring seating.
- Replace seat washers if worn or pitted.
- Clean mineral deposits inside the valve body with vinegar and a soft brush.
When to suspect a different issue
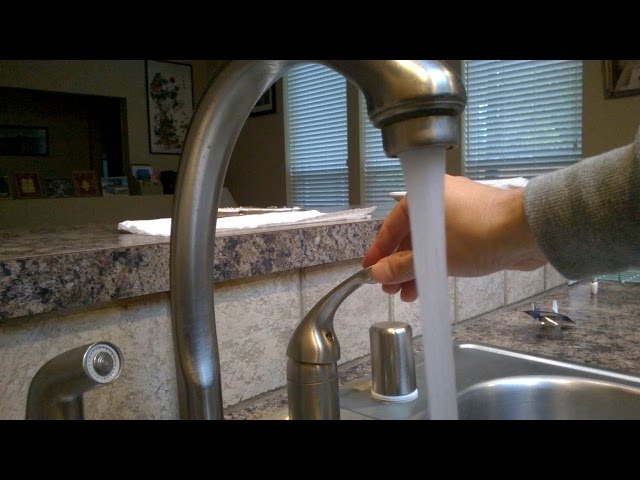
- Leak from the handle base may mean a bad packing or O-rings.
- Constant slow drip despite new parts may mean corroded valve body.
Maintenance and prevention to avoid future leaks
Small care steps extend faucet life and reduce repairs.
Routine maintenance
- Clean aerator monthly to remove grit.
- Wipe away water spots and mineral film after use.
- Run a vinegar soak yearly if you have hard water.
Parts to replace proactively
- O-rings every 3–5 years, depending on water quality.
- Cartridge every 5–10 years, or when performance drops.
Water-quality fixes
- Install a simple water softener if your area has hard water.
- Use a magnetic or filter device to reduce scale.

Parts, estimated costs, and when to call a pro
Knowing costs helps you decide whether to DIY or hire help.
Typical part costs
- Cartridge: $15–$60 depending on brand.
- O-ring and seat kit: $5–$20.
- Faucet grease and small tools: $5–$25.
When to call a plumber
- You can’t identify the correct cartridge.
- The valve body is cracked or corroded.
- The leak continues after replacing cartridge and seats.
Labor estimates
- A plumber may charge $75–$200 for a simple faucet repair, plus parts.
- If the valve body must be replaced, costs can rise sharply.
Money-saving tip
- Try replacing the cartridge and O-rings first. That fixes most leaks for a low parts cost.

Personal experience: lessons from real repairs
I learned to slow down and plan every step. Early on, I lost small clips and wasted time. Now I take a photo before I touch anything. That simple step saved me hours.
Lessons learned
- Buy one high-quality cartridge rather than two cheap ones.
- Always clean parts before reuse. Grit hides inside.
- Keep a small kit at home: Allen keys, spare O-rings, grease. It cuts repair time.
A small win
- I once fixed a stubborn kitchen faucet in 20 minutes after swapping the cartridge and cleaning a corroded O-ring groove. The owner was thrilled with the quick fix and the water bill savings.
Frequently Asked Questions of how to fix a leaky kitchen faucet single handle
How long does it take to fix a leaky single-handle faucet?
Most DIY repairs take 30–60 minutes if you have the right tools and parts ready. More complex cases, like seized cartridges or corroded valve bodies, can take longer.
Can I use plumber’s tape on the cartridge?
No. Plumber’s tape is for threaded pipe connections. For the cartridge, use silicone faucet grease on O-rings and seals to ensure a proper seal.
How do I know if the cartridge is the problem?
If the faucet drips from the spout when off or the handle is stiff, the cartridge is often the issue. Visual wear or mineral buildup on the cartridge confirms it.
Is it safe to work under the sink myself?
Yes, if you shut off the water supply and follow basic safety. Have a towel or bucket to catch drips and work in good light. Call a pro if you see corrosion or damaged piping.
Will a universal cartridge fit my faucet?
Sometimes a universal cartridge will work, but not always. For the best fit, match the brand and model or bring the old cartridge when you shop.
What if the leak is at the base of the handle?
A leak at the handle base often means worn O-rings or seals around the cartridge. Replacing those parts usually fixes the problem.
Conclusion
You can fix a leaky kitchen faucet single handle by diagnosing the cause, replacing worn O-rings or the cartridge, and reassembling carefully. Small repairs save water, money, and stress. Start with the basic steps here, keep a simple tool kit ready, and take photos during disassembly to speed reassembly. Try the repair yourself if you feel comfortable, and call a plumber when the valve body is damaged or the leak persists. Share your repair story below, subscribe for more DIY guides, or ask a question in the comments.