
Measure, find studs, level cabinets, screw through the rail into studs, and shim for a perfect fit.
I’ve installed dozens of cabinets and trained crews on safe, efficient installs. This guide walks you through how to install kitchen cabinets on wall step by step, from prep and tools to leveling, fastening, and finishing. Read on for clear instructions, real-world tips, and common mistakes to avoid so your wall cabinet installation looks and performs like a pro job.

Tools and materials you need to install kitchen cabinets on wall
Gather the right tools before you start. This saves time and prevents mistakes when you install kitchen cabinets on wall.
- Tape measure, pencil, and masking tape for layout
- Stud finder and small level for marking studs and level lines
- Speed square and chalk line for straight reference lines
- Drill with 1/8" and 3/8" bits, impact driver, and screw set
- Cabinet screws (2 1/2" to 3" pan-head or flat-head), shims, and blocking
- Clamps and cabinet jack or ledger board for temporary support
- Safety gear: gloves, eye protection, dust mask
Personal note: I always lay out all screws and shims on a small tray. It keeps the workflow smooth and avoids searching for parts mid-install.
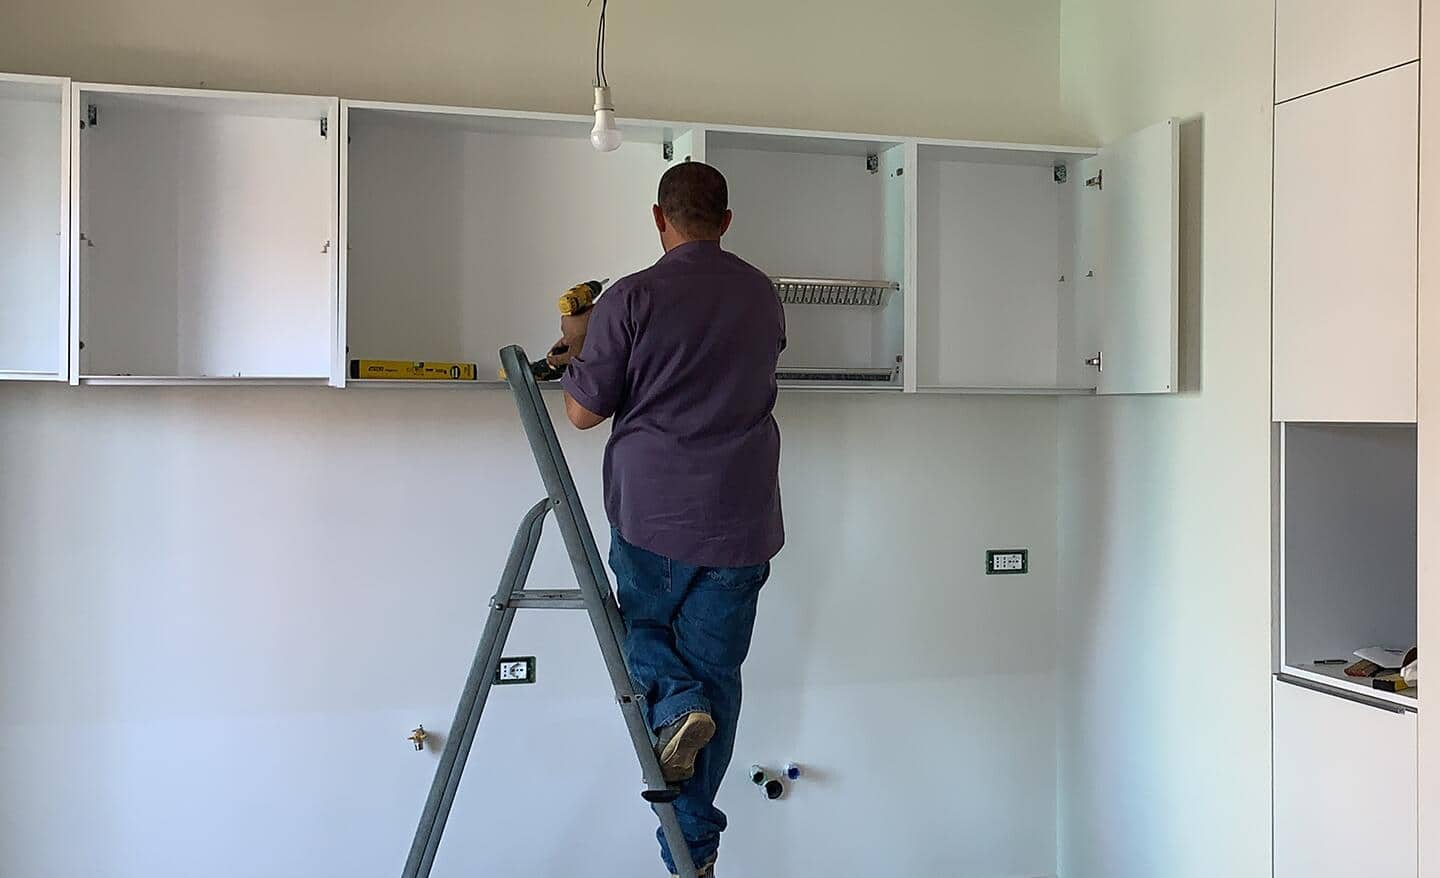
Prep and layout: planning to install kitchen cabinets on wall
Good layout is half the job. Measure wall height, appliance clearances, and window/door obstructions.
- Mark the finished wall height and the top of the wall cabinets. Typical top-of-wall-cabinet height is 54" from the floor when paired with a 18" backsplash, but confirm your design.
- Locate and mark studs along the wall at regular intervals.
- Snap a level line at the top of the wall cabinet height. This line guides all cabinets.
- Account for soffits, vents, and light fixtures before final placement.
Tip from experience: Always mock up cabinet locations with painter’s tape on the wall. It reveals spacing or clearance issues before the heavy lifting.
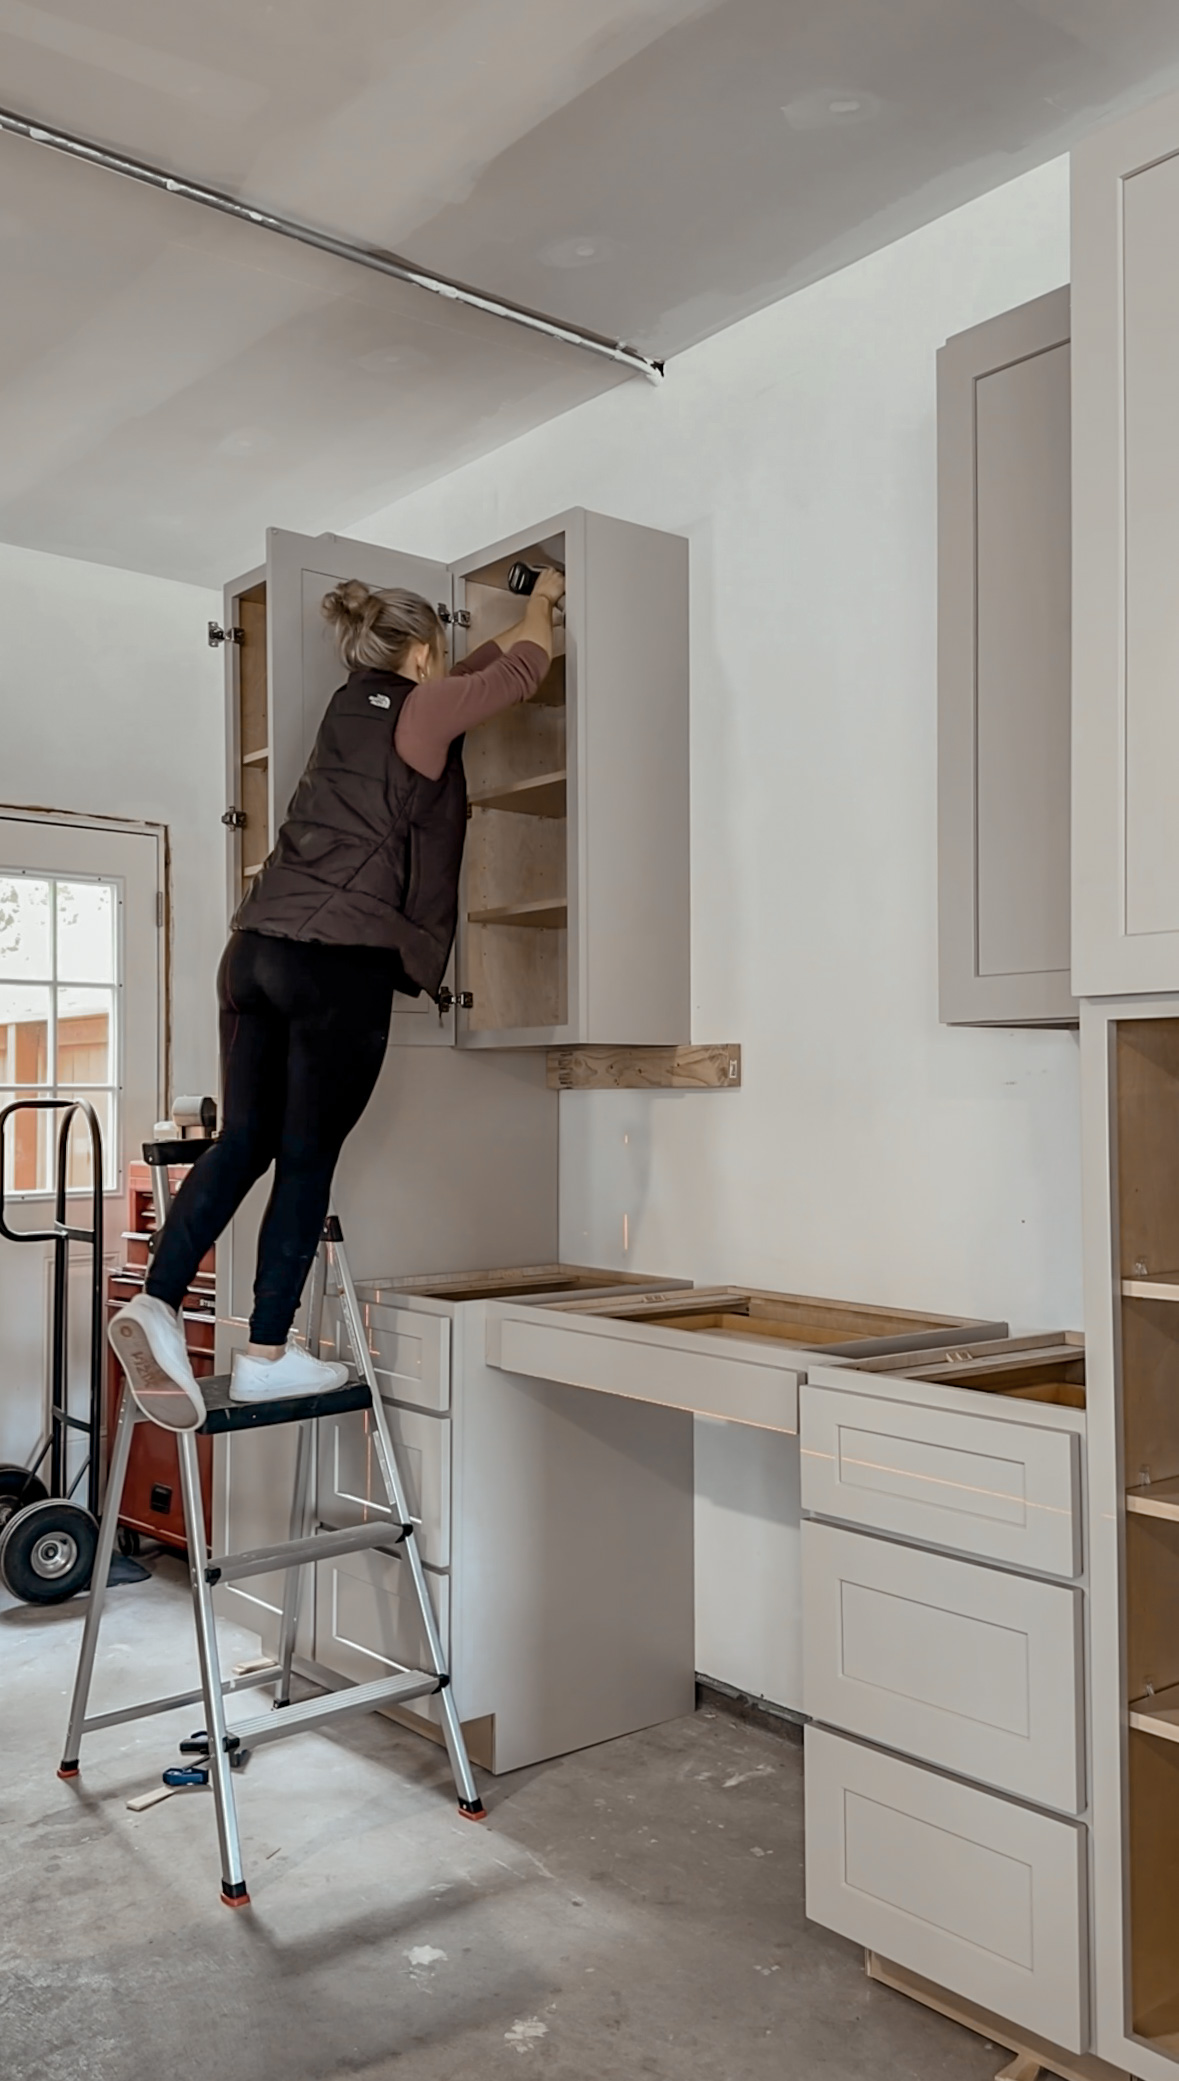
Finding studs and establishing a solid support when you install kitchen cabinets on wall
Wall cabinets must be fastened into studs or solid blocking for safety. Drywall alone won’t hold long-term.
- Use a stud finder to locate studs and confirm by tapping or driving a small nail.
- Mark the center of studs along the top and bottom cabinet line.
- If studs are spaced awkwardly, install horizontal blocking between studs behind the drywall or use cabinet rails anchored to multiple studs.
- Ensure at least two screws per cabinet back into studs—more for larger units.
Safety note: If you can’t find studs where needed, add a ledger board at cabinet height to support weight while you install blocking or permanent fasteners.
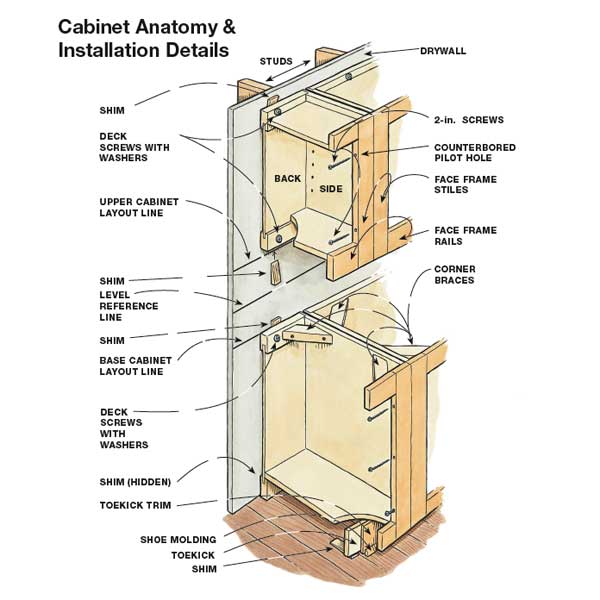
Step-by-step: installing wall cabinets on the wall
Follow a clear sequence when you install kitchen cabinets on wall. Work left to right or from a corner outward to keep alignment consistent.
- Prepare the wall and cabinets
- Remove doors and drawers to reduce weight.
- Mark cabinet locations on the wall from your layout lines.
- Install a temporary ledger or support
- Screw a straight 1×4 or ledger at the bottom of the cabinet line. This holds cabinets while you fasten them.
- Position the first cabinet (usually a corner or end cabinet)
- Lift cabinet onto the ledger and press it to the wall line.
- Use a level and shims at the top and bottom to align plumb.
- Fasten the cabinet to studs
- Drill pilot holes through the cabinet back into studs.
- Drive 2 1/2" to 3" cabinet screws through the upper and lower cabinet rails into studs. Countersink slightly if needed.
- Join cabinets together
- Clamp face frames or use screws through stiles to join adjacent cabinets. Ensure faces are flush.
- Check level and plumb after each cabinet.
- Remove ledger and install filler or trim
- Remove the temporary ledger once multiple cabinets are secured.
- Install fillers or end panels to close any gaps.
- Reinstall doors, drawers, and hardware
- Adjust hinges and drawer slides for even gaps and smooth operation.
Real-world tip: When joining cabinets, use long screws through the face frame stile where they won’t show. This gives the strongest connection.

Hanging multiple cabinets and aligning them correctly
Alignment is key for a professional finish. Small errors compound as you add cabinets.
- Use a chalk line at the top edge and center line for each cabinet.
- Clamp cabinets together and use a straight edge to spot any misalignment before screwing.
- Shim the bottom and sides to create consistent reveal gaps.
- Check for level after every two cabinets. Make minor adjustments with shims rather than forcing frames.
From my experience: If one cabinet is out of plumb, fix it immediately. Trying to force later cabinets to match a bad one creates bigger problems and visible gaps.

Common mistakes and troubleshooting when you install kitchen cabinets on wall
Being aware of common mistakes helps you avoid them. Here are problems I’ve seen and how to fix them.
- Not securing into studs
- Problem: Cabinets sag or pull away over time.
- Fix: Add blocking, use toggles only as temporary support, and anchor where studs exist.
- Failing to use shims for plumb
- Problem: Doors rub or gaps vary.
- Fix: Shim behind the cabinet at the mounting points until perfectly plumb.
- Over-tightening screws and splitting the cabinet back
- Problem: Cabinets crack or the face frame pulls out.
- Fix: Pre-drill pilot holes and drive screws snug but not excessively tight.
- Ignoring appliance clearances
- Problem: Appliances don’t fit or doors hit trim.
- Fix: Measure appliance specs first and leave recommended clearances.
Honest note: Early in my career I once installed without a ledger. I ended up redoing three cabinets. Don’t skip the support.

Finishing touches, maintenance, and safety after you install kitchen cabinets on wall
Small details make the install feel finished and durable.
- Caulk seams and gaps around cabinets for a clean look.
- Install crown molding or soffit returns if your layout calls for them.
- Check and tighten cabinet screws after a few weeks; wood settles.
- Clean hinge hardware and adjust doors for even reveals.
- For safety, secure tall cabinets to final blocking and inspect fasteners yearly.
Pro tip: Label removed doors and drawers during the install. It saves time when reattaching and ensures hardware goes back in the right place.
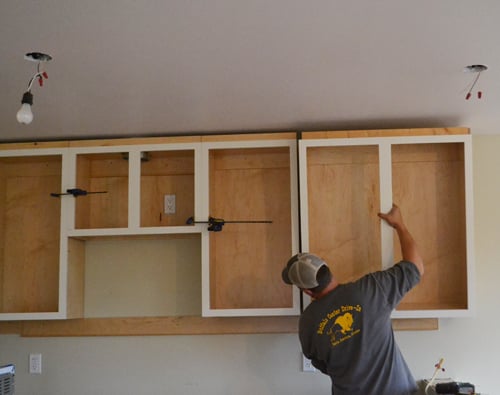
Frequently Asked Questions of how to install kitchen cabinets on wall
How high should I install wall cabinets?
Most wall cabinets are installed so the bottom is 18 inches above the countertop, but adjust for ceiling height and user reach. Measure and follow your specific kitchen design plans.
Can I hang cabinets on drywall without studs?
No, drywall alone cannot support cabinet weight long-term. Use studs, blocking, or a well-anchored ledger board for safe support.
What size screws should I use to install wall cabinets on wall?
Use 2 1/2" to 3" cabinet screws that penetrate studs by at least 1 1/2 inches. Pre-drill pilot holes to avoid splitting.
Do I need a helper to install wall cabinets?
Helpers make the job faster and safer, especially for upper cabinets. You can use a cabinet jack or ledger to manage a solo install, but a second set of hands is recommended.
How do I align multiple cabinets for a perfect installation?
Use a chalk line, clamps, and shims. Level and plumb each cabinet and join them before final fastening to keep faces flush.
Conclusion
Installing kitchen cabinets on wall is a step-by-step process that starts with careful layout, finding studs, using a ledger, and fastening securely while keeping cabinets level and plumb. With the right tools, patience, and the tips above, you can achieve a durable, attractive installation. Try one cabinet at a time, check your work as you go, and don’t rush the leveling step. If you found this guide useful, try the steps on a small run, share your experience in the comments, or subscribe for more practical DIY kitchen guides.