Use at least 1 cup of liquid for most electric or stovetop models; 1/2 cup can work for small tasks.
I’ve spent years cooking with many pressure cookers and testing water amounts for reliable, safe results. This guide explains exactly how much water to put in a pressure cooker, why the amount matters, and practical rules you can trust for rice, beans, meat, and veggies. Read on to master liquid needs, avoid burned food, and get consistent meals every time.
Why water amount matters in a pressure cooker
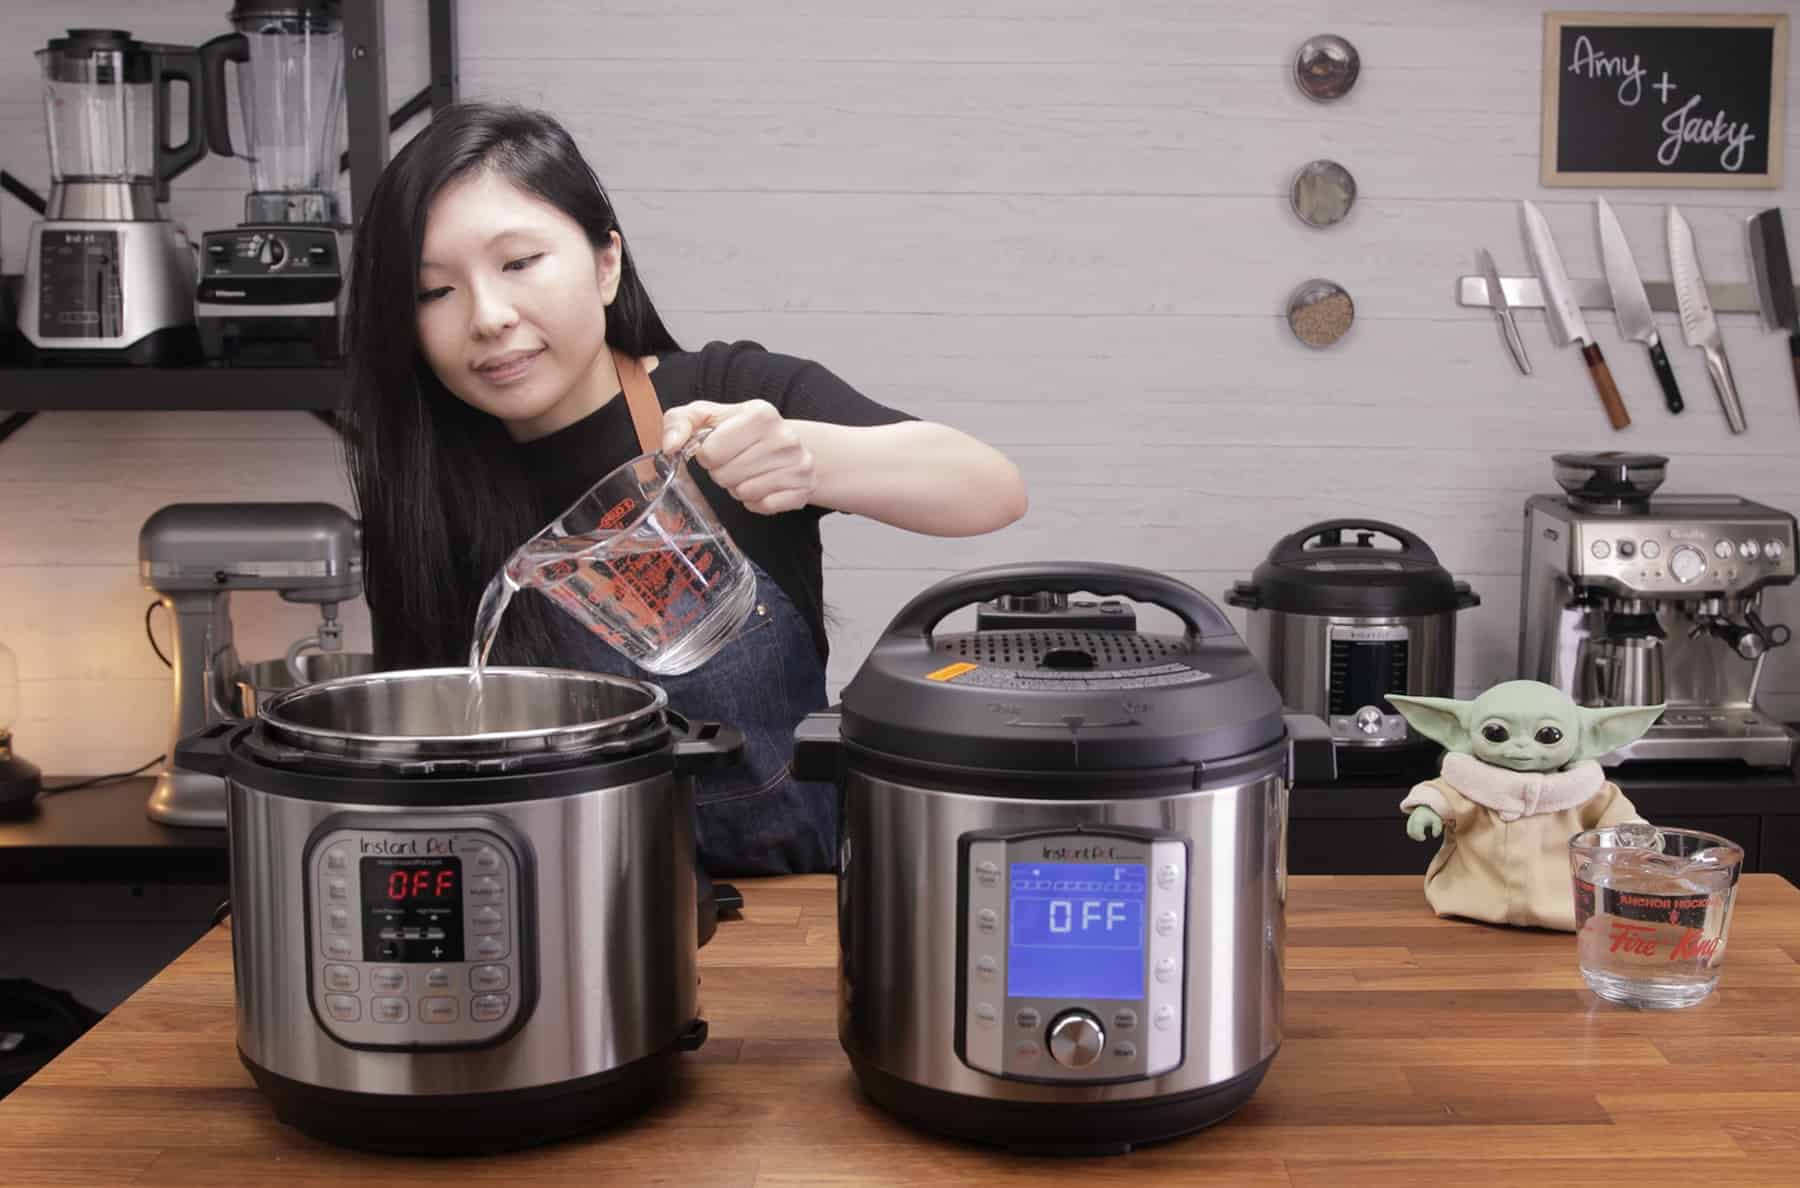
The right water amount creates steam, builds pressure, and prevents dry burning. If you use too little water, food can scorch and the cooker may not reach or hold pressure. If you use too much, food can dilute flavors or block vents.
Knowing how much water to put in a pressure cooker keeps food safe and predictable. I rely on simple rules and manufacturer limits to choose the right volume for each recipe. Follow those rules and you’ll avoid the two common problems: under-pressure cooking and overflow.

Minimum and maximum water guidelines
Use clear, simple limits to stay safe and effective.
- Minimum liquid: Most manufacturers recommend at least 1 cup (240 ml) for full-size modern electric and stovetop cookers. Some small models and quick-release recipes work with 1/2 cup (120 ml).
- Maximum fill: Never fill above the maximum fill line. For foods that expand or foam, such as beans, grains, or soups, fill no more than two-thirds full. For foods that expand a lot, like beans or grains, fill no more than half full.
- Steam-only tasks: When steaming vegetables on a rack, 1 to 1.5 cups is usually enough.
- Saucy stews and soups: Start with the recipe’s liquid, but never go past the max fill line to keep vents clear.
How much water to put in a pressure cooker depends on model size, food type, and whether you use a rack. Check your manual for minimums and max fill limits before cooking.
How much water to put in a pressure cooker for common foods
Use these practical starters and adjust by experience.
- Rice: 1 cup liquid per 1 cup rice for most electric cookers. For firmer rice, slightly less; for softer rice, slightly more.
- Beans (dried): Cover beans by 2 inches of water or use about 3 cups liquid per 1 cup dried beans. Soak first to cut time and foam.
- Vegetables (steamed): 1 to 1.5 cups under a steamer basket. Leafy greens need less.
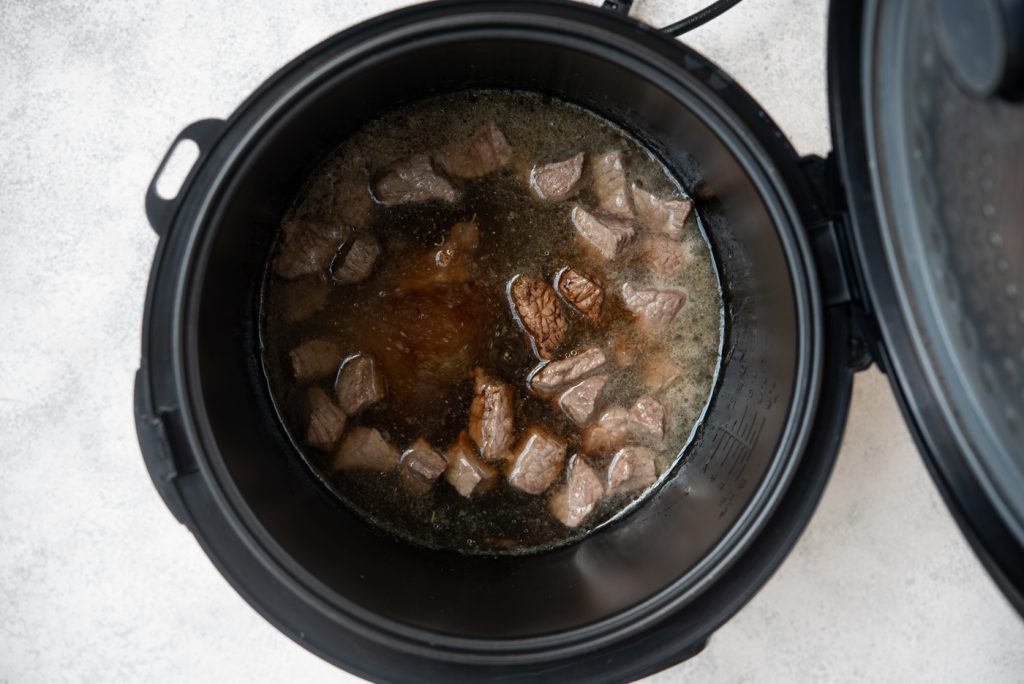
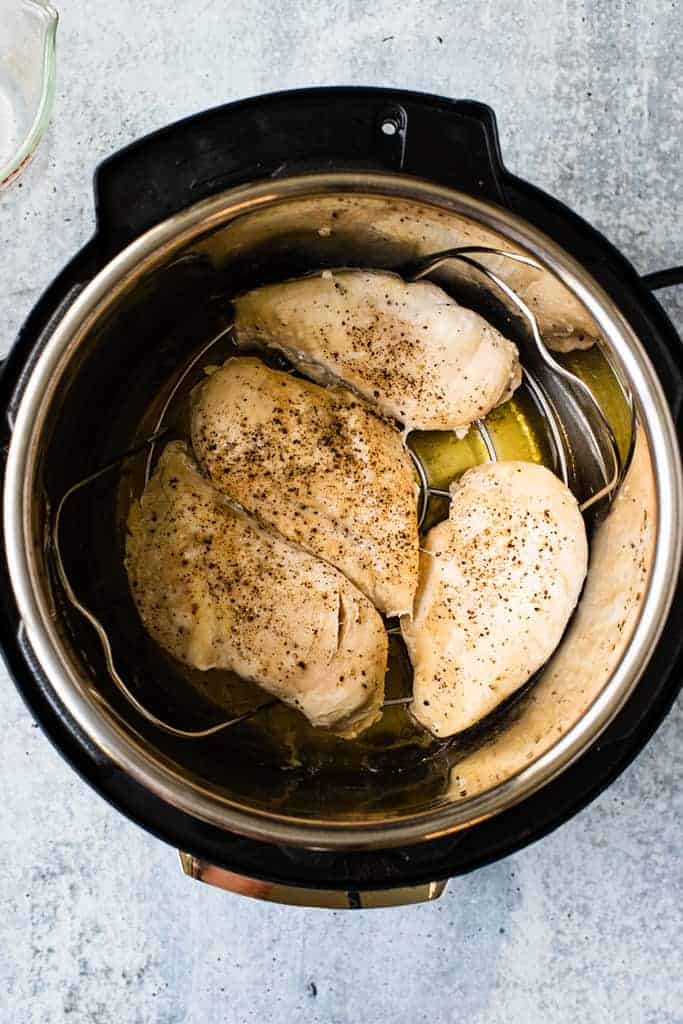
- Meat (roasts, chicken): 1 to 1.5 cups of liquid depending on size, plus browning liquid for flavor. Use the cooker’s rack for roasts to avoid sitting in liquid.
- Soups and stews: Use recipe amounts, but keep total fill under the maximum line. Start with less liquid if you want thicker results and use natural release to finish.
If you’re unsure, err on the side of a little more liquid rather than too little. This tip helps avoid scorching and incomplete pressurization.

Step-by-step method to measure water and cook reliably
Follow these steps to make a repeatable process.
- Read the manual and note the minimum and maximum liquid levels for your model.
- Measure the food and estimate expansion (beans expand; rice doubles).
- Add the required liquid for the food type (see the common foods section).
- Use a rack for items you don’t want to sit in liquid.
- Close, lock, and bring to pressure. Adjust cooking time per recipe.
- Use quick or natural release per the recipe and check doneness.
This method removes guesswork about how much water to put in a pressure cooker and keeps results steady across cooks.
Safety tips, mistakes to avoid, and troubleshooting
Simple fixes prevent big problems.
- Avoid underfilling: Too little water can cause a boil-dry. That risks scorching and damage.
- Don’t overfill: Foaming foods can block valves. Keep below the max fill line.
- Watch for foamy foods: Add a little oil, use less liquid, or use the pot-in-pot method to contain foam.
- Use the pot-in-pot method: Put a measured cup of water in the base and cook food in a separate bowl. This is ideal for foods with low liquid needs.
- If pressure won’t build: Check the seal, the vent, and the amount of liquid. Clean the vent and gasket regularly.
Following these tips makes it easy to decide how much water to put in a pressure cooker and to fix common issues fast.

Personal experience and practical tips
I once scorched a stew by using too little liquid in an older stovetop cooker. After that, I always measure and keep a cup extra on hand. I also learned to use the pot-in-pot trick for small batches.
Here are my best tricks from years of testing: pre-soak beans to cut foam, add a tablespoon of oil for foamy foods, and always verify the manual’s minimum liquid recommendation. These small steps make a big difference in how much water to put in a pressure cooker and in overall results.

Frequently Asked Questions of How much water to put in a pressure cooker
How little water can I use in a pressure cooker?
Most models need at least 1 cup to build steam safely. Some small cookers or pot-in-pot setups work with 1/2 cup, but always check the manual.
Can I use just broth or sauce instead of water?
Yes. Broth or sauce counts as liquid, but be mindful of salt and thickness. Thick sauces may scorch and need extra water to make steam.
How much water to put in a pressure cooker for rice?
Use about 1 cup water per 1 cup rice in electric models. Adjust by 1–2 tablespoons for preferred texture.
Will too much water affect cooking time?
Too much water can lengthen the time to reach pressure and dilute flavors, but it won’t harm the cooker if under the max fill line.
What if my pressure cooker won’t build pressure?
Check that you used enough liquid, the lid is sealed properly, the vent is clear, and the gasket is in good shape. Clean and retry if needed.
Can I steam veggies with very little water?
Yes, steaming uses 1 to 1.5 cups of water under a basket. Very little water risks not reaching and holding pressure.
Conclusion
Knowing how much water to put in a pressure cooker makes your meals safer and more reliable. Use the one-cup rule as a baseline, respect your cooker’s max fill line, and adapt by food type. Try the pot-in-pot method, measure liquid carefully, and test small changes to match your taste.
Now try a simple recipe and measure the water as suggested. Share your results or questions below, and subscribe or comment to get more practical tips and recipes.