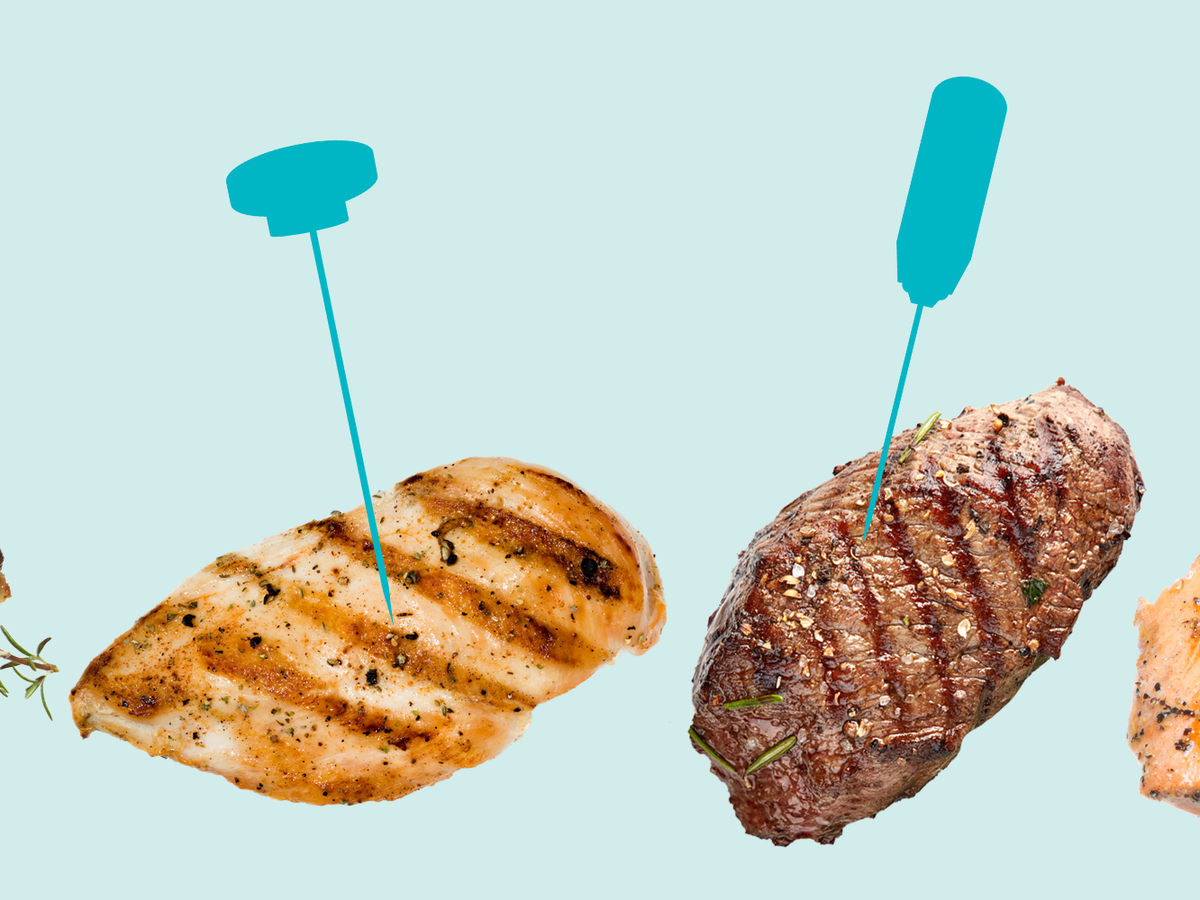
Use the probe in the thickest part, away from bone or fat, and wait for a steady reading.
I've used thermometers in busy kitchens and at backyard grills for years. I know how to read a meat thermometer correctly, why it matters, and how small errors can spoil a meal or risk food safety. This guide breaks down tools, placement, temperatures, calibration, and real tips I learned the hard way so you can cook with confidence and serve safe, juicy meat every time.
Why a meat thermometer matters
A thermometer tells you the real internal temperature. Visual cues like color and juices can lie. Knowing how to read a meat thermometer correctly keeps food safe and prevents overcooking.
Benefits include safety, better texture, and consistent results. The thermometer removes guesswork. Use it and you’ll waste less food and get tastier meals.
Types of meat thermometers and when to use them
There are a few common types. Each has a purpose and a reading style. Learning the differences helps you read them correctly.
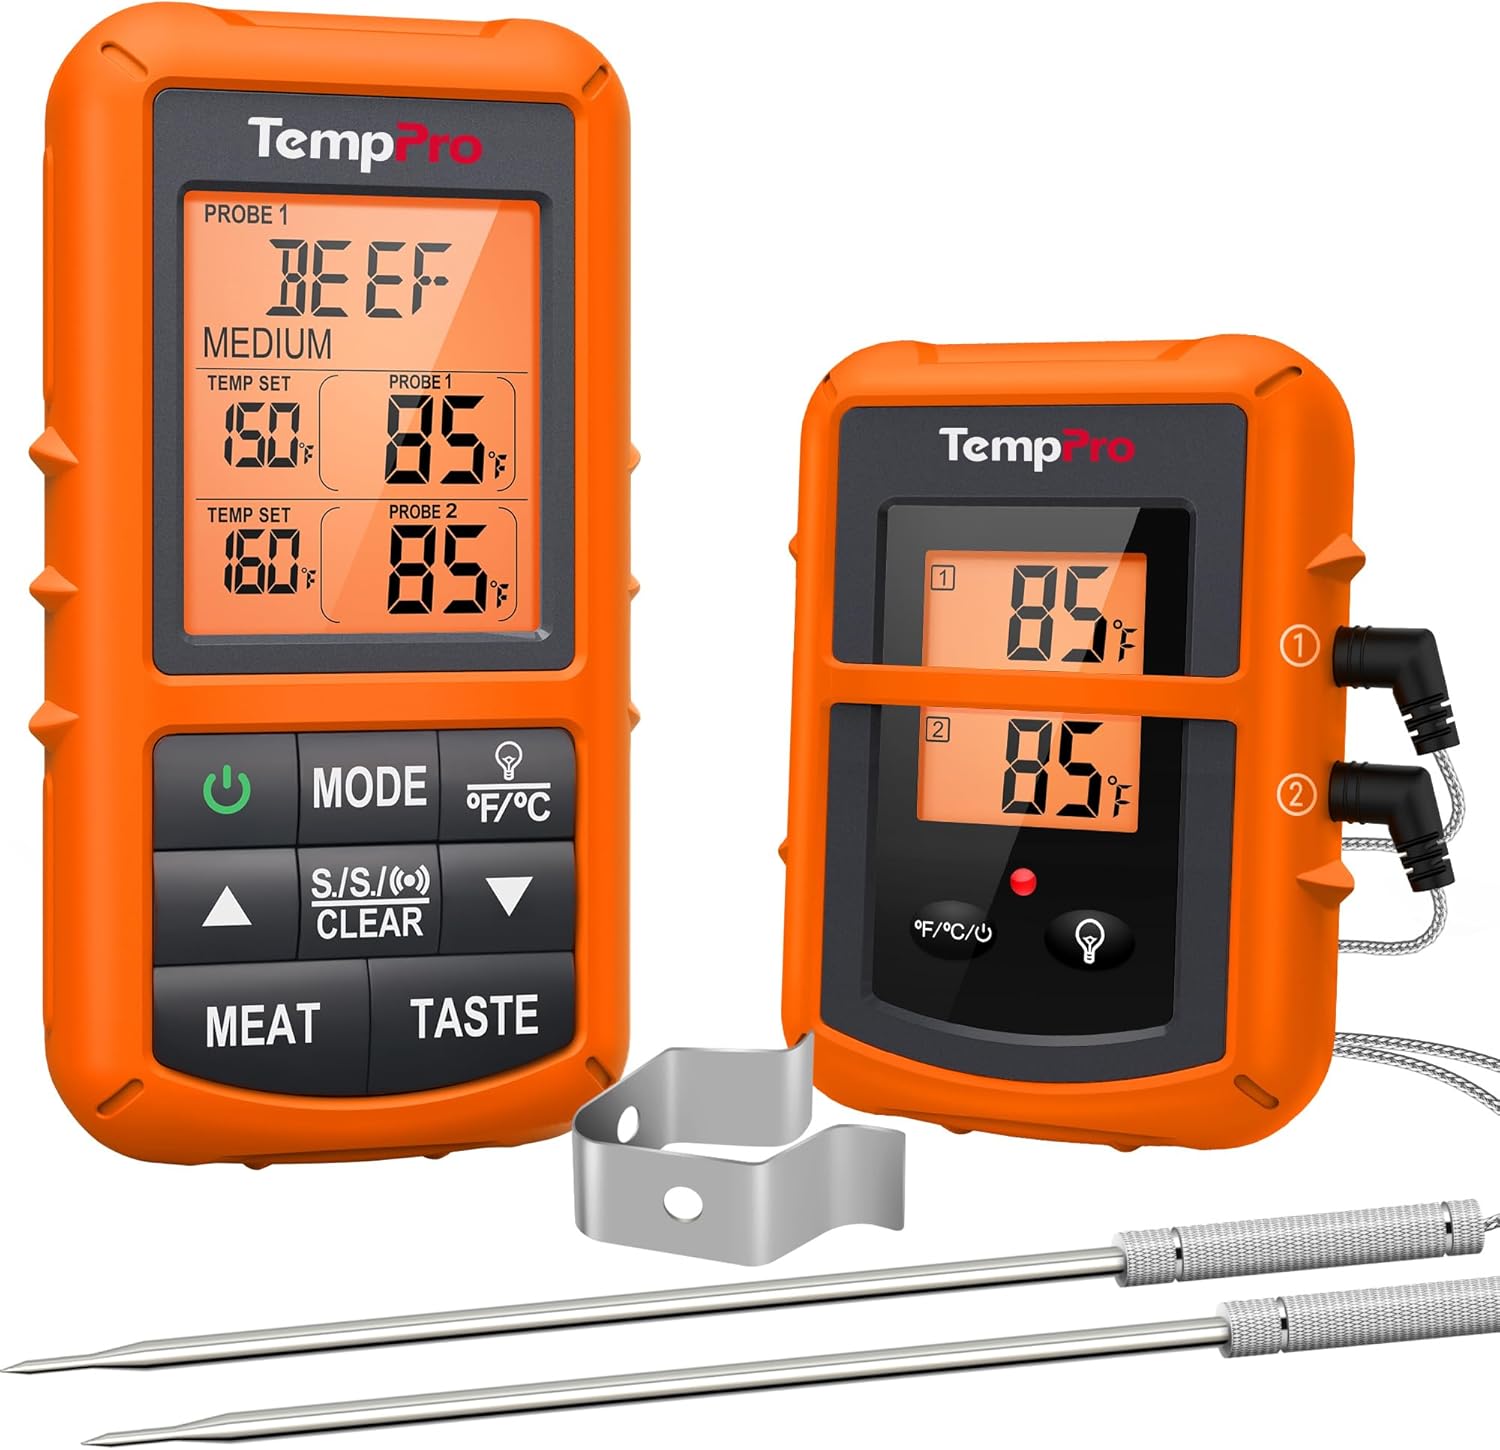
- Instant-read digital probe
- Gives a fast digital read in 2–10 seconds. Ideal for checking steaks and chicken at the end of cooking.
- Leave-in probe (oven-safe)
- Stays in meat during roasting. Use with a wireless or wired display to monitor without opening the oven.
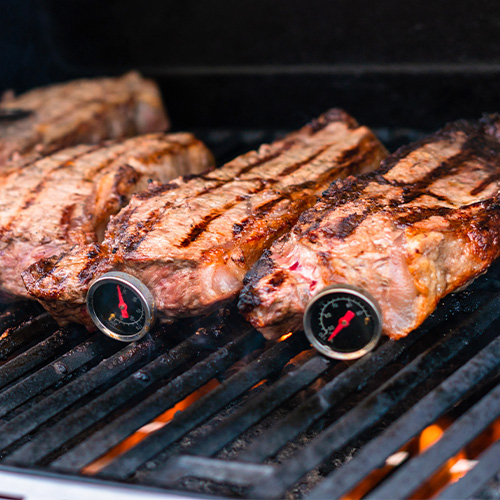
- Dial (analog) instant-read
- Slower and less precise than digital probes, but durable and simple.
- Thermocouple
- High-end, very fast, and accurate. Preferred by pros for thin cuts and high-speed checks.
When learning how to read a meat thermometer correctly, pick the right tool for the job: instant-read for quick checks, leave-in for long roasts, and thermocouple for speed and precision.
Step-by-step: How to read a meat thermometer correctly
Follow these clear steps to get an accurate reading every time.
- Prepare the thermometer
- Turn on digital models and ensure batteries are fresh.
- Calibrate if needed using ice water (32°F) or boiling water (212°F adjusted for altitude).
- Insert the probe properly
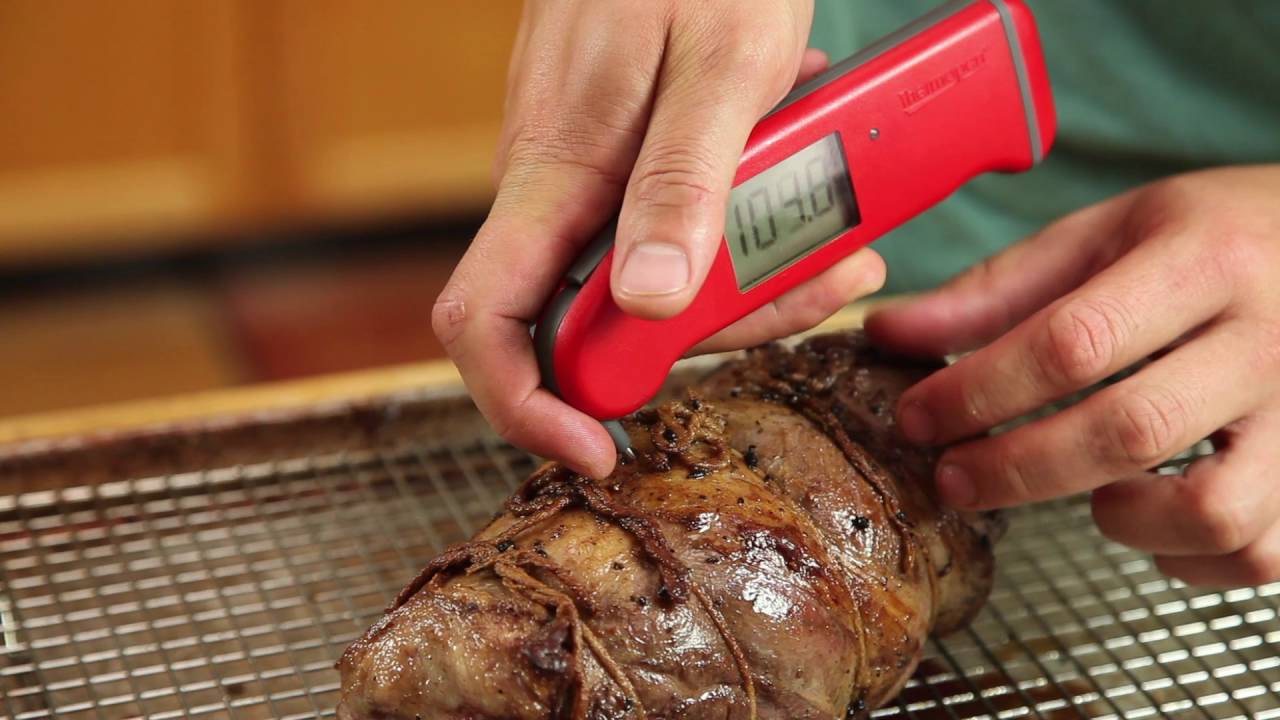
- Insert into the thickest part of the meat. Aim for center of breast, roast, or thickest part of a steak.
- Avoid touching bone, gristle, or fat; these give false high reads.
- For thin foods, insert along the side to reach the center.
- Wait for a stable read
- Instant-read digital: hold still until numbers stop changing, usually 2–10 seconds.
- Dial thermometers: wait longer, up to 15–20 seconds.
- Leave-in probes: monitor until it hits the target internal temperature.
- Note carryover cooking
- Remove meat a few degrees below target for roasts and large cuts. Meat continues to rise 3–10°F while resting.
- Clean and store
- Wash the probe with hot, soapy water. Sanitize between raw and cooked uses.
I learned that pressing the probe too hard into a bone made steaks seem done when they weren’t. Practice placement and you’ll master how to read a meat thermometer correctly.
:max_bytes(150000):strip_icc()/__opt__aboutcom__coeus__resources__content_migration__serious_eats__seriouseats.com__images__2016__10__20161008-meat-temp-5-e10885b8363b44bf825df1d9ae43a702.jpg)
Temperature targets and safe cooking guidelines
Knowing target temps is essential when learning how to read a meat thermometer correctly. Here are quick, safe targets to use.
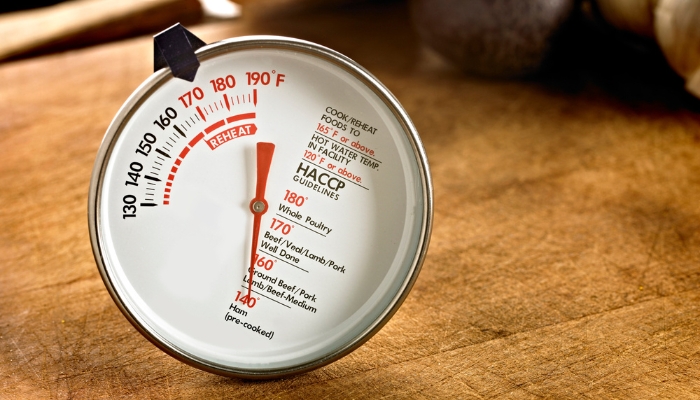
- Poultry (whole or ground)
- 165°F for safety and even doneness.
- Ground meats (beef, pork, lamb)
- 160°F to destroy bacteria from grinding.
- Beef, pork, lamb, veal (steaks, chops, roasts)
- 145°F, then rest 3 minutes for safe, juicy results.
- Fish
- 145°F or until flesh is opaque and flakes easily.
- Leftovers and casseroles
- Reheat to 165°F.
Always rest whole cuts after pulling from heat. This improves texture and finishes cooking through carryover. When you practice how to read a meat thermometer correctly, these numbers will guide your pulls and rests.
Calibration and maintenance for accuracy
A thermometer is only useful if it’s accurate. Calibrate and maintain it to read true temperatures.
- Ice water test
- Fill a glass with crushed ice and water. Insert probe; it should read 32°F within one degree.
- Boiling water test
- Boil water and check reading against 212°F minus altitude adjustment.
- Regular checks
- Test once a month or after any drop or rough use.
- Clean and dry
- Wipe the probe after each use and avoid immersing digital bodies in water.
Proper care helped me avoid one party disaster when my old meter read 20°F low. After calibration, I trusted how to read a meat thermometer correctly and served safe food.
Common mistakes and troubleshooting
Avoid these frequent errors to get reliable readings and better results.
- Inserting too shallow
- If the probe doesn’t reach the center, the read will be too low.
- Touching bone or fat
- Bone heats faster; fat gives inconsistent results.
- Reading too quickly
- Wait for the numbers to hold steady, especially with analog models.
- Using the wrong thermometer
- Leave-in probes are not ideal for thin cuts; instant-read is better.
- Not accounting for carryover
- Large roasts can rise several degrees after removal. Pull earlier as needed.
Troubleshooting tips: if readings jump, clean the probe and recalibrate. If two thermometers disagree, trust the calibrated thermocouple. These steps teach you how to read a meat thermometer correctly and avoid guesswork.

Personal tips and lessons learned
A few real lessons from years of cooking and testing:
- Mark the ideal insertion point on larger roasts with a small notch so you insert the probe the same way each time.
- For burgers, check multiple spots near the center. Ground meat can cook unevenly.
- Use a quick-read at the end of searing, then a leave-in probe for longer roasts. This combo taught me how to read a meat thermometer correctly in every scenario.
- Keep a small notebook of your favorite temps and resting times for repeatable results.
These simple habits made weekday dinners easier and gave me confidence at holiday cookouts.

Quick PAA-style questions
Here are short answers to questions people often ask while learning how to read a meat thermometer correctly.
How long should I wait for an instant-read thermometer?
Wait until the number stops changing, typically 2–10 seconds for digital models and up to 15 seconds for analog dials.
Can I leave an instant-read thermometer in the meat while cooking?
Most instant-read probes are not oven-safe. Use a leave-in probe for long cooks and instant-read just to check.
Does the thermometer need to touch bone?
No. Touching bone gives a false high reading. Insert into the thickest meat away from bone and fat.
Frequently Asked Questions of How to read a meat thermometer correctly
What is the best place to insert a meat thermometer?
Insert into the thickest, central part of the meat, away from bone, fat, or gristle. For thin cuts, insert from the side to reach the center.
Why does my thermometer read too high or too low?
Common causes are probe placement, touching bone or fat, or miscalibration. Recalibrate using ice water and retest placement.
Can I rely on color to check doneness instead of a thermometer?
No. Color is unreliable because meat can brown before reaching safe temperatures or stay pink after reaching them. Use a thermometer for safety.
How much should meat temperature rise after removing from heat?
Expect carryover cooking of 3–10°F for roasts and large cuts; smaller cuts may rise less. Pull meat a few degrees below target to account for this.
How often should I calibrate my thermometer?
Calibrate at least once a month or after any drop or heavy use. Regular checks ensure you know how to read a meat thermometer correctly.
Conclusion
Reading a meat thermometer correctly is simple once you know the right tools, insertion points, target temperatures, and how to calibrate. Use the right probe, avoid bone and fat, wait for a steady read, and factor in carryover cooking to serve safe and delicious meals. Try these tips on your next roast or grill and notice the difference. If this helped, leave a comment, subscribe for more kitchen tips, or share your thermometer wins and questions.


