Choose high-quality vinyl with strong adhesive and a durable, mirror-like white finish.
I have spent years working on kitchen makeovers and product tests, so I know what matters when you choose glossy white adhesive vinyl kitchen cabinets. This guide walks you through materials, measurements, application, maintenance, and costs with clear steps and real-world tips. Read on to make a confident choice and avoid common mistakes when selecting glossy white adhesive vinyl kitchen cabinets.
Why pick glossy white adhesive vinyl kitchen cabinets
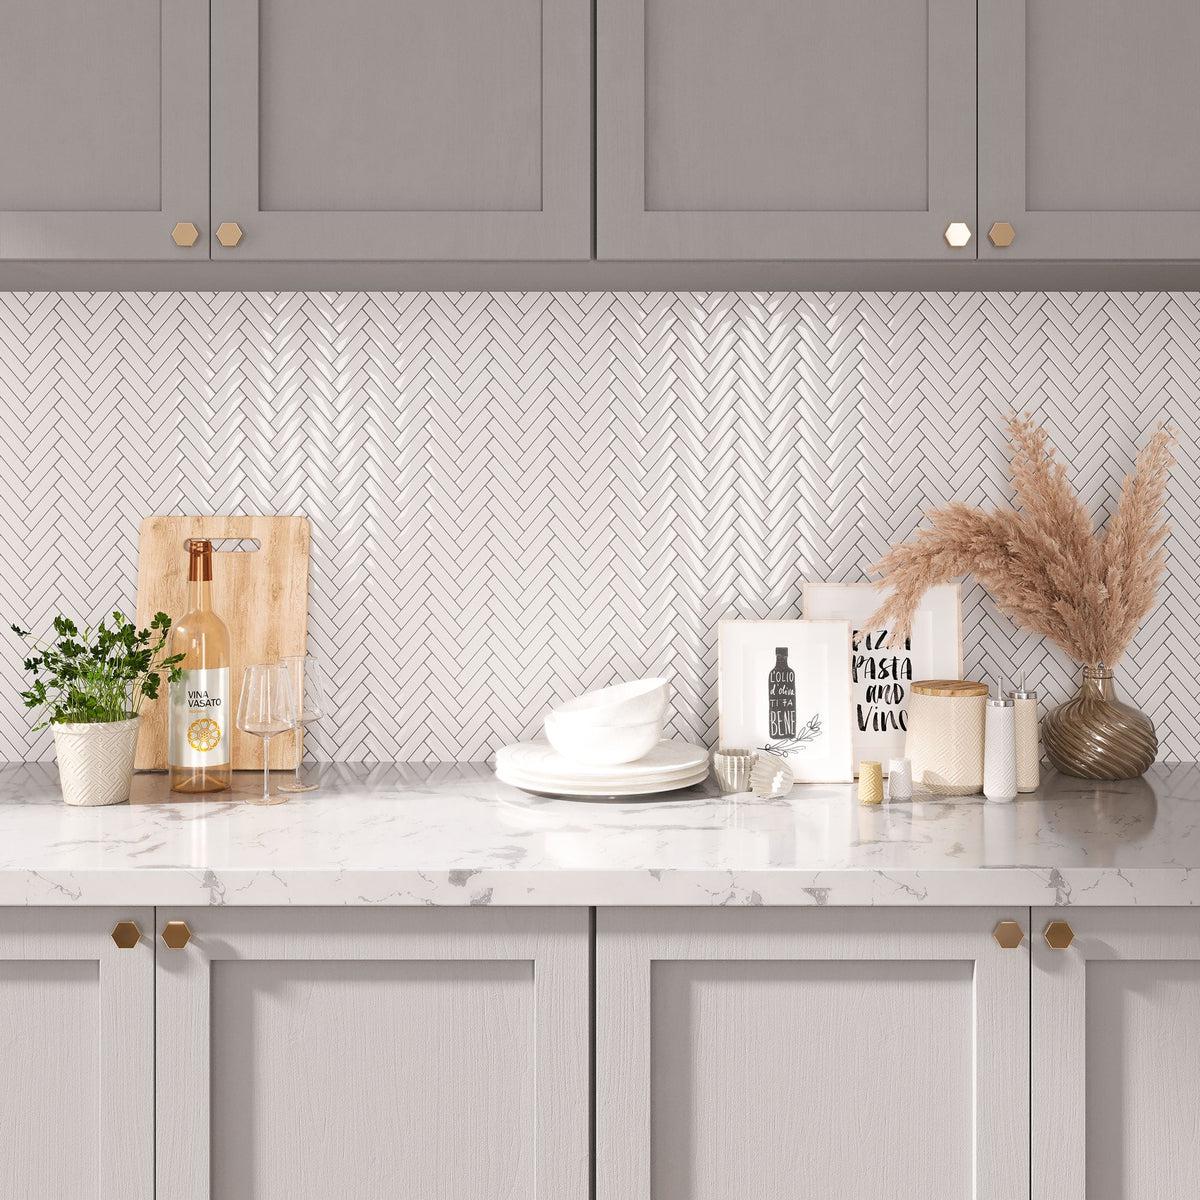
Glossy white adhesive vinyl kitchen cabinets brighten space and give a modern look at a low cost. The high-gloss finish reflects light, making small kitchens feel larger and cleaner. Replacing doors or full cabinets is often costly, but glossy white adhesive vinyl kitchen cabinets can refresh the room in a weekend.

Types and finishes: know your vinyl options
There are two main vinyl styles for cabinets: printable PVC film and cast vinyl with factory finishes. Look for cast vinyl or polymer films labeled "high-gloss" or "mirror finish" for the shine you expect. Some films include an air-release layer to prevent bubbles. Choose glossy white adhesive vinyl kitchen cabinets with UV and scratch resistance for longer life.
How to evaluate material quality and adhesive strength
Quality affects look and durability. Check these factors when you inspect samples or product specs:
- Thickness measured in microns or mils; thicker films resist tears and dents better.
- Adhesive type; acrylic adhesives stick to many surfaces and hold in humid kitchens.
- Finish durability; look for scratch and UV resistance ratings.
- Warranty and peel tests from the manufacturer or retailer.
I recommend requesting samples and testing a small peel-back on a hidden spot before you buy glossy white adhesive vinyl kitchen cabinets.

Measuring, prepping, and surface compatibility
Accurate measuring makes or breaks the job. Measure each door and drawer from edge to edge and add a 1/2 inch overlap for trimming. Clean surfaces with a degreaser and let them dry fully. Sand glossy or lacquer finishes lightly to improve adhesion when you plan to apply glossy white adhesive vinyl kitchen cabinets.

Application steps and practical tips
Follow a calm, steady method for best results. Steps I use on every job:
- Clean and degrease the door or drawer front.
- Trim vinyl roughly to size and position from top to bottom.
- Use a squeegee and work from the center outward to remove air.
- Heat gently with a heat gun to conform to edges and activate adhesive.
Take your time on corners and raised panels. For complex surfaces, use small cuts and overlap seams carefully when installing glossy white adhesive vinyl kitchen cabinets.

Common pitfalls and how to avoid them
Mistakes are usually avoidable with simple checks. Avoid these common errors:
- Applying to dirty or oily surfaces that break adhesion.
- Skipping test cuts for textured or curved door faces.
- Using too much heat and warping thin veneers.
If you avoid these errors, your glossy white adhesive vinyl kitchen cabinets will look smooth and last longer.

Maintenance and long-term care
Maintenance is simple but important for the high-gloss look. Use a soft cloth and mild soap solution for daily cleaning. Avoid abrasive pads and harsh solvents that dull the shine. Replace or repair sections that peel quickly to stop moisture damage behind the film on glossy white adhesive vinyl kitchen cabinets.

Cost, brands, and budgeting tips
Budget for materials, tools, and time. Typical costs vary widely by film quality and brand. Factor in these items:
- Vinyl film per square foot.
- Tools like squeegees, heat gun, and trim knives.
- Optional professional installation if you want a perfect finish.
Buying higher-quality film for glossy white adhesive vinyl kitchen cabinets often saves money long term because it resists scratching and yellowing.

Personal experience: lessons from real projects
I once wrapped older shaker doors with glossy white adhesive vinyl kitchen cabinets for a client on a tight budget. We chose a cast vinyl with strong adhesive and spent extra time on prep. The result looked showroom-ready for a fraction of new doors. My biggest lesson: invest time in prep and pick the best film you can afford.
People also ask
Will glossy white adhesive vinyl kitchen cabinets peel in humid kitchens?
Good quality vinyl with acrylic adhesive holds up well in humidity. Ensure edges are sealed and avoid prolonged water exposure.
Can I apply glossy white adhesive vinyl kitchen cabinets myself?
Yes. Many DIYers can do it with care, the right tools, and patience. Complex doors or full kitchens may benefit from a pro.
How long do glossy white adhesive vinyl kitchen cabinets last?
Lifespan ranges from 5 to 15 years depending on film quality, prep, and daily wear. Higher-end films last longer and resist yellowing.
Frequently Asked Questions of how to choose glossy white adhesive vinyl kitchen cabinets
What thickness is best for glossy vinyl on cabinets?
Aim for medium to heavy films, typically 150 to 300 microns. Thicker films handle edges and bumps better.
Can I apply glossy vinyl over paint?
Yes if the paint is fully cured and clean. Lightly sand glossy lacquer or very smooth paint to improve bonding.
How do I handle seams on large cabinet doors?
Overlap slightly and use a sharp blade to trim, then heat-set the seam. Use matching grain or texture for a cleaner look.
Is glossy vinyl resistant to scratches and stains?
High-quality glossy films have better scratch resistance and stain release. Still avoid rough scrubbing to keep the shine.
Should I remove hardware before applying the vinyl?
Remove knobs, pulls, and hinges for easier application and a neater finish. Leave hinges attached only if you plan to wrap around them carefully.
Conclusion
Choosing the right glossy white adhesive vinyl kitchen cabinets means matching quality film, correct prep, and patient application. Start with high-quality vinyl, test a sample, measure carefully, and follow simple application steps to get durable, high-shine results. Take action: order a small sample, try a single door, and decide from that real-world test. Share your results, ask questions, or subscribe for more practical kitchen resurfacing tips.


