Keep containers visible, matched, labeled, and stacked to save space and time.
I’ve organized dozens of kitchens and lived through the chaos of mismatched lids and unstackable tubs. This guide on How to organize storage containers in the kitchen explains clear, practical steps you can use today. You’ll get proven systems, product tips, mistakes to avoid, and simple routines so your containers stay useful and not a clutter problem.
Assess your collection and storage needs
Before you sort, know what you own and how you use it. Take everything out of every cabinet and drawer. Count containers and lids, note damaged pieces, and list sizes you use most.
Why this matters
- It prevents keeping excess items that never get used.
- It shows which sizes to replace with versatile options.
- It highlights problem areas like missing lids or one-off odd shapes.
Personal tip: I once found three single lids and no matching bottoms. After a quick audit I donated odd pieces and kept a uniform set that fits my daily needs. This step makes the rest of How to organize storage containers in the kitchen much easier.

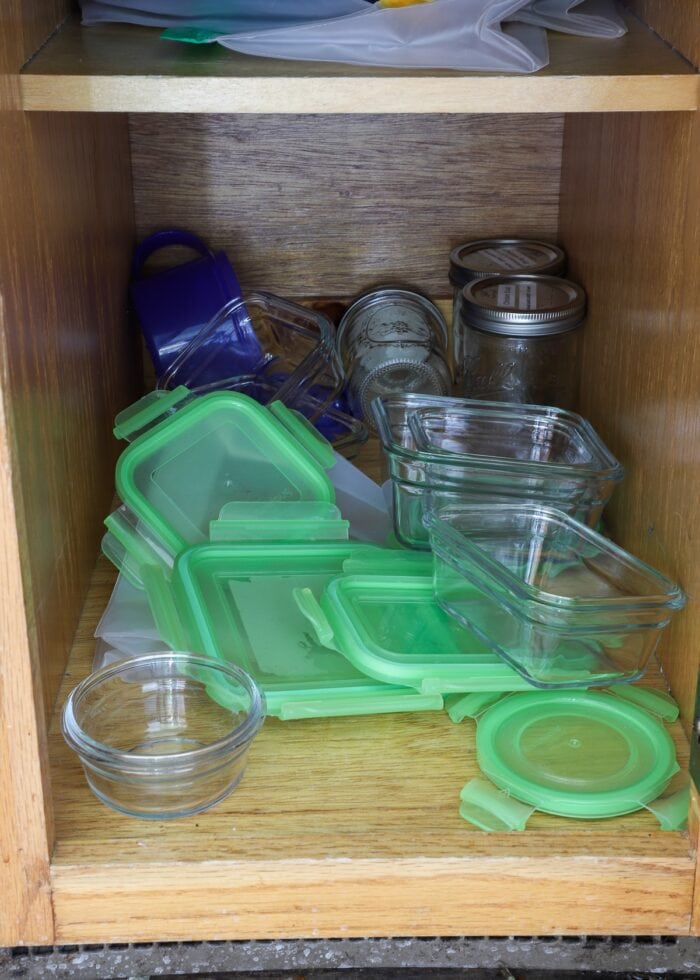
Declutter: toss, donate, or keep
Make quick decisions with clear rules. If a container is stained, warped, or has a broken seal, toss it. If you haven’t used an item in a year, consider donating it.
Simple discard rules
- Toss cracked, warped, or smelly containers.
- Keep containers with intact seals and clear lids.
- Donate rarely used specialty pieces to community groups.
Mistakes to avoid
- Holding onto every free container from takeout—only keep reusable, safe sets.
- Keeping mismatched random lids without intention to match them.
Standardize and choose the right containers
Choose a small set of container types that stack, nest, and seal well. Prioritize clear, airtight, and space-efficient designs.
Recommended choices
- A set of nesting square or rectangular containers for pantry and fridge.
- A few round containers for soups and salads.
- Shallow wide containers for leftovers and baking prep.
- One or two large airtight containers for bulk grains or snacks.
Material tips
- Glass is durable and microwave-safe and reduces stains and odors.
- BPA-free plastic is lighter and less likely to break.
- Silicone collapsible containers save space for occasional use.
How this helps: Standardizing is a core part of How to organize storage containers in the kitchen. Sets that stack and nest reduce clutter and speed up meal prep.
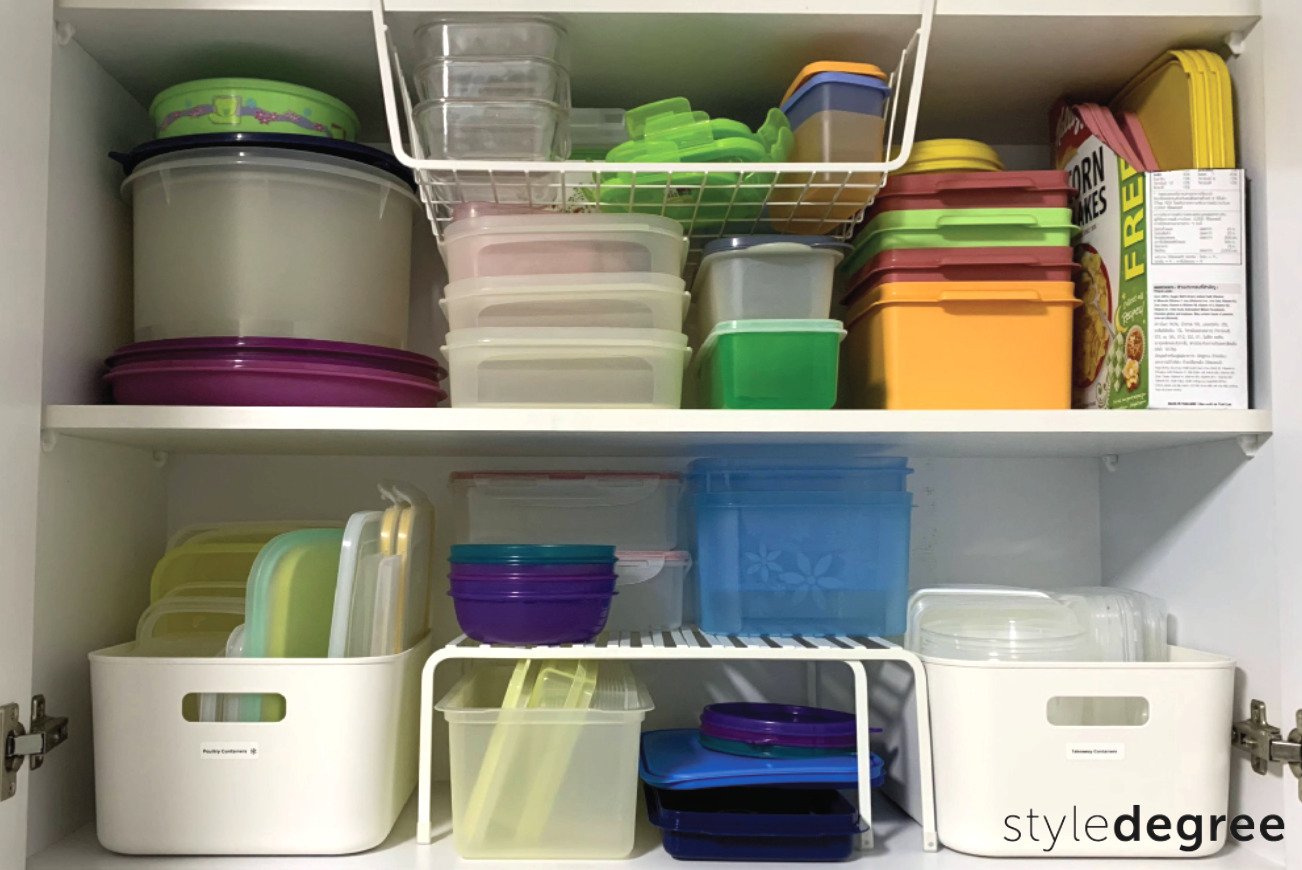
:strip_icc()/plastic-bins-in-cupboard-for-storage-container-organization-c532e2a5-db746fa3bbeb4c3abb005eeca27adeb9.jpg)
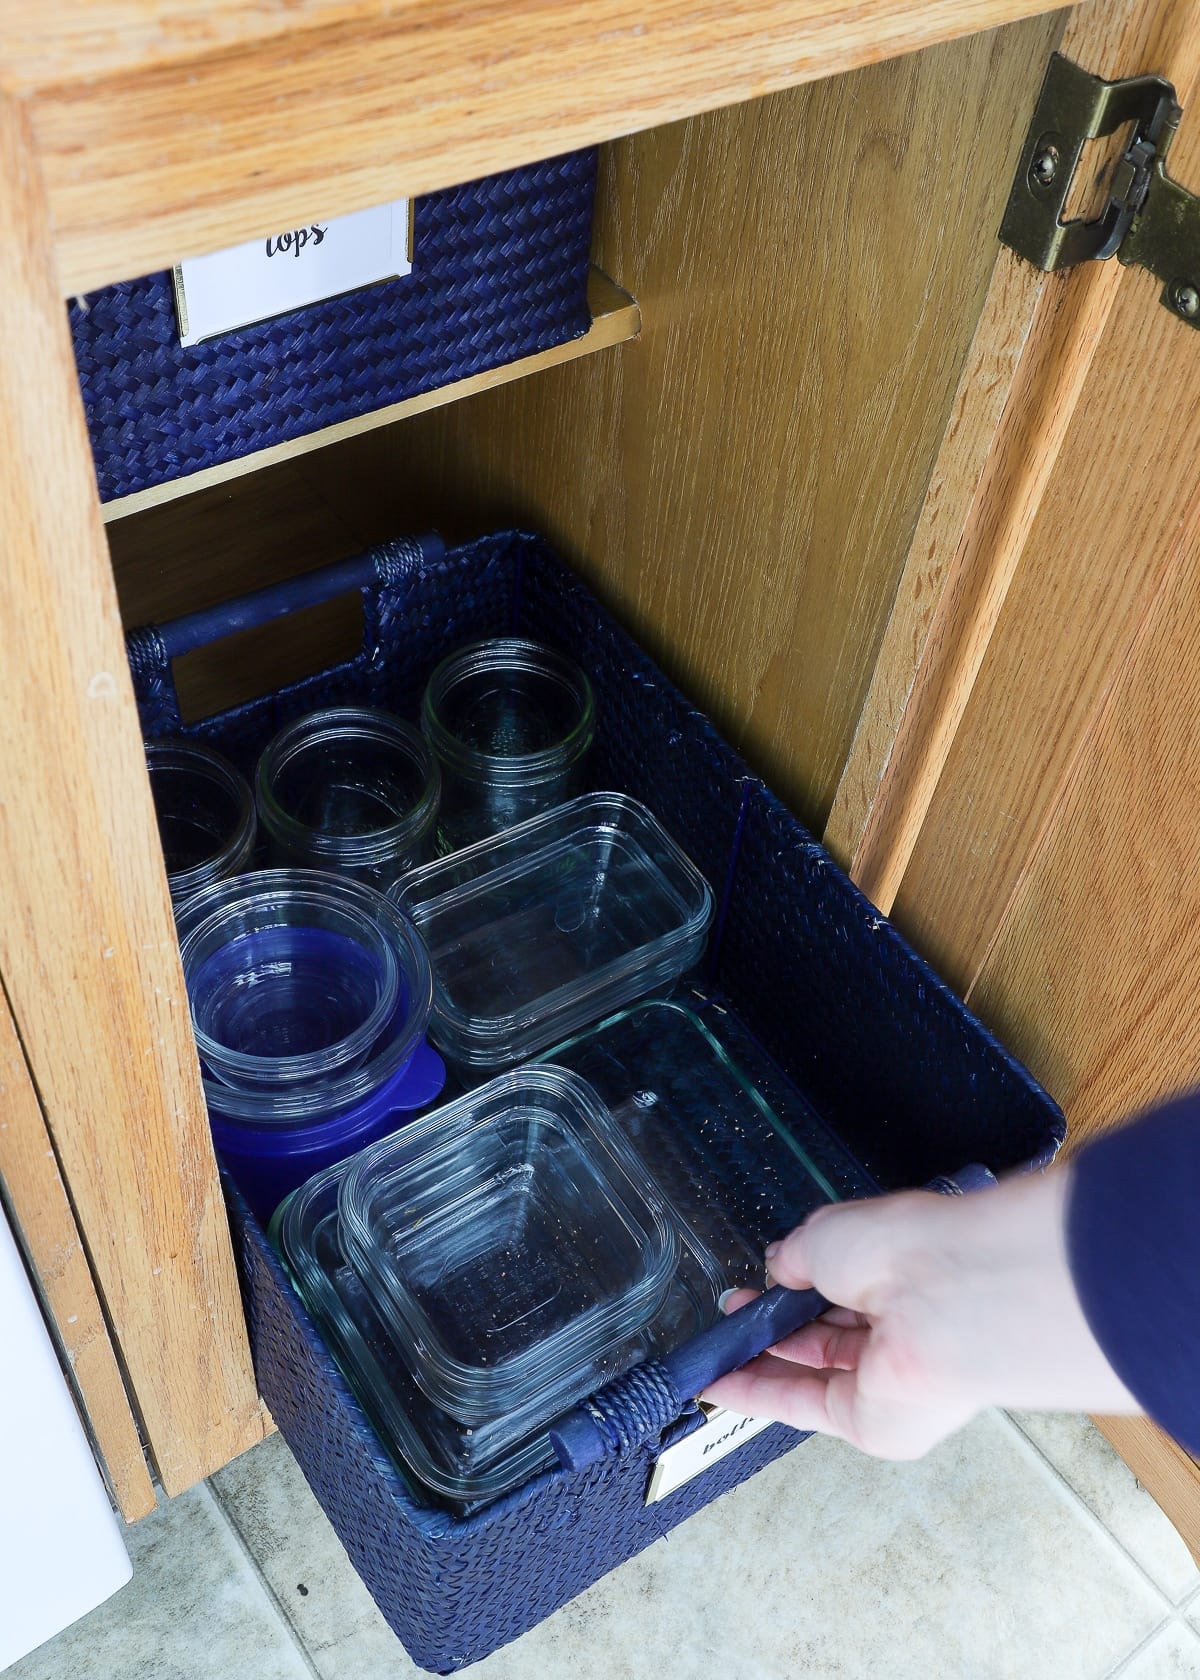
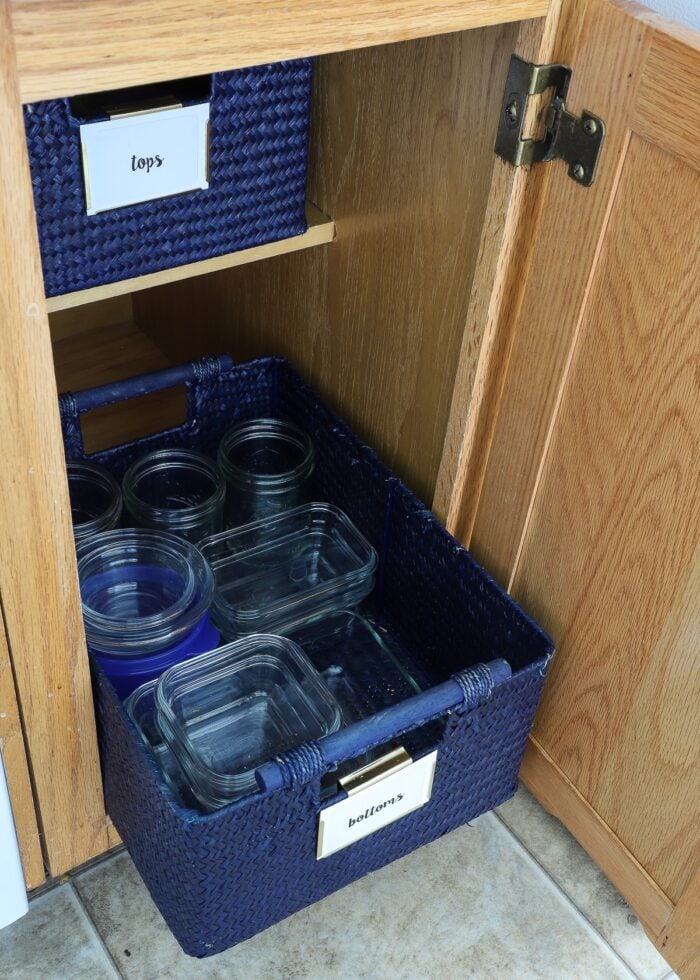
Establish zones for containers, lids, and accessories
A neat system separates containers, lids, and accessories. Assign zones in your cabinets or drawers so everything has a home.
Zone ideas
- Drawer for lids only, upright or in a lid organizer.
- Shelf for nested containers, grouped by size.
- Small basket for strange-shaped lids or mason jar rings.
- A labeled bin for reusable bags and silicone covers.
Practical layout: Put lids near the area where you pack lunches or where the microwave sits. This reduces walking and wasted time.
Use organizers and smart storage solutions
Organizers keep things visible and accessible. A few well-chosen tools go a long way.
Useful organizers
- Lid racks: vertical slots or dividers for lids.
- Pull-out trays: bring the back of the cabinet forward.
- Stackable shelf risers: double usable shelf space.
- Drawer dividers: prevent lids and containers from mixing.
DIY option: Use tension rods or magazine holders to create vertical separation for lids. Little changes make How to organize storage containers in the kitchen practical and cheap.

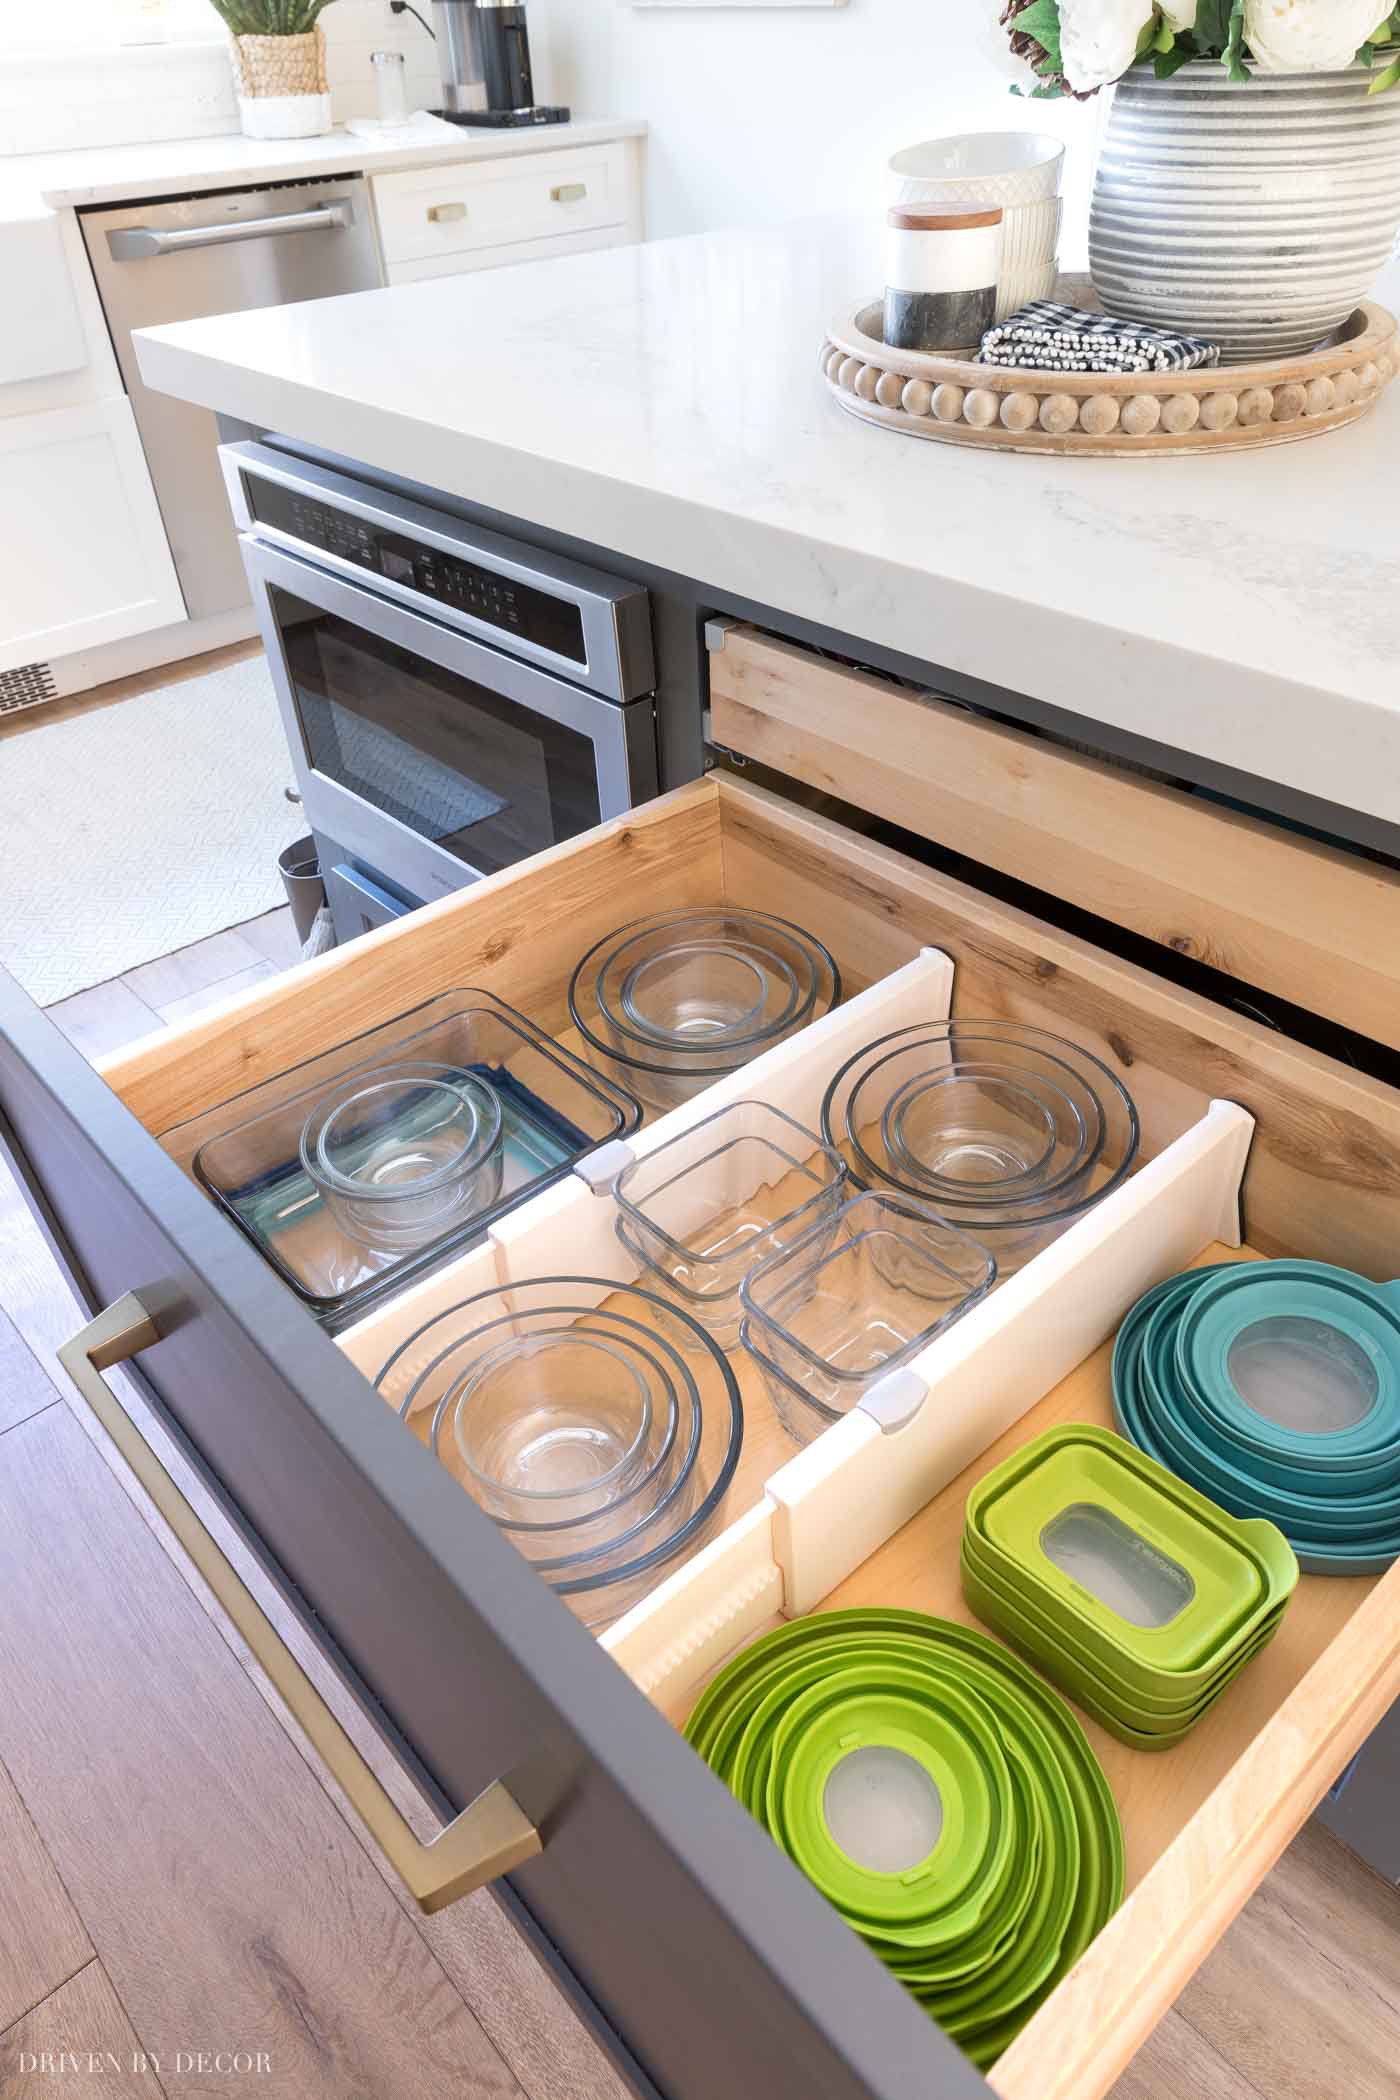
Stack, nest, and store lids efficiently
Proper stacking saves space and keeps lids paired. Nest containers inside each other, and store lids vertically or clip them to container sides.
Techniques
- Stack by size, smallest inside largest.
- Store lids upright in a file-style divider to see sizes at a glance.
- Use clear bins to group lids by shape (round in one bin, square in another).
Personal rule: I always keep lids in a single drawer near the prep counter. This reduced the time I spent searching for matching pieces.
Configure cabinets, drawers, and pantry for easy access
Place containers where you use them most. Low cabinets are best for heavy sets; top shelves for seasonal pieces.
Placement guide
- Lower cabinets for daily-use containers and bowls.
- Middle shelves for nesting sets and medium containers.
- Pantry for bulk storage containers and rarely used large pieces.
Quick access: Keep one consistent everyday set in the front. This helps maintain the system and supports How to organize storage containers in the kitchen in high-use kitchens.
Fridge and freezer container strategies
Fridge organization reduces waste and keeps food fresh. Use uniform containers to maximize space and visibility.
Fridge tips
- Use clear, stackable containers for leftovers and meal prep.
- Label with date and contents using removable labels.
- Use shallow containers for quick cooling of cooked food.
Freezer tips
- Freeze flat in zip-top bags or shallow containers to save space.
- Leave headroom in rigid containers to allow liquids to expand.
- Group frozen meals in bins and label by week or content.
Labeling, rotation, and maintenance routines
Labeling and simple routines keep systems working. Small habits save time later.
Labeling methods
- Use chalk labels or removable stickers.
- Write contents and date on each container.
- Color-code for family members or meal types.
Maintenance routine
- Weekly: check for leaks and toss spoiled food.
- Monthly: match lids and containers, donate extras.
- Seasonally: deep-clean and wipe seals to avoid odors.
My experience: A 10-minute monthly check keeps my cabinets tidy and prevents the lid pileup chaos. This routine is central to How to organize storage containers in the kitchen for long-term success.
Buying smart: what to replace and where to invest
Invest in quality for frequently used pieces. Replace odd mismatched parts with sets that fit your life.
- Buy a few high-quality glass sets for daily use.
- Choose stackable, uniform shapes to maximize space.
- Avoid impulse buys; measure shelf depth and drawer height first.
Budget option: Start with a modest set and add matching pieces over time. This prevents overcrowding and keeps your organization consistent.
Sustainable practices and reducing waste
Organizing containers can lower waste and save money. Reusable containers cut single-use plastic and reduce food spoilage.
Sustainability steps
- Choose long-lasting materials like glass and stainless steel.
- Repair seals or use silicone covers instead of buying new boxes.
- Donate usable extras to reduce waste.
A small habit: I always pack lunch in a reusable container and wash it that night. It saves money and reduces daily plastic use while demonstrating how How to organize storage containers in the kitchen supports sustainability.
Common mistakes and how to avoid them
Knowing common pitfalls helps you set a system that lasts.
Mistakes to avoid
- Keeping every freebies and mismatched lids.
- Stacking heavy glass where it risks falling.
- Not measuring cabinet/drawer space before buying new sets.
Fix it fast: Measure shelves and drawers before replacing anything. This avoids returns and ensures your chosen solution works the first time.
Quick checklist to get started today
A short, actionable checklist to transform your cabinets now.
Start now
- Empty a cabinet and sort containers and lids.
- Toss damaged pieces and donate unused ones.
- Choose a standard set and buy organizers for lids.
- Label, stack, and return items to designated zones.
- Set a monthly maintenance check.
This checklist turns the theory of How to organize storage containers in the kitchen into immediate action.
Frequently Asked Questions of How to organize storage containers in the kitchen
How many types of containers should I keep?
Keep a few versatile types: shallow for leftovers, medium for meals, and a couple large containers for bulk. Aim for sets that nest and stack to minimize space.
What is the best material for food storage?
Glass is best for durability, non-staining, and microwave use; plastic is good for light, affordable everyday use. Choose BPA-free plastics and tempered glass for safety.
How do I stop lids from getting lost?
Designate a single drawer or bin for lids and use vertical dividers or a lid rack to keep them visible. Pair lids with containers during your monthly maintenance check.
Can I store containers inside the fridge to save cabinet space?
Yes, store commonly used containers in the fridge for quick access, but keep seldom-used sets in cabinets. Use clear, stackable containers to save space and see contents.
How often should I declutter containers?
Do a quick check monthly and a full audit every six months. Regular checks prevent the return of mismatched lids and broken seals.
Are silicone collapsible containers worth it?
They save space and are great for occasional use or travel, but they may not be ideal for daily heavy-duty use. Use them as a supplement to sturdier glass or hard plastic sets.
Conclusion
Organizing containers is simple when you standardize, zone, and maintain a routine. Take small steps: declutter, choose stackable sets, create lid storage, and schedule a quick monthly check. Start with one cabinet today and you’ll immediately see how How to organize storage containers in the kitchen saves time, reduces waste, and makes meal prep smoother. Try the checklist above, share your success, or leave a question below — I’d love to hear how your kitchen transforms.


