
Test it by cleaning, pressurizing, and watching the valve open and reseat under safe conditions.
I’ve tested many pressure cookers and have repaired valves and seals. This guide shows step-by-step how to test a pressure cooker's safety valve safely and clearly. You will learn tools, a simple hands-on test, what to watch for, and when to replace parts. Read on to feel confident checking your pressure cooker’s safety valve at home.
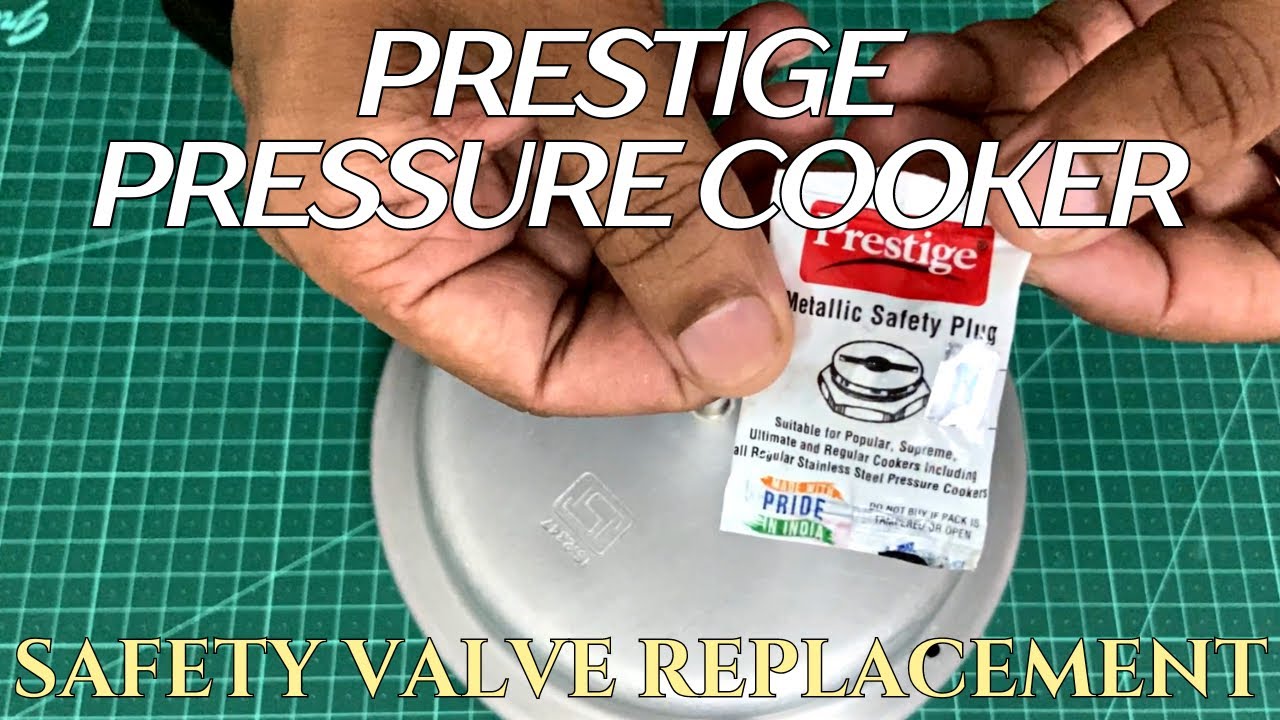
Why test a pressure cooker's safety valve?
A working safety valve stops dangerous overpressure. Testing confirms the valve opens at the right time. It also shows if the valve sticks or leaks. Regular checks keep you safe and extend the cooker’s life. Knowing how to test a pressure cooker's safety valve helps prevent accidents and cooking mishaps.
:max_bytes(150000):strip_icc()/sea-pressure-cookers-primary-nsimpson-59-6a0c8fce33fc41cf9cc55710bca76c4a.jpeg)
Tools and materials you will need
- Clean cloth or soft brush to remove debris.
- Warm water and mild soap for cleaning.
- A small bowl or cup to catch water.
- A digital thermometer (optional) to check temperature.
- Portable stove or heat source and a kettle or pot.
- Replacement valve or gasket if needed.
- Safety gloves and eye protection.
These items make the test easy and safe. Keep tools close and work on a clear surface.
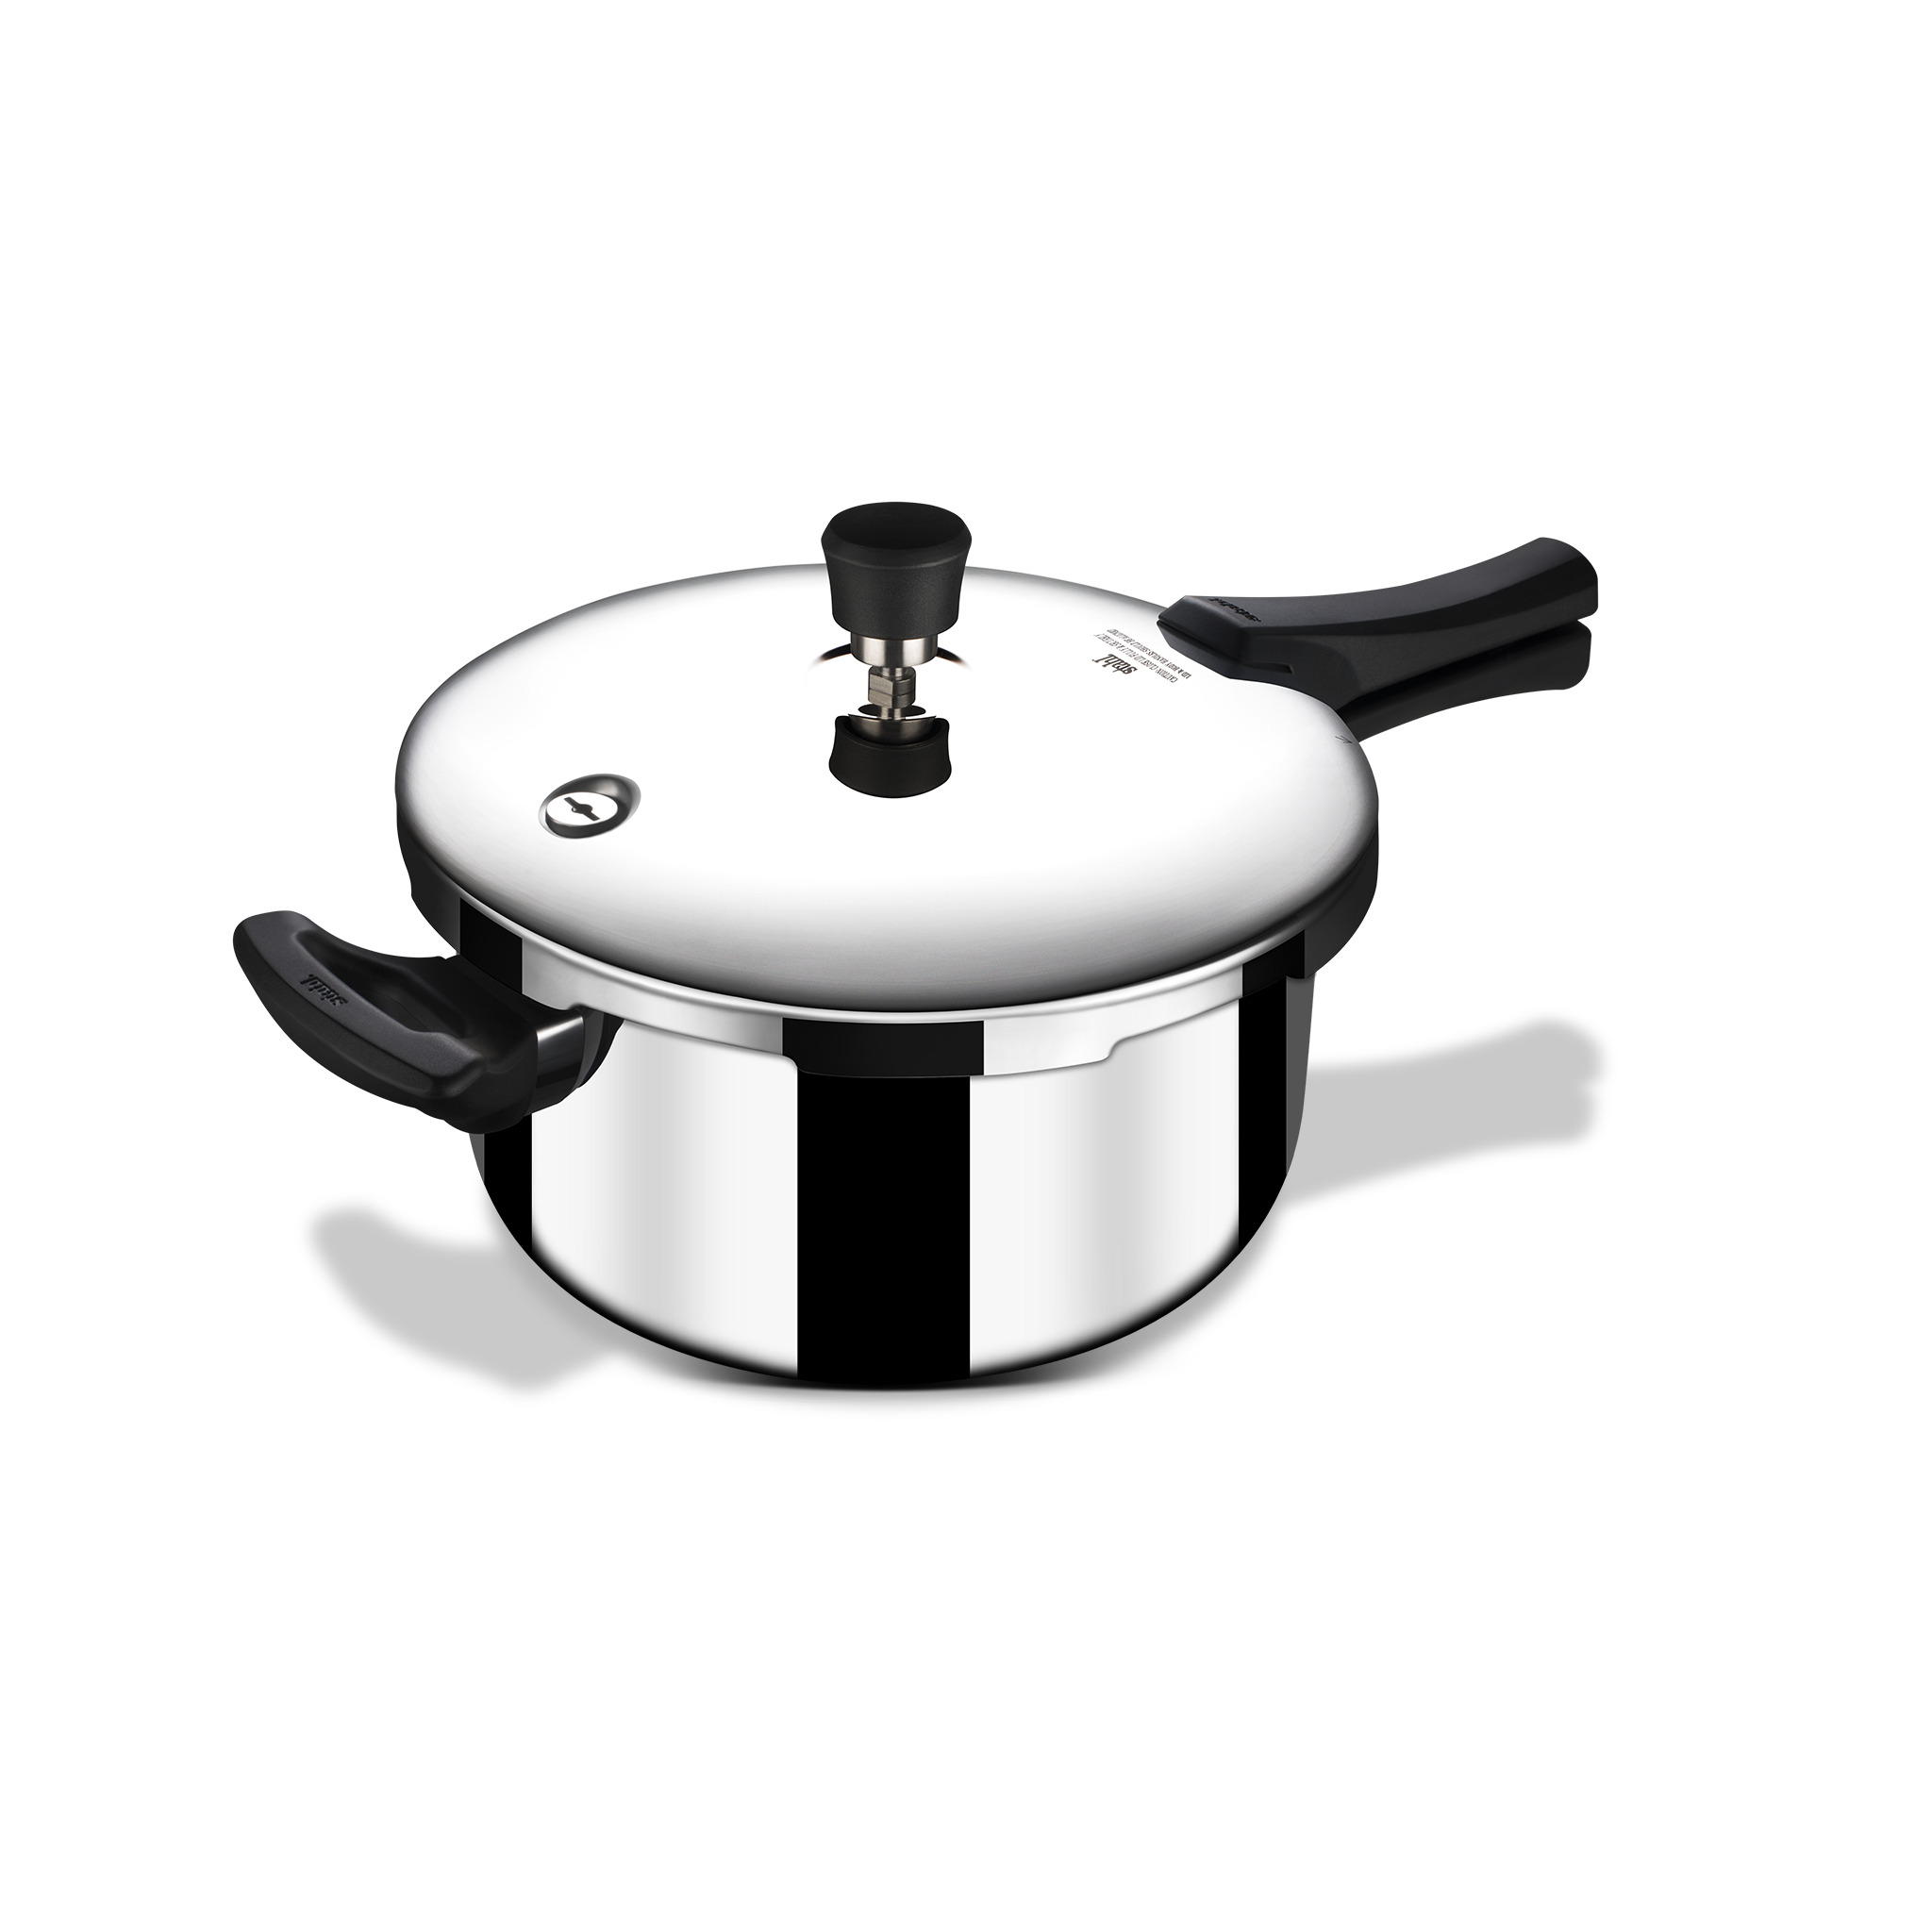
Step-by-step: how to test a pressure cooker's safety valve
- Read the manual. Know the model and valve type before you test.
- Cool and clean the cooker. Remove food and wash the lid and valve area.
- Inspect the valve visually. Look for dirt, dent, or corrosion on the valve and pin.
- Clean the valve gently. Use warm soapy water and a soft brush. Rinse well.
- Reassemble the lid and fit it properly to the pot. Check gasket seating.
- Add water to the cooker. Fill to the recommended level, usually under the max mark.
- Heat gently. Build pressure slowly according to the manual.
- Watch the valve. The safety valve should lift at its designed pressure or vent steam slightly.
- Listen and look for steady seating. The valve should release, then reseat without heavy leaking.
- Cool and re-check. Allow pressure to drop naturally. Inspect for leaks or stuck parts.
Repeat the test if the valve behaves oddly. If it sticks, replace it. Testing like this shows how to test a pressure cooker's safety valve step by step in simple actions.

What to observe during the test
Watch for these signs of proper function:
- A small, steady release of steam as pressure rises. This shows the valve is responding.
- The valve lifts at the correct pressure range for your cooker. The manual gives specs.
- Smooth reseating after release. The valve should not stay open.
- No continuous hissing once pressure stabilizes.
Signs of trouble:
- No movement or release when pressure rises. The valve may be stuck.
- Continuous heavy steam loss. This wastes heat and can prevent pressure.
- Irregular popping or rattling. That can mean a damaged pin or spring.
- Visible damage, corrosion, or blockage.
These checks clarify how to test a pressure cooker's safety valve and what a good valve looks like.

Common problems and how to fix them
Stuck valve
- Cause: Food or mineral build-up.
- Fix: Clean the valve and pin. Use warm water and a soft brush. If stuck, replace the valve.
Leaking valve
- Cause: Worn gasket or bent pin.
- Fix: Replace the gasket or valve. Check lid fit.
Valve opens too early or too late
- Cause: Faulty spring or pressure regulator.
- Fix: Replace the valve or have it serviced.
Cracked valve housing
- Cause: Impact or wear.
- Fix: Replace the whole lid part or contact manufacturer.
When in doubt, replace the part. Safety valves are low-cost compared to the risk of failure. My own experience showed replacing a worn valve stopped a slow but risky steam leak.

Maintenance schedule and replacement guidelines
Check the valve every 3 months with regular use. Clean the valve after each heavy use. Replace the gasket once a year, or sooner if it cracks. Replace the safety valve at the first sign of damage. Use only manufacturer-approved parts. Keep records of tests and replacements. This simple routine reduces failures.

Quick common questions
How often should I test a pressure cooker’s safety valve?
Test the valve every few months if you cook often. Inspect it for grime after each use.
Can I test the valve without heating the cooker?
A visual and manual check is useful, but a real pressure test needs heat and water. Only test without pressure to inspect and clean.
Is it safe to tap the valve to free it?
Tap gently only when cold. Do not force a stuck valve while hot. Forcing can damage the valve.

Frequently Asked Questions of How to test a pressure cooker's safety valve
How long does the valve test take?
A basic test takes about 15 to 30 minutes. Allow extra time for cooling and inspections.
Can I test the valve on an electric pressure cooker?
Yes. Follow the same cleaning and visual checks. Use the unit’s low-pressure setting if it has one.
What if the valve opens too often while cooking?
Frequent opening means the gasket or valve may be damaged. Clean and test. Replace parts if needed.
Are all safety valves the same across brands?
No. Different brands use different designs and pressure ratings. Always follow your manual.
Can I use lubricants on the valve pin?
No. Lubricants can gum up and cause unsafe operation. Clean with water and mild soap only.
Conclusion
Testing your pressure cooker’s safety valve is fast, simple, and important. Clean, inspect, pressurize, and watch the valve behave. Replace parts when you see wear or odd behavior. A small routine check can prevent a big problem. Try the steps today, keep a test log, and share your results or questions below to help others learn more.