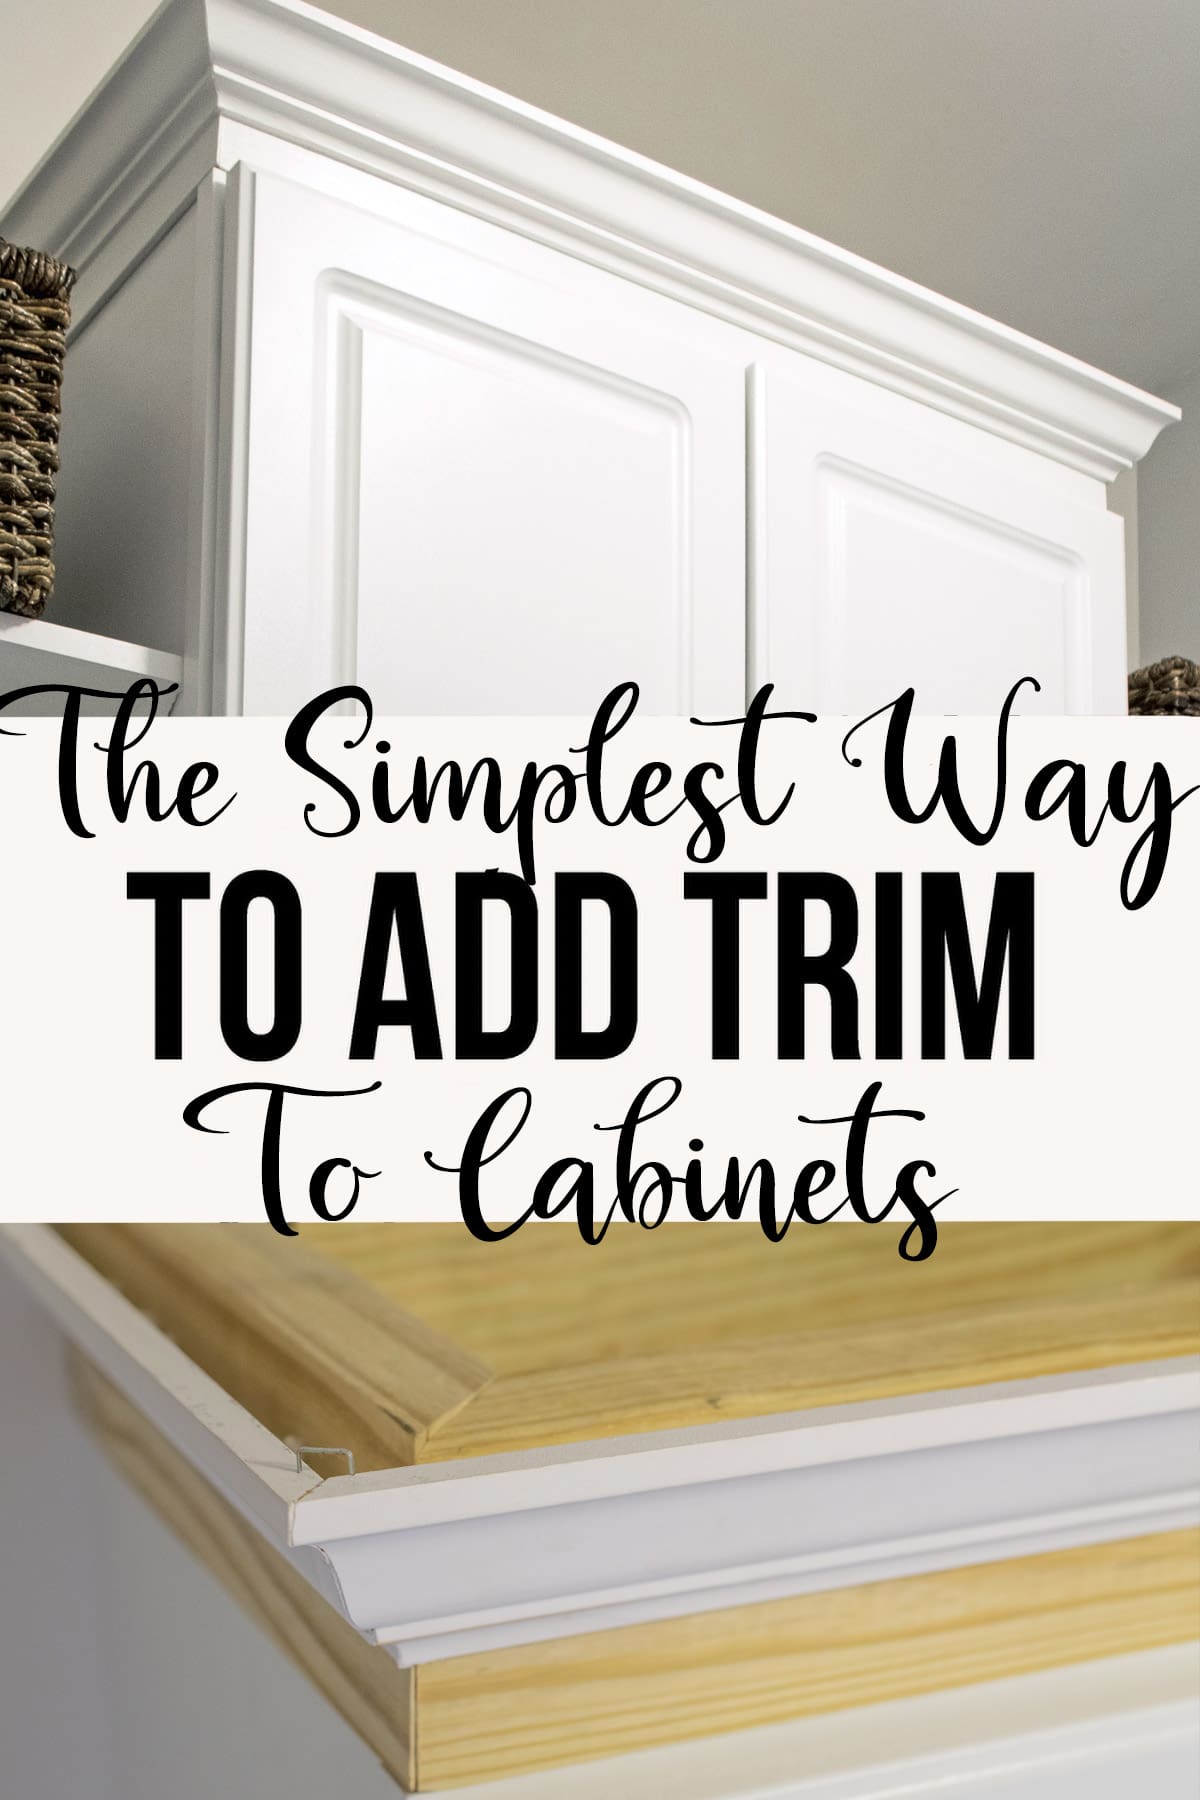
Attach crown molding to kitchen cabinets by measuring, cutting, and fastening with nails and adhesive.
I’ve installed crown on dozens of kitchens, so I know what works and what trips people up. This guide on how to attach crown molding to kitchen cabinets walks you through tools, measuring, cutting, mitering or coping, fastening options, and clean finishing. Read on for clear steps, real tips, and the common mistakes to avoid so your cabinets look custom and solid.
Tools and materials you’ll need
Use the right tools and parts to make attaching crown simple and clean. Below is a concise list to gather before you start.
- Miter saw that can tilt for compound cuts
- Tape measure and pencil
- Speed square or crown molding jig
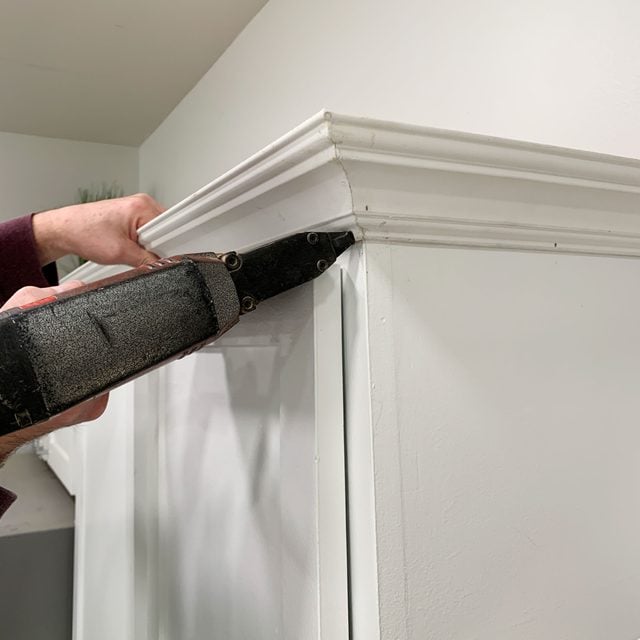
- Brad nailer or finish nailer (18-gauge brads or 15-16 gauge finish nails)
- Compressor and nails if using pneumatic nailer
- Construction adhesive (paintable) or adhesive caulk
- Wood filler, caulk, and painters’ tape
- Sandpaper (120–220 grit) and a sanding block
- Caulk gun, putty knife, and paintbrush or mini roller
- Safety gear: eye protection and hearing protection

Planning and measuring before you cut
Good planning makes the install fast and neat. Spend time measuring and visualizing joints.
- Measure cabinet runs from end to end. Write lengths on wood or paper.
- Mark inside and outside corners. Note whether corners are square.
- Account for obstacles like crown returns, soffits, lights, and vents.
- Decide if you will miter or cope corners based on skill and aesthetics.
- Pre-fit a few test cuts on scrap to confirm angles before cutting real pieces.
Helpful tip: crown is usually measured and cut so the decorative face is against the wall and the bottom edge contacts the cabinet top or filler. This is key when you learn how to attach crown molding to kitchen cabinets.
How to cut crown molding correctly
Cutting crown is different from cutting flat trim. Use these short steps.
- Set the saw table angle or flip the crown on its back to cut with the correct face angle.
- For miter cuts, set the saw to the measured miter angle and cut slowly.
- For compound miter cuts (on angled walls), tilt the saw and set the miter angle as needed.
- Always cut extra pieces as test cuts. Label each piece to match cabinet location.
Remember: the molding sits at an angle, so what looks like a straight cut on a saw may become a compound joint on the cabinet. Practice on scrap and you’ll learn fast how to attach crown molding to kitchen cabinets cleanly.
Miter vs. cope: which to choose
Both methods work. Pick the one that suits your skill and the cabinet layout.
- Miter joints
- Are quick and look clean on outside corners.
- Can gap if walls are out of square.
- Cope joints
- Fit tightly on inside corners and hide small wall irregularities.
- Take more time but give a seamless look over time.
To cope: cut the profile on the front piece with a back-cut on the saw, then remove the waste with a coping saw. Test the joint on scrap and adjust for a snug fit.

Attachment methods: nailing, gluing, and blocking
There are a few reliable ways to fasten crown to cabinets. Choose one or combine methods.
- Face nailing
- Nail through the face or top of the molding into a filler block or cabinet face frame. Use finish nails and fill holes.
- Top nailing
- Fasten through the top edge into the cabinet top or blocking. Nails are hidden and stronger.
- Adhesive plus brads
- Apply construction adhesive to the back of the molding and secure with brads until dry. This reduces nail count and holds well.
- Blocking and cleats
- Install small wood blocks under the molding inside the cabinet or on top of upper cabinets so the molding has solid backing to fasten into.
Nail length: use 1 1/4" to 1 5/8" finish nails for most cabinet crown, depending on molding thickness. When you attach crown molding to kitchen cabinets, adhesive plus brads often gives the neatest result.

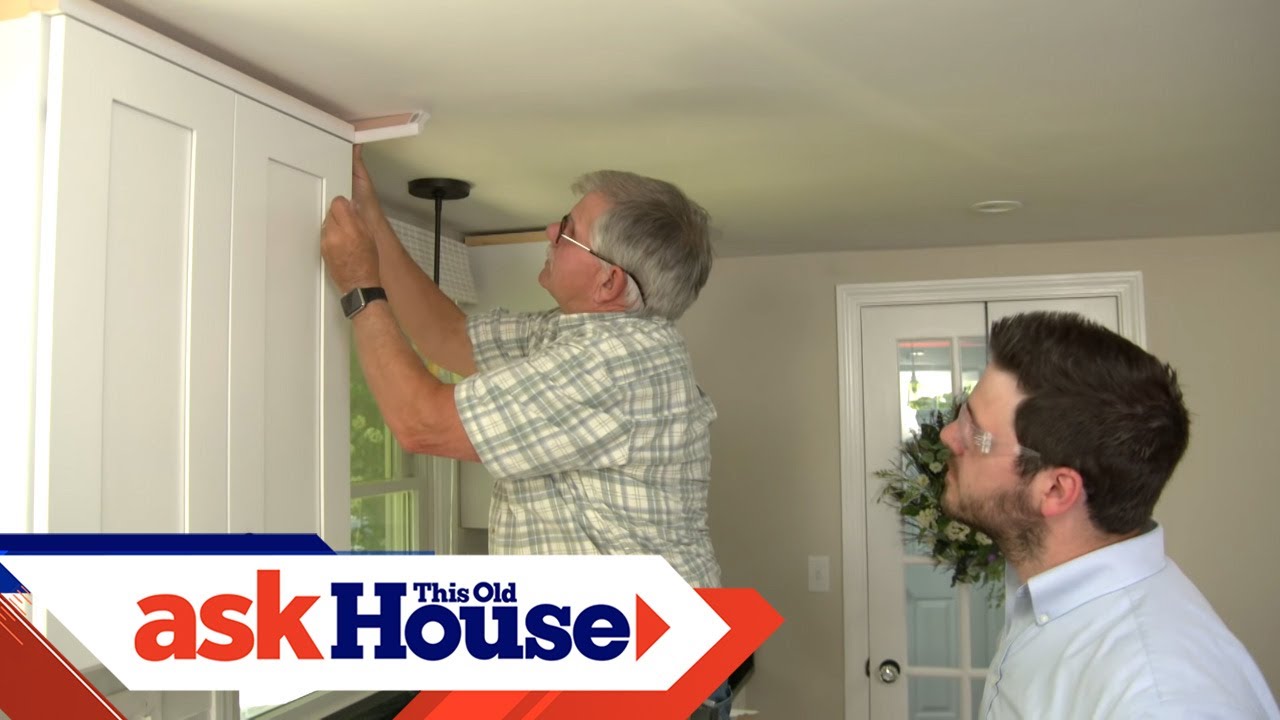
Step-by-step: installing crown molding on cabinets
Follow these concise steps to attach crown molding to kitchen cabinets with confidence.
- Dry-fit all pieces. Check joints and placement. Adjust cuts if needed.
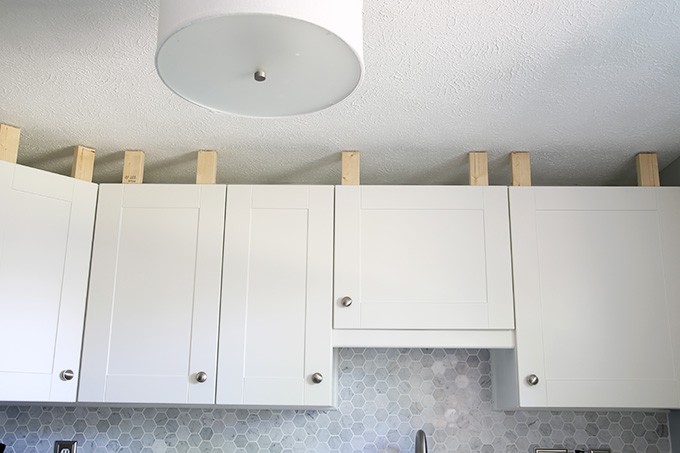
- Prepare cabinet tops. Install blocking or filler where the molding will rest if cabinets don’t reach the ceiling.
- Apply a thin bead of construction adhesive to the back edge that touches the wall and to the top edge that seats on blocking.
- Position the molding and press it into place, aligning seams and profiles.
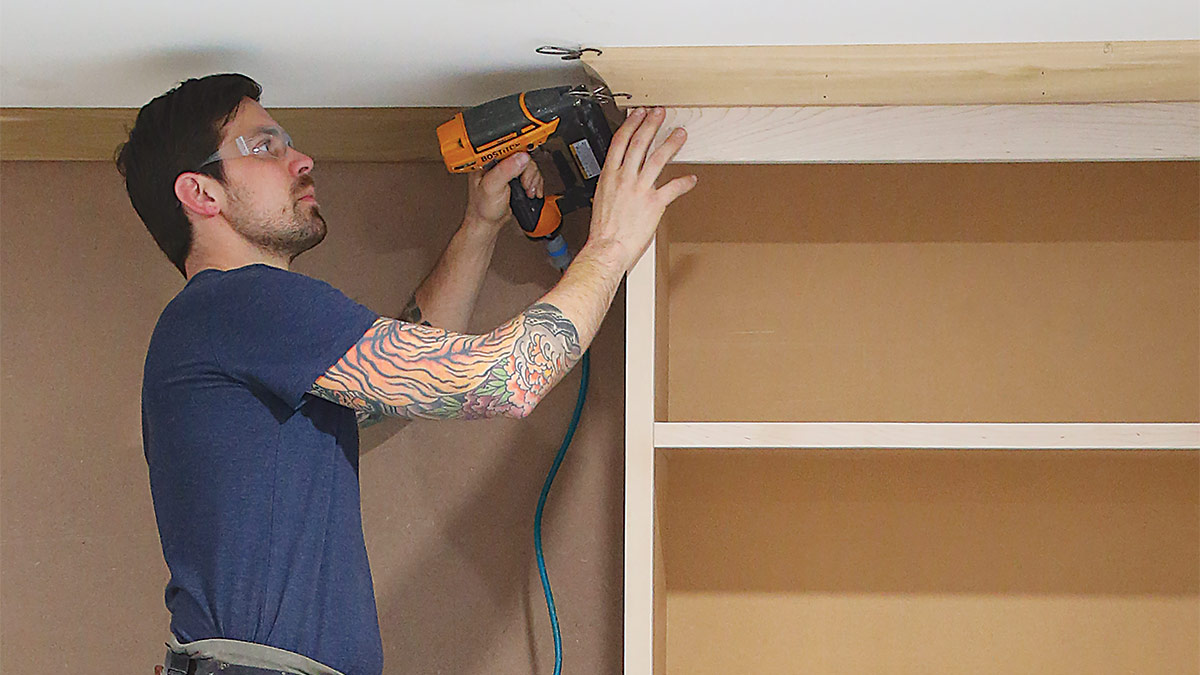
- Use a brad nailer or finish nailer to secure the molding every 12–16 inches, nailing into blocking or cabinet frame where possible.
- For inside corners cope one piece or miter both and glue the seam. For outside corners miter both pieces.
- Fill nail holes and seams with wood filler and let dry.
- Sand fill areas smooth. Caulk along wall and cabinet junctions for a seamless look.
- Prime and paint or stain and topcoat to match cabinets.
- Inspect and touch up as needed.
Short tip: work in small sections and wipe away excess adhesive quickly. This makes cleanup easy and helps when you attach crown molding to kitchen cabinets around corners and lights.
Finishing touches: caulk, fill, paint
A neat finish makes a new crown look built-in. Do these final steps.
- Fill nail holes with matching wood filler and sand smooth.
- Use paintable caulk to fill tiny gaps at joints and where the crown meets the wall.
- Lightly sand, then prime any bare wood or filler.
- Paint or stain in thin coats for uniform coverage.
- Remove painter’s tape after the first coat near edges for crisp lines.
Small details matter. Take your time on paint and caulk to make the crown look custom.
Common mistakes and troubleshooting
Knowing common errors helps you avoid rework. Here are quick fixes.
- Walls and cabinets not square
- Use cope joints for inside corners and scribe molding at problem walls.
- Molding gaps at joints
- Recut with a slightly different angle or use filler and caulk for minor gaps.
- Weak attachment
- Add blocking, use longer nails, or use construction adhesive plus nails.
- Visible nail holes
- Fill with wood filler, sand, and repaint for a near-invisible repair.
If a joint looks off after painting, remove the molding and recut a test piece. Patience saves time.
My experience: lessons learned on real installs
I’ve installed crown in tight kitchens and open plan homes. Here are honest tips from those jobs.
- Measure twice, cut once. I once cut a long run wrong and had to reorder molding. That cost time and money.
- Use test scraps. A small test saved many mismatched joints on a curved soffit.
- Combine adhesive and nails. It reduces stress from seasonal wood movement and makes the trim feel solid.
- Take photos before removal. When I replaced old crown, photos helped match profiles and return pieces perfectly.
These small habits improved speed and results on every job where I learned how to attach crown molding to kitchen cabinets.
Frequently Asked Questions of how to attach crown molding to kitchen cabinets
How high should crown molding sit above cabinets?
Crown typically sits flush with the top of the cabinet or on a small filler. If you have a gap to the ceiling, use a filler or stacked trim to bridge it before attaching crown.
Can I install crown molding without a coping saw?
Yes. You can miter all the joints instead of coping, but you must trim well and expect small gaps on non-square walls. Caulk can hide minor gaps.
Is adhesive enough to hold crown molding to kitchen cabinets?
Adhesive alone can hold light crown, but for best long-term results combine adhesive with brad or finish nails into blocking or cabinet faces. This avoids movement and sag over time.
What nail size is best for cabinet crown installation?
Use 1 1/4" to 1 5/8" finish nails or 18-gauge brads, depending on molding thickness. Pick a length that penetrates the cabinet backing by at least 3/4" without poking through.
How do I handle inside corners on out-of-square walls?
Cope the inside corner for the best fit. If you prefer miters, scribe and trim one piece to sit tight against the wall, then caulk small gaps.
Conclusion
Attaching crown molding to kitchen cabinets is a simple way to add polish and value. Measure carefully, choose miter or cope for corners, use blocking and a mix of adhesive and nails, and finish with caulk and paint for a custom look. Start small, practice cuts on scrap, and take time with the finish. Try a short run first, then tackle the full kitchen—leave a note about your results or ask a question below for help on a tricky corner.


