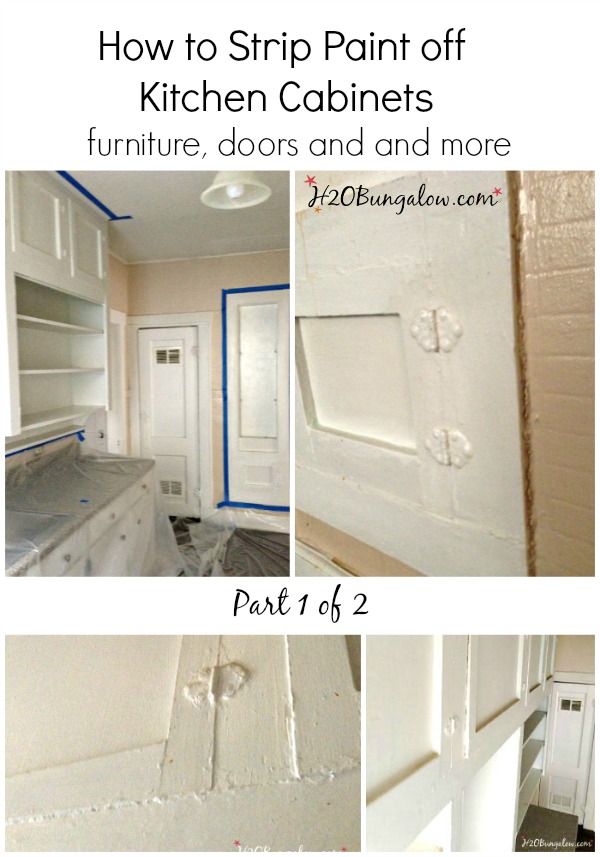
Use a chemical stripper, scraper, and sanding to remove paint from kitchen cabinets safely.
I’ve removed paint from dozens of cabinets and enjoyed the process of revealing real wood beneath old layers. This guide covers how to remove paint from kitchen cabinets step by step, from choosing the right method for wood, veneer, or laminate to safe disposal and prep for repainting or staining. Read on for clear, tested techniques, realistic time and cost estimates, and hands-on tips I learned the hard way.

Why remove paint from kitchen cabinets
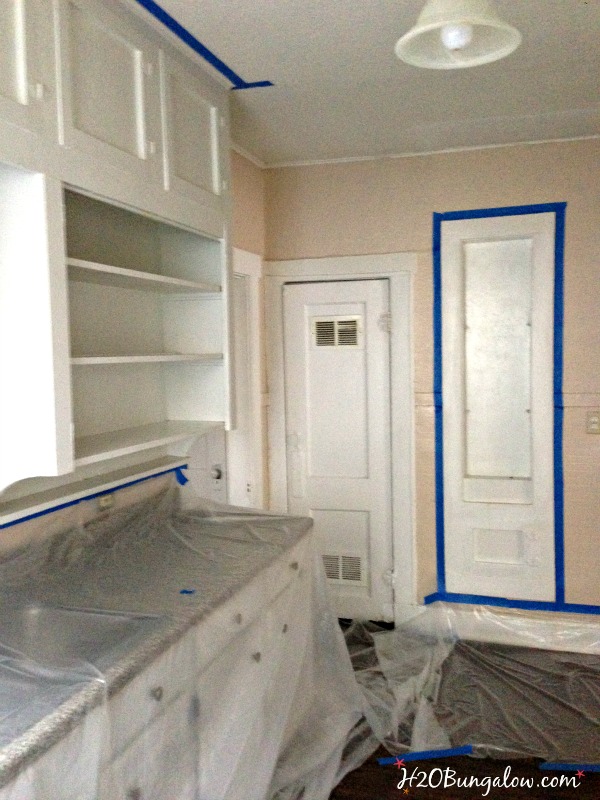
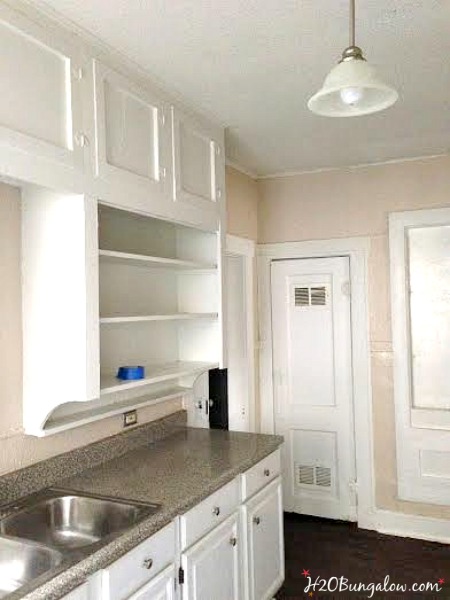
Paint can hide wood grain, damage finishes, or simply look dated. Knowing how to remove paint from kitchen cabinets helps you restore character, fix flaking surfaces, or prepare cabinets for a fresh finish. Removing paint also reveals structural issues like water damage, which you can repair before refinishing.
Assessing cabinet material and paint type
Before you start, identify cabinet substrate and paint type. Solid wood can be stripped or sanded aggressively. Veneer and laminate need gentler methods or specialized solvents to avoid lifting the surface. Determine paint base by rubbing a small area with denatured alcohol; if paint softens, it’s water-based. If alcohol does not affect it, test a small spot with acetone—if it softens, it may be oil-based. If your house is older than 1978, assume the top layers may contain lead paint and follow lead-safe practices.

Tools and materials you’ll need
Gather the right tools before you begin to streamline the project and stay safe. Common items for how to remove paint from kitchen cabinets include:
- Chemical paint stripper rated for your paint type, plus plastic scrapers
- Heat gun with temperature control and metal scraper
- Sandpaper in grits 80, 120, 220 and sanding blocks or an orbital sander
- Safety gear: respirator rated for organic vapors, eye protection, nitrile gloves
- Drop cloths or plastic sheeting and painter’s tape
- Mineral spirits or denatured alcohol for cleanup and a tack cloth
- Wood filler and primer if you plan to repaint or stain

Step-by-step methods to remove paint from kitchen cabinets
Below are practical methods, with pros and cons. Choose based on material and paint type.
Chemical stripper (best for detailed carvings and veneer)
- Prepare work area with ventilation and drop cloths. Wear respirator and gloves.
- Apply stripper per label in a thick, even coat. Let it dwell the specified time.
- Use a plastic or wooden scraper to lift softened paint. Repeat as needed.
- Neutralize residue per instructions, then wipe with mineral spirits and let dry.
- Lightly sand with 120–220 grit to smooth surface before finishing.
Pros: safe on details and veneers when used correctly. Cons: messy, slower, requires disposal steps.
Heat gun (fast for solid wood)
- Work in a ventilated area and keep the heat gun moving to avoid scorching.
- Heat a small patch until paint softens. Scrape with a metal scraper at a low angle.
- After removing most paint, finish with sanding to remove residue.
Pros: fast and chemical-free. Cons: risk of burning, not good for veneer or glue seams, and can release fumes.
Sanding (manual or power)
- Start with 80–120 grit to remove bulk paint, then progress to 120–220 grit for smoothing.
- Use an orbital sander on flat surfaces and sanding blocks on edges and profiles.
- Clean dust with a tack cloth and vacuum frequently.
Pros: clean and direct. Cons: labor-intensive and can damage thin veneers or intricate details.
Combination method (stripper + sand)
- Use stripper for details, heat or sanding for large flat faces. This balances speed and care.
- Finish with 220-grit sanding and tack-cloth cleaning.
For laminate or thermofoil cabinets
- Test small inconspicuous area with solvent appropriate to substrate.
- Often paint cannot be fully removed without damaging laminate; consider replacing doors or re-covering.

Dealing with lead paint and hazardous situations
Lead paint requires special handling. If you suspect lead, use an EPA-approved test kit or hire a certified professional. If you proceed, follow lead-safe work practices: contain the area, use HEPA vacuums, avoid dry scraping, and dispose of waste per local regulations. When in doubt, hire a pro for removal and disposal.

Preparing cabinets for repainting or staining
After paint removal, prep matters for a long-lasting finish. Clean all surfaces with mineral spirits or a trisodium phosphate (TSP) substitute to remove oils. Sand with 120-grit to knock down residue, then 220-grit for a smooth feel. Fill holes and dings with wood filler, sand smooth, and apply a stain conditioner if staining softwoods. Prime painted or bare areas with a high-quality bonding primer before painting.
Common mistakes and how to avoid them
Avoid these pitfalls when learning how to remove paint from kitchen cabinets.
- Using a heat gun too close and scorching wood. Keep moving and use lower heat settings.
- Over-sanding thin veneer and sanding through the face. Test pressures and use hand sanding on edges.
- Skipping dust cleanup before painting. Dust weakens paint adhesion and creates a rough finish.
- Choosing the wrong stripper for oil versus water-based paint. Test in a small area first.
- Ignoring ventilation and PPE. Fumes and dust can be harmful even in short sessions.

Cost, time, and when to hire a pro
Expect to spend time and money based on scope. A single cabinet door stripped at home can take 30–90 minutes depending on intricacy. Materials for a DIY kitchen strip project often range from $50 to $400. Hiring a pro can cost several hundred to several thousand dollars for a whole kitchen but ensures lead-safe practices and a uniform finish. Hire a pro when facing lead paint, extensive damage, or when you need a fast, guaranteed result.
Personal tips and lessons from real projects
I once stripped 12 shaker-style doors with a heat gun and learned to avoid using metal scrapers on edges. That mistake caused small chips that needed filler. I now use plastic scrapers and a low-heat setting near rails and stiles. Another tip: work in batches and remove hardware and hinges first; this saves time and prevents trapped paint. Lastly, test finishes on a scrap piece to confirm color and sheen before you commit.
Environmental and disposal considerations
Dispose of chemical stripper waste and used rags according to local hazardous waste rules. Do not pour solvents down drains. Use reusable drop cloths when possible and recycle metal hardware. Ventilate during work and allow fumes to dissipate for several days after finishing.
Frequently Asked Questions of how to remove paint from kitchen cabinets
Can I remove paint from kitchen cabinets without stripping the doors off?
Yes. You can strip in place for minor jobs, but removing doors gives better access and cleaner results. Working off the cabinet also makes sanding and drying easier.
Is chemical stripping safe for veneer cabinets?
Some strippers are safe for veneer when used carefully and tested in a small area first. Avoid harsh scraping and follow label instructions to prevent veneer lift.
How do I tell if paint is oil-based or water-based?
Wipe a small area with denatured alcohol; if paint softens, it is water-based. If not, test with a small amount of acetone to check for oil-based paint.
What grit sandpaper should I use after stripping paint?
Start with 120 grit to remove residue and finish with 220 grit for a smooth surface. Use a sanding block for edges and an orbital sander for large flat panels.
Can I refinish painted cabinets to look like stained wood?
Yes, with careful paint removal, wood conditioning, and stain application you can reveal and enhance wood grain to achieve a stained look. Some woods need a conditioner to avoid blotchy stain results.
Is a heat gun better than chemical stripper?
It depends. Heat is fast for solid wood but risky for veneers and glues. Chemical strippers are gentler on details but are messier and slower.
Conclusion
Removing paint from kitchen cabinets is a rewarding project when you match methods to materials, prioritize safety, and take your time. Start by testing paint type and substrate, choose a stripping method that fits your cabinets, and follow safe disposal practices. Take the first small step today: test a hidden spot, gather basic PPE, and plan your timeline. If this guide helped, try a single door and share your results or questions below — I’d love to hear how your cabinets turn out.


