
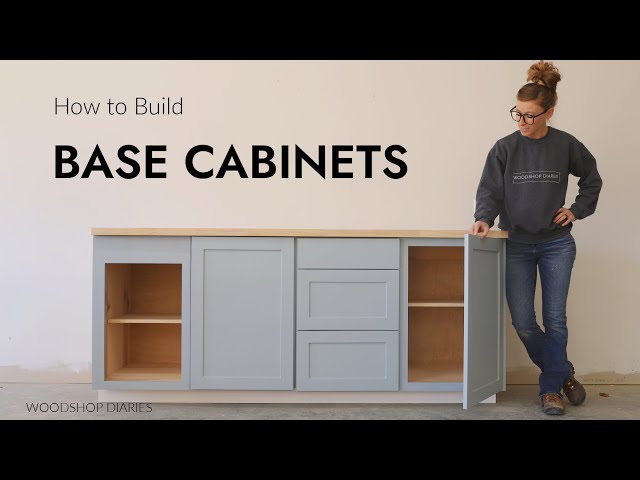
Build sturdy plywood carcases, add face frames or frameless fronts, fit doors and drawers.
I’ve built dozens of cabinets for clients and my own kitchen, so I’ll walk you through how to build kitchen base cabinets step by step. This guide covers planning, materials, tools, detailed cut lists, joinery options, installation tips, and common mistakes I’ve learned to avoid. Read on and you’ll gain the confidence to build durable, well-fitted base cabinets that look great and last for years.
Planning and design: get the basics right
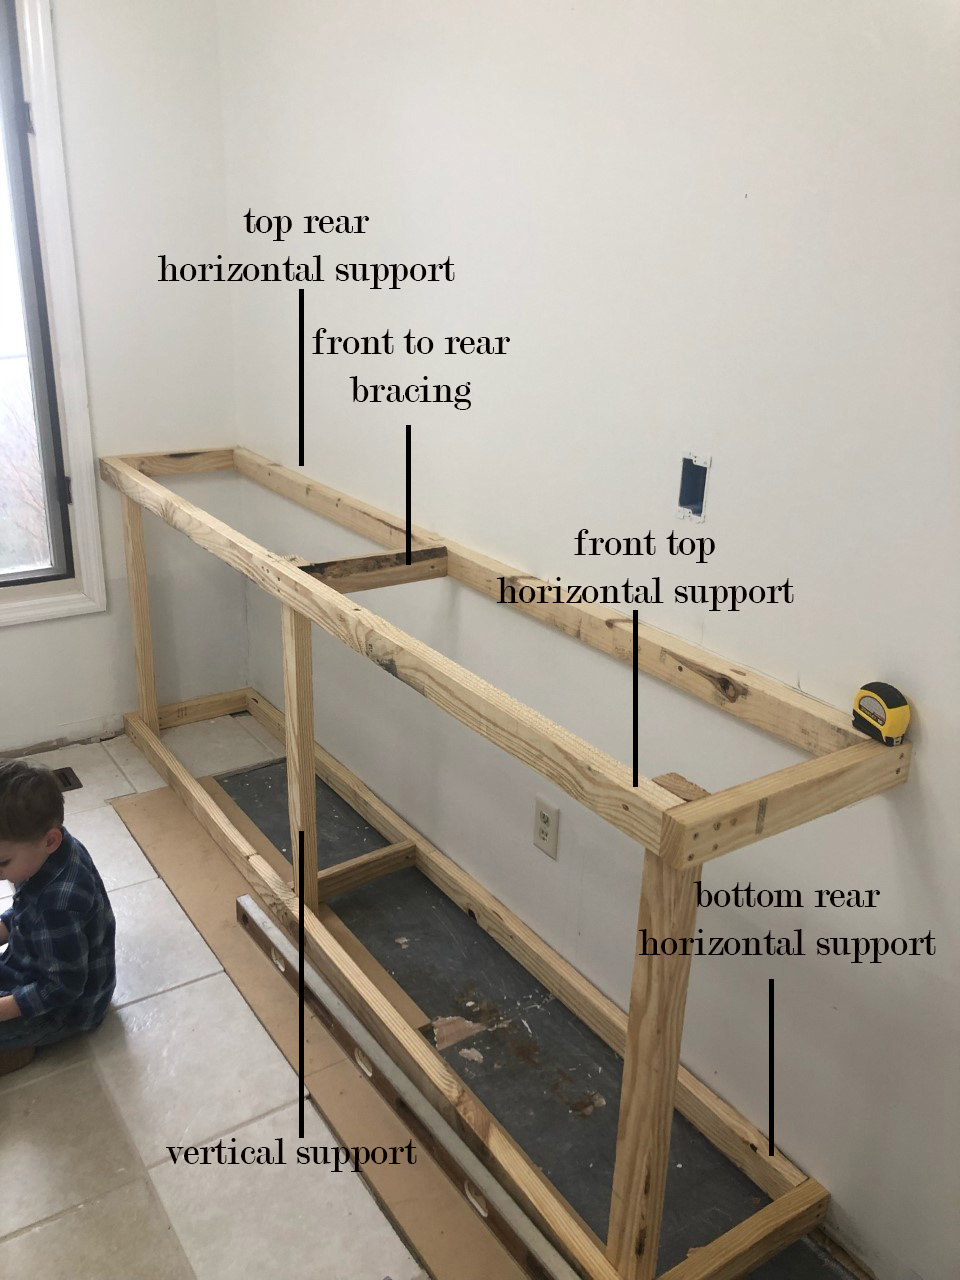
Good cabinets start with a clear plan. Sketch the layout. Note cabinet widths and appliance spaces. Decide whether you want face-frame or frameless (European) style. Choose full-height, shallow, or corner base units. Think about drawer banks, sink base, and pull-out shelves.
Key dimensions to keep in mind:
- Standard base cabinet height: 34.5 inches for the carcase to reach a 36-inch finished counter height with standard countertop thickness.
- Standard depth: 24 inches for the box; 12–18 inches for upper drawers.
- Toe kick height: 3.5–4 inches.
- Typical door overlay and drawer front thickness: 3/4 inch.
When planning how to build kitchen base cabinets, make a simple cut list for each cabinet size. This saves time and reduces waste. I always measure twice and mark the plywood before cutting. It prevents costly mistakes and keeps projects on schedule.
Tools and materials you’ll need
Using the right tools makes the job faster and cleaner. Below is a practical list based on my shop experience.
Essential tools:
- Table saw: for rips and accurate panels.
- Circular saw and guide: for sheet goods on-site.
- Router with straight bit: for dados and edge trimming.
- Pocket hole jig or drill and pocket screws: for fast assembly.
- Drill/driver, clamps, tape measure, square, level, and screwdriver set.
- Brad nailer or pin nailer for face frames.
Materials and common selections:
- 3/4-inch cabinet-grade plywood: sides, top, shelves, and face frames.
- 1/4-inch plywood or HDF back panel.
- 3/4-inch solid wood or 1×2 material for face-frame rails.
- Drawer slides: undermount soft-close or side-mount heavy-duty.
- Hinges: European concealed hinges or traditional full overlay hinges.
- Wood glue, pocket screws, 1-1/4 and 1-1/2-inch screws, and finishing materials.
When learning how to build kitchen base cabinets, choose plywood over MDF for strength in base cabinets. I once used cheap particle board for a sink base and regretted it due to water damage. Plywood holds screws and weights better.

Step-by-step build process
Follow these steps to build a basic 36-inch single-base cabinet. Repeat for other sizes.
- Create a cut list:
- Left and right side panels: 34.5 in x 24 in (3/4 in ply)
- Bottom panel: 35.5 in x 23 in (3/4 in ply) to account for side thickness
- Top rail (if needed): 35.5 in x 3/4 in
- Back panel: 34.5 in x 35.5 in (1/4 in ply)
- Toe kick: 3.5 in x 35.5 in (ply or 1x material)
- Cut panels accurately:
- Use a table saw or circular saw with a straight-edge guide.
- Label each panel.
- Add dados or rabbets for shelves and bottom:
- Router a 3/4-inch dado near the front edge for shelf support and to accept the back panel.
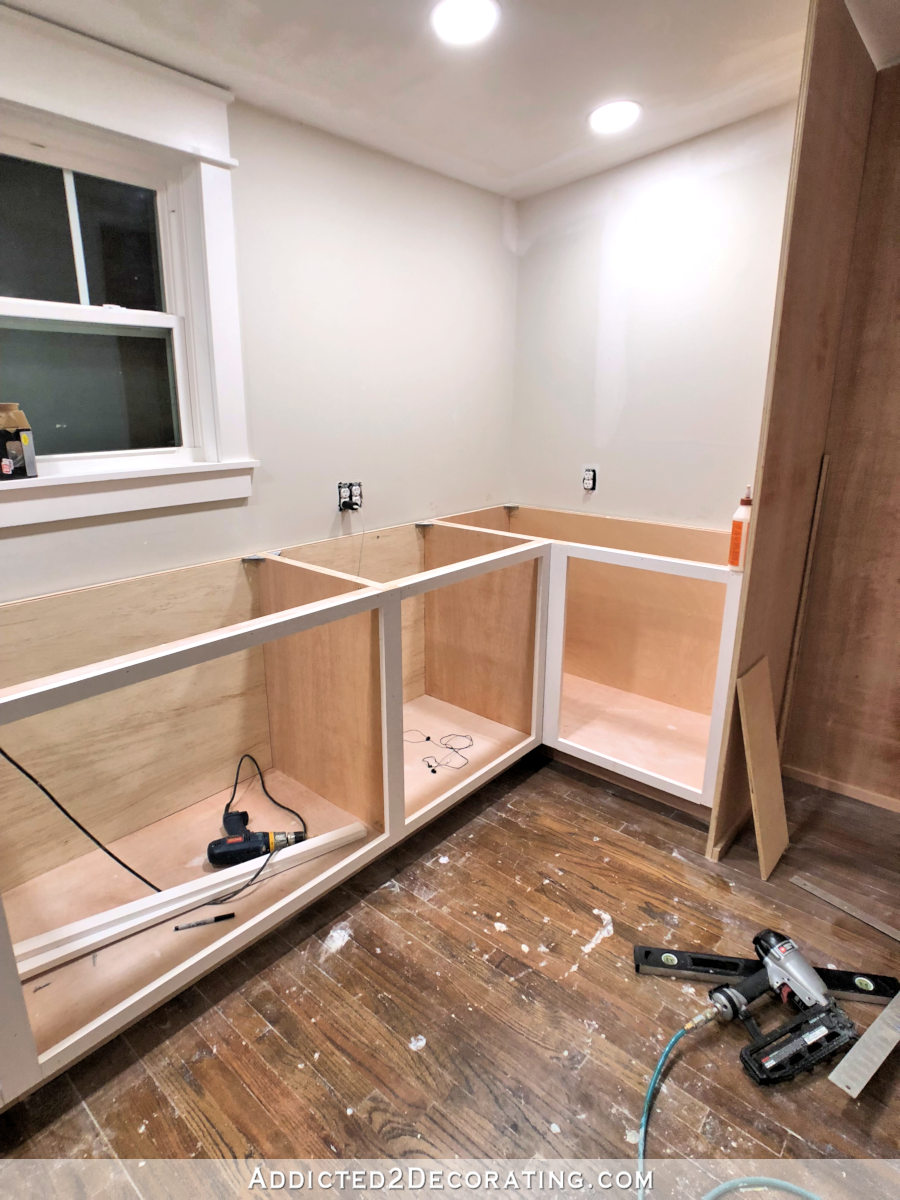
- Assemble the box:
- Apply glue to join edges.
- Use pocket screws through the sides into top and bottom or secure with glue and 1-1/4-inch screws.
- Clamp and square the box. Check diagonals to ensure 90-degree corners.
- Install the back panel:
- Slide 1/4-inch back into the dado or attach with glue and brad nails.
- Add face frame or finish edges:
- For face-frame: glue and nail 1×2 rails to the front edges. Use corner clamps for alignment.
- For frameless: apply edge banding to plywood front edges.
- Make and install the toe kick and internal shelves:
- Shelves can be fixed or adjustable with shelf pins in drilled holes.
- Fit doors and drawers:
- Build drawers from 1/2 or 3/4 plywood and use dovetails or pocket joints.
- Install drawer slides and adjust fit.
- Sand and finish:
- Lightly sand, prime, and paint or apply a clear finish.
I like to build boxes in batches. When I built my last kitchen, making six identical 24-inch boxes at once saved hours. Repetition improves speed and accuracy.
Joinery, bracing, and hardware choices
Choose joinery that fits your skill level and use case. Simple joints work well with solid glue and screws when executed properly.
Common joinery methods:
- Pocket screws: fast and strong for sides to top/bottom joins.
- Dados: excellent for fixed shelves and back panel fit.
- Rabbet joints: good for back panel seating.
- Dovetails: ideal for drawer boxes if you want premium joints.
Hardware tips:
- Use soft-close undermount slides for smooth drawers and hidden hardware.
- Use 110-degree concealed hinges for full overlay doors.
- Add corner cabinet solutions like lazy Susans or pull-out trays for access.
- Use heavy-duty slides (100 lb) for deep drawers storing pots.
Finishing and installation tips
Finish choices affect durability and look. Prep surfaces well for a professional result.
Finishing steps:
- Seal all plywood edges before painting to prevent moisture absorption.
- Use a primer suited to wood or MDF.
- Apply at least two top coats of paint or clear polyurethane.
Installation sequence:
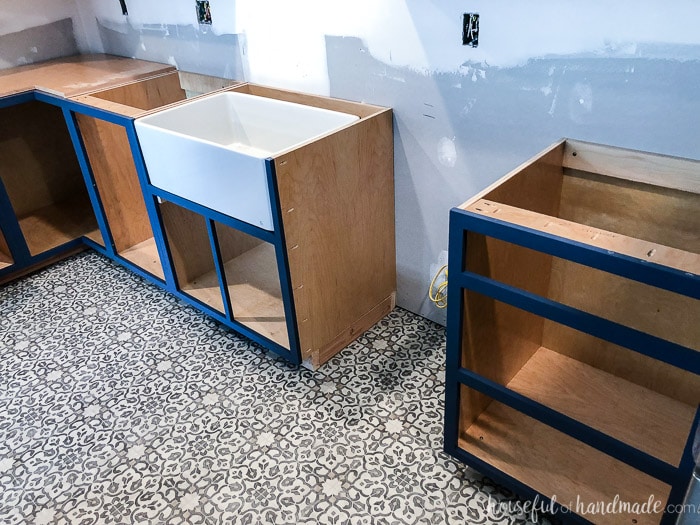
- Mark a level ledger line on the wall at cabinet height.
- Screw upper or base cabinets to wall studs through the cabinet back rail.
- Shim under cabinets to level before joining cabinets to each other.
- Clamp and screw cabinets together through the face frame or carcase sides.
Always install the sink base last if running plumbing. I once installed cabinets before plumbing and had to uninstall to add a drain—avoid that.
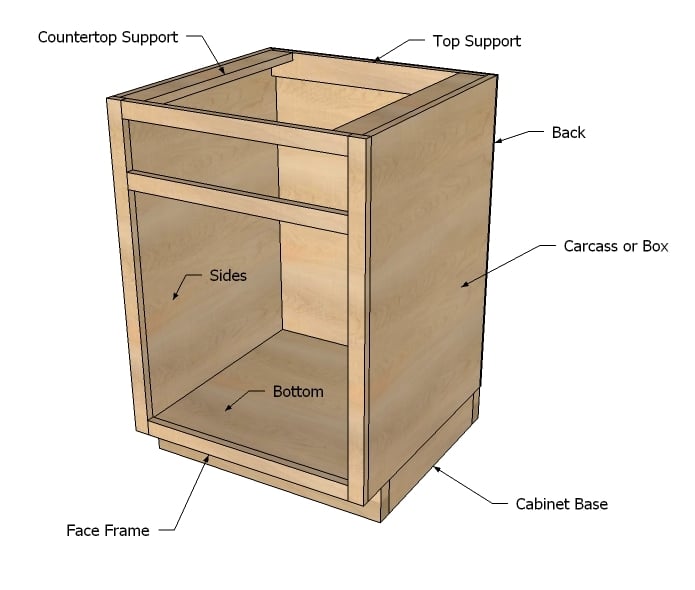
Common mistakes and how to avoid them
Small errors often cause big headaches. Learn from common mistakes.
Common pitfalls:
- Poor measuring: measure walls in multiple places and account for uneven floors.
- Cutting without a plan: always create a cut list and label parts.
- Using low-quality plywood: it warps and fails to hold screws.
- Rushing assembly: allow glue to cure and clamp properly.
- Ignoring hardware clearance: check door swing and drawer overlap before final assembly.
From experience, leave a small gap between cabinets and walls for shims. This simple habit keeps installation stress-free and results clean.

How to build kitchen base cabinets: cost and time estimates
Budget and timeline vary by material and complexity. Here’s a quick guide.
Estimated costs:
- Basic plywood cabinets: moderate cost—materials for one base cabinet often range from $150 to $400.
- Semi-custom with drawers and good hardware: higher cost—$400 to $800 per cabinet.
- Professional-grade custom: much higher.
Time estimates:
- One simple base cabinet: 4–8 hours for a beginner.
- Full kitchen of base cabinets: several weekends or 1–3 weeks depending on scope and finish.
If you want to save money, build the carcases and hand off paint or installation to a pro. I saved about 30% on my remodel by building the carcases and hiring a finisher.

Frequently Asked Questions of how to build kitchen base cabinets
What is the standard depth and height for base cabinets?
Standard base cabinets are typically 24 inches deep and the carcase is about 34.5 inches tall to reach a 36-inch finished countertop height. Toe kicks are usually 3.5 to 4 inches high.
Should I choose face-frame or frameless cabinets?
Face-frame cabinets are traditional and easier to install for beginners, while frameless (European) cabinets offer more interior space and a modern look. Your choice depends on style, skill, and hardware preferences.
What plywood thickness is best for base cabinets?
Use 3/4-inch cabinet-grade plywood for sides, bottom, and shelves for strength and screw-holding. Use 1/4-inch plywood for the back panel to keep the box square.
How do I ensure cabinets are level during installation?
Mark a level ledger line, shim the cabinets at the floor and between units, and secure to studs through the back rail or mounting strip. Check level across the front and top as you proceed.
Can I build drawers without a router or dovetail jig?
Yes. You can build strong drawers using pocket screws, glue, and 1/2-inch plywood bottoms, then fit quality undermount or side-mount slides. Dovetails are nice but not required for durable drawers.
Conclusion
Building kitchen base cabinets is a practical and rewarding project that adds value and personal touch to your home. Follow clear plans, use good materials, and take your time with cuts and assembly. Start with one cabinet to build confidence, then scale up. If you enjoy hands-on work, try building the carcases yourself and hire finishing help if needed. Share your results, ask questions, or subscribe for more woodworking and cabinetry tips—your next kitchen could be a weekend or two away.