
Install crown molding on cabinets by measuring, cutting miters, coping joints, and nailing firmly.
I’ve installed crown molding on many kitchen cabinets and taught homeowners how to do it step by step. This guide explains how to install crown molding on kitchen cabinets with clear measures, simple tools, and practical tips I learned on jobsites. You’ll get material choices, cutting techniques, mounting steps, finishing touches, and troubleshooting. Read on to feel confident before you cut or nail.

Tools and materials you need
Good tools make how to install crown molding on kitchen cabinets easy and fast. Gather these basics first to avoid runs to the store.
- Miter saw for accurate angle cuts
- Coping saw for inside corners and copes
- Nail gun or brad nailer with 18- or 16-gauge nails
- Measuring tape, pencil, speed square, and protractor
- Wood filler, painter’s caulk, and finishing nails
- Sandpaper, wood glue, clamps, and primer/paint
- Ladder or step stool and safety glasses
I prefer a compound miter saw and a pneumatic brad nailer. They save time and keep joints tight. Buying a few extra nails and a scrap board for test cuts helps prevent mistakes.

Planning and measuring for a clean fit
Plan before you cut to make how to install crown molding on kitchen cabinets predictable. Measure cabinet runs and note corner types.
- Measure the horizontal distance along the tops of cabinets.
- Record the wall angles and cabinet crown height.
- Decide whether the molding will sit on the cabinet top or hang from the ceiling.
- Order 10% extra molding to allow for mistakes and waste.
I always draw a simple sketch. Mark inside and outside corners. Good notes save minutes and reduce wasted molding.

Common quick questions
How do I measure inside corners?
Measure from the inside corner out along the cabinet top to the end point. Add small overlap for coping.
What if my walls are not square?
Measure each corner angle and cut test pieces. Use a protractor on odd angles and cope or scribe to fit.
Cutting techniques: miter and coping basics
Learning miter cuts and coping is key to how to install crown molding on kitchen cabinets. Use both techniques depending on corner type.
- Miter cuts work well for outside corners and simple straight runs.
- Coping creates a tight fit at inside corners and hides gaps on imperfect walls.
- Cut crown molding upside down on the miter saw with the back flat against the fence to match installed angles.
- Test cuts on scrap to confirm your saw settings before cutting real pieces.
I once cut five pieces with the wrong bevel. Test cuts stopped more waste. Coping takes practice, but it hides gaps well.
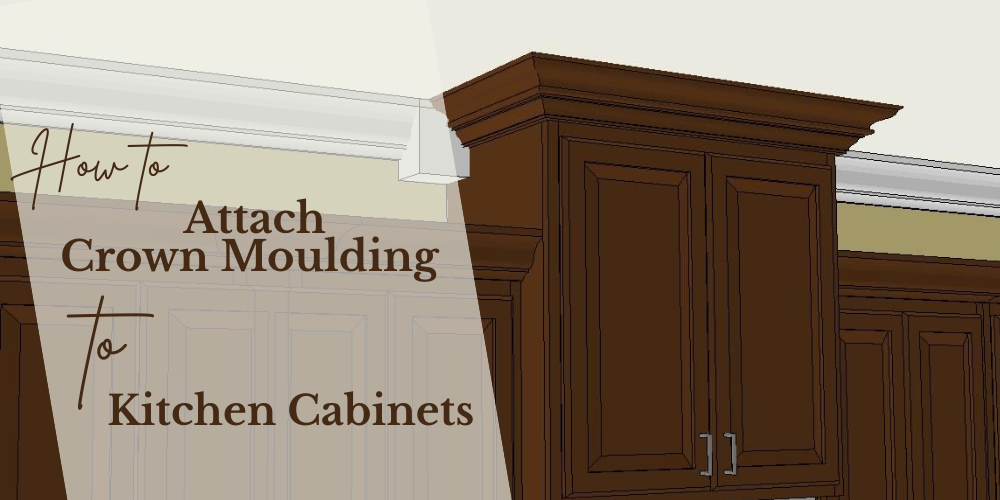
Installing crown molding on cabinets: step-by-step
Follow these steps to learn how to install crown molding on kitchen cabinets without stress.
- Dry-fit pieces along the run to confirm length and corner joins.
- Start at a full piece at an outside corner if possible.
- Attach the molding to the cabinet face frame or upper cabinet with a nail gun. Aim nails into the solid cabinet, not thin veneer.
- For inside corners, cope one piece and fit over the other. For outside corners, use tight miter joints.
- Use wood glue at joints for strength if using solid wood or MDF.
- Add blocking behind the molding where cabinets lack a solid nailing surface.
- Fill nail holes and seams with wood filler. Sand smooth.
Work in short sections and check each fit. I clamp a corner while nailing once to keep movement minimal. Take your time on the first cabinet—accuracy there makes the rest easier.

Finishing touches: caulking, painting, and sealing
Finishing makes how to install crown molding on kitchen cabinets look professional. Finish steps are small but important.
- Caulk seams between molding and ceiling or cabinet to hide small gaps.
- Fill nail holes, sand lightly, and apply primer if using MDF or bare wood.
- Paint or stain after priming. Use thin coats for smooth coverage.
- Seal stained wood with a clear coat for durability.
Use a paintable latex caulk for painted kitchens. For stained wood, use color-matched putty and a clear sealer. Let surfaces dry fully between coats.
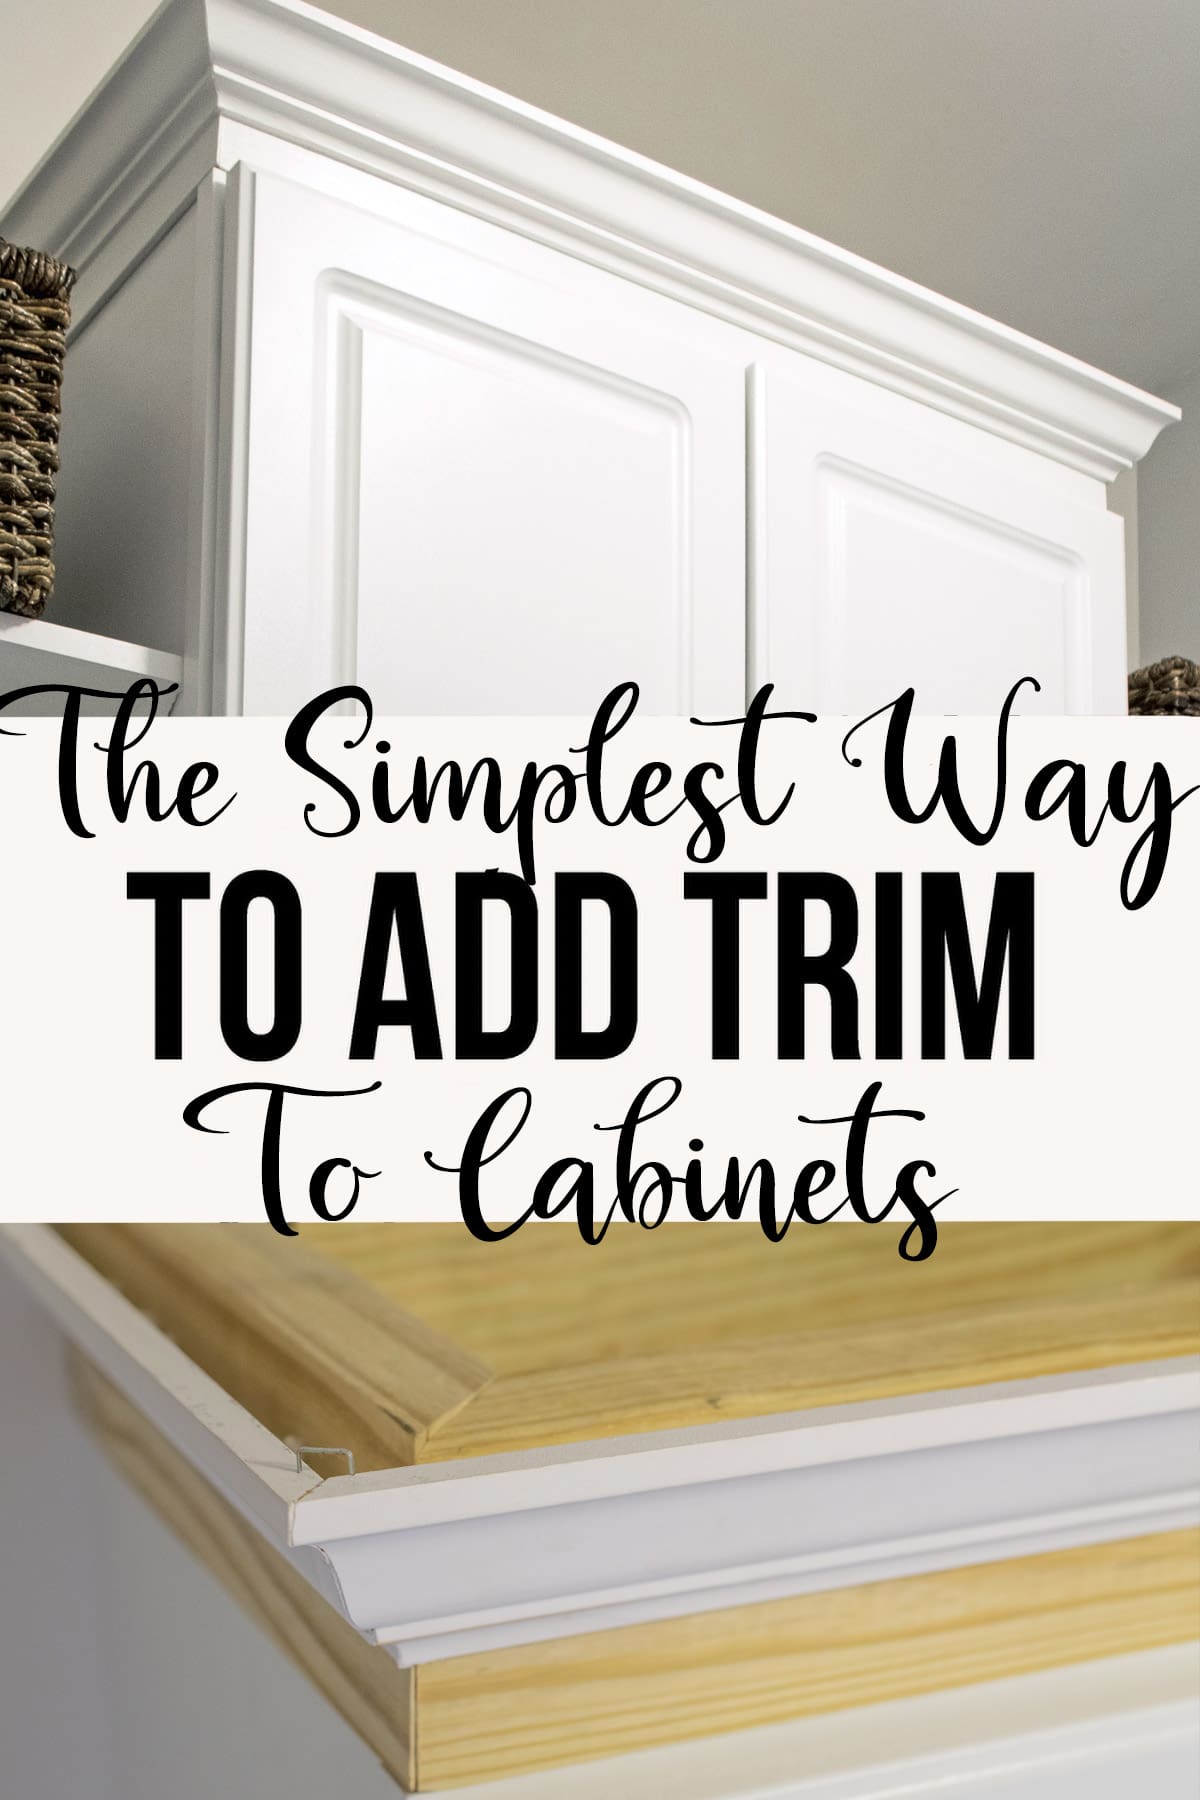
Troubleshooting common problems
Common issues arise when learning how to install crown molding on kitchen cabinets. Here are fixes that work.
- Gaps at inside corners: cope the joint, or scribe and caulk lightly.
- Poor miter fit: re-cut at slight angles or shave with a chisel for a tighter fit.
- No nailing surface: add backer blocks or use construction adhesive plus brad nails.
- Visible nail holes: use wood filler, sand, and touch-up paint.
If a piece doesn’t fit, don’t force it. Re-measure and re-cut. Small fixes are faster than rebuilding a section.
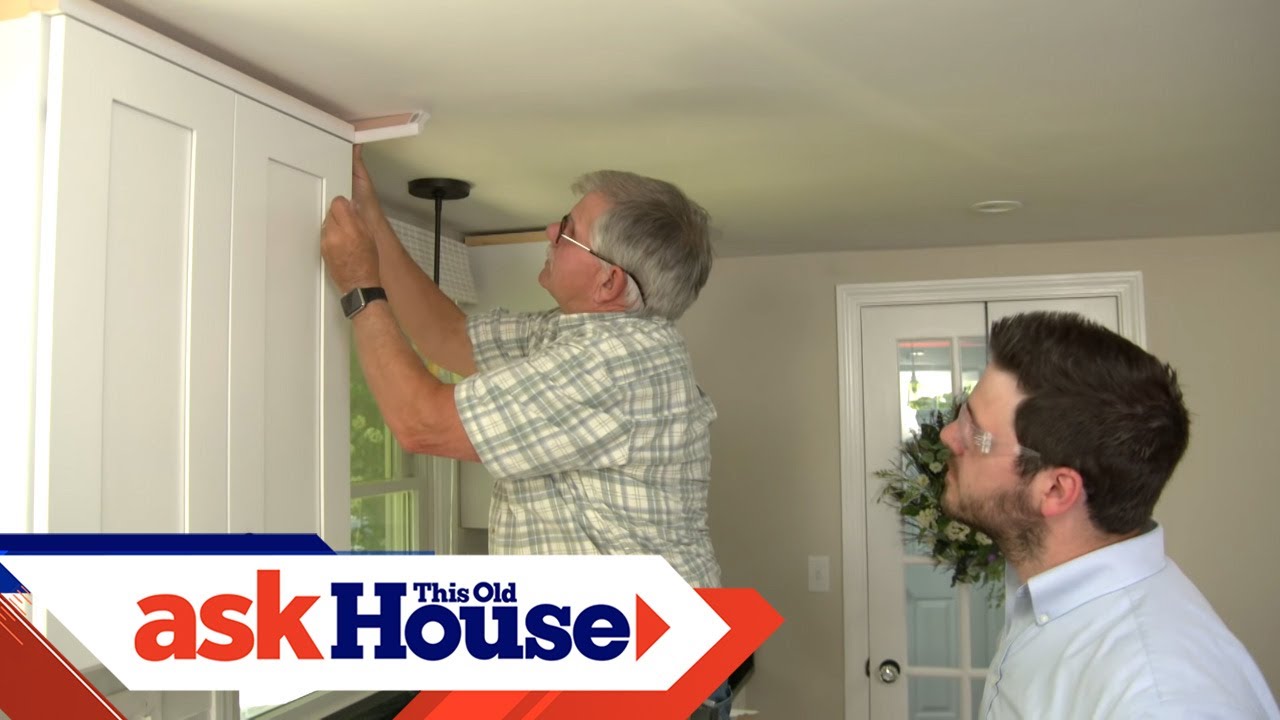
Costs, time, and material choices
Understanding cost and time helps plan how to install crown molding on kitchen cabinets. Choices change the budget.
- Materials: MDF is cheapest and paint-friendly. Poplar and pine are mid-range. Oak and maple cost more and need staining.
- Time: A small kitchen can be done in a weekend by a handy homeowner. Expect longer for custom coping and painting.
- Cost: Expect $2–$10 per linear foot for common moldings plus labor or tool rental if needed.
I often recommend MDF for painted kitchens and solid wood for stained finishes. Factor in primer, paint, and extra molding for waste.

Frequently Asked Questions of how to install crown molding on kitchen cabinets
How high should crown molding sit on the cabinet?
Mount the molding flush with the cabinet top or slightly overhanging. Keep consistent height across all cabinets for a balanced look.
Do I need a professional for crown molding on cabinets?
You can DIY if you have basic tools and patience. Hire a pro for tricky walls, uneven ceilings, or complex layouts.
What is the best molding material for painted cabinets?
MDF is the best value for painted cabinets. It’s stable, smooth, and affordable when primed correctly.
How do I handle uneven ceilings or walls?
Scribe the molding to the cabinet or cope the joints. Use caulk to hide minor gaps and make the finish look seamless.
Can I install molding without a nail gun?
Yes. Use finishing nails and a hammer, or brads with glue and clamps. A nail gun speeds the job but isn’t required.
How do I cut odd angles?
Measure the angle with a protractor and set the miter saw accordingly. Cut test pieces and adjust until you get a tight fit.
How long does the project take?
A single cabinet run often takes a few hours to a day. Full kitchens commonly take a weekend for a DIYer working steady.
Conclusion
You now have a clear roadmap for how to install crown molding on kitchen cabinets. Measure carefully, learn miter and coping techniques, and finish with caulk and paint for a polished look. Start with one cabinet run as practice, and keep spare molding for mistakes. Try this on a small section this weekend, share your results, or ask questions below — I’d love to help.
Pingback: How To Layout Kitchen Cabinets: Smart Plan & Workflow - kitchenadvises
Pingback: Best Spice Rack Organizer For Kitchen: Top Picks 2026 -
Pingback: Best Custom Pot Racks For Home Kitchen: Stylish Ideas -
Pingback: How To Buy Kitchen Cabinets: Smart Buying Guide -
Pingback: How To Buy Kitchen Cabinets: Smart Guide To Save Money -
Pingback: How Much Is A Kitchen Cabinet: Real Price Guide 2026 -
Pingback: Best Liner For Kitchen Cabinets: Top Picks And Tips -
Pingback: How Much Are Cabinets For A Small Kitchen: Budget Prices & Tips -
Pingback: How Much Are Cabinets For A Small Kitchen: Budget Costs -
Pingback: How To Design Kitchen Cabinets: Ultimate Style Guide -
Pingback: How To Design Kitchen Cabinets: Stylish Plans & Tips -
Pingback: How Deep Are Standard Kitchen Cabinets: Size Guide -
Pingback: How Deep Are Standard Kitchen Cabinets: Depth Guide -
Pingback: How Deep Are Kitchen Base Cabinets: Standard Depth Guide -
Pingback: How Deep Are Upper Kitchen Cabinets: Standard Depths Guide -
Pingback: How Deep Are Upper Kitchen Cabinets: Standard Depths -
Pingback: How Tall Are Kitchen Base Cabinets: Standard Heights Explained -
Pingback: How High Are Standard Kitchen Cabinets: Ideal Heights Guide -
Pingback: How To Decorate Space Above Kitchen Cabinets: Stylish Tips -
Pingback: How To Assemble Rta Kitchen Cabinets: Step-By-Step Guide -
Pingback: How To Make A Kitchen Island From Cabinets: Easy DIY Guide -