
Assemble RTA kitchen cabinets by prepping, building boxes, attaching doors, and installing level.
I’ve built and installed dozens of RTA cabinets, so I know what works and what trips people up. This guide walks you step by step through how to assemble rta kitchen cabinets, from tools to leveling, with clear tips, common mistakes, and real-world advice to help you finish a kitchen that looks pro-built.

Why choose RTA cabinets and what to expect
RTA cabinets save money and cut delivery time. They arrive flat and ready to assemble at home. Many homeowners pick RTA for value and style options. Knowing how to assemble rta kitchen cabinets saves time and reduces stress when a box shows up at your door.
RTA cabinets vary in quality. Some need careful alignment. Others include good hardware and clear instructions. Expect a few hours per cabinet if you work steadily.
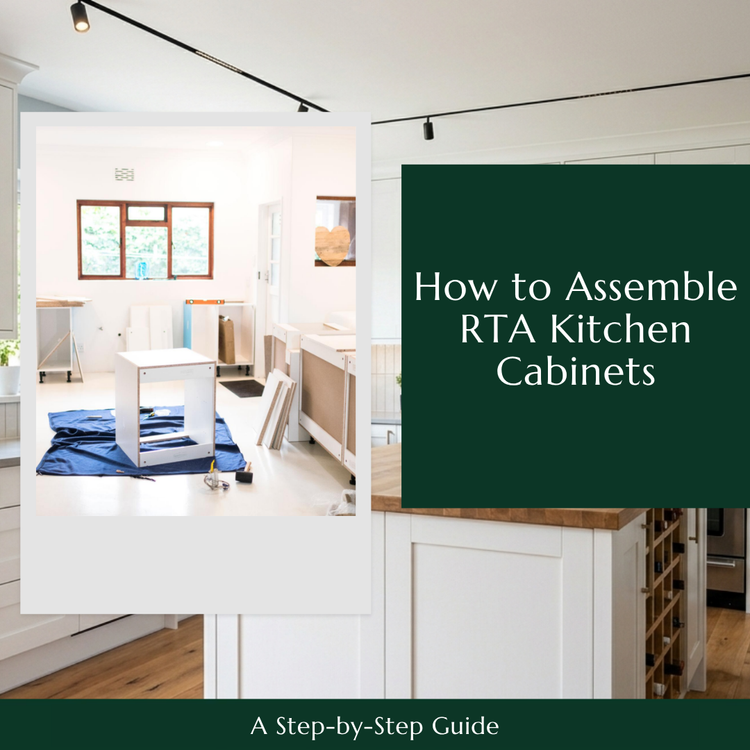
Tools and materials needed before you start
Gather tools first. This prevents pauses and mistakes.
- Tape measure, level, and carpenter’s square for layout and squaring.
- Cordless drill, drill bits, and screwdriver bits for screws and cams.
- Clamps and a work surface or saw horses to hold panels.
- Wood glue, pocket hole jig (optional), and masking tape for clean joins.
- Shims, caulk, and cabinet screws for installation.
- A helper for heavy boxes and hanging upper cabinets.
Having the right tools makes how to assemble rta kitchen cabinets much easier. I always lay tools out in order before I open the first box. It saves time and stress.

Prepare your space and inspect parts
Clear the work area and sweep the floor. Open each box and check parts against the packing list. Look for damaged panels, missing screws, or wrong finishes.
Label parts with painter’s tape if the maker didn’t. Read the manufacturer instructions once to see the order of steps. Early checks reduce do-overs when you learn how to assemble rta kitchen cabinets.
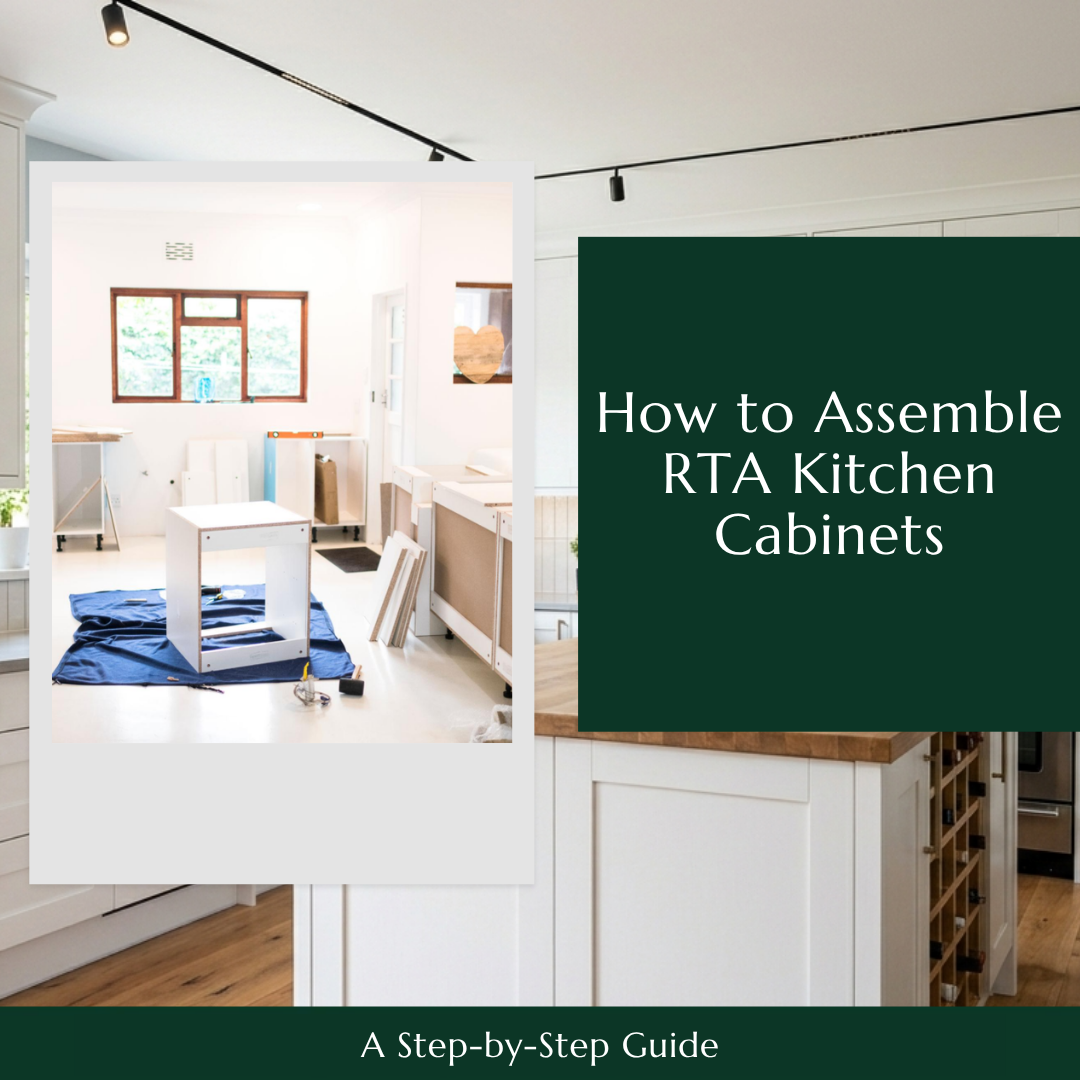
Step-by-step assembly: build cabinet boxes
Follow these simple steps. Work on one cabinet at a time.
- Lay out the panels on a flat surface. Match sides, top, bottom, and back.
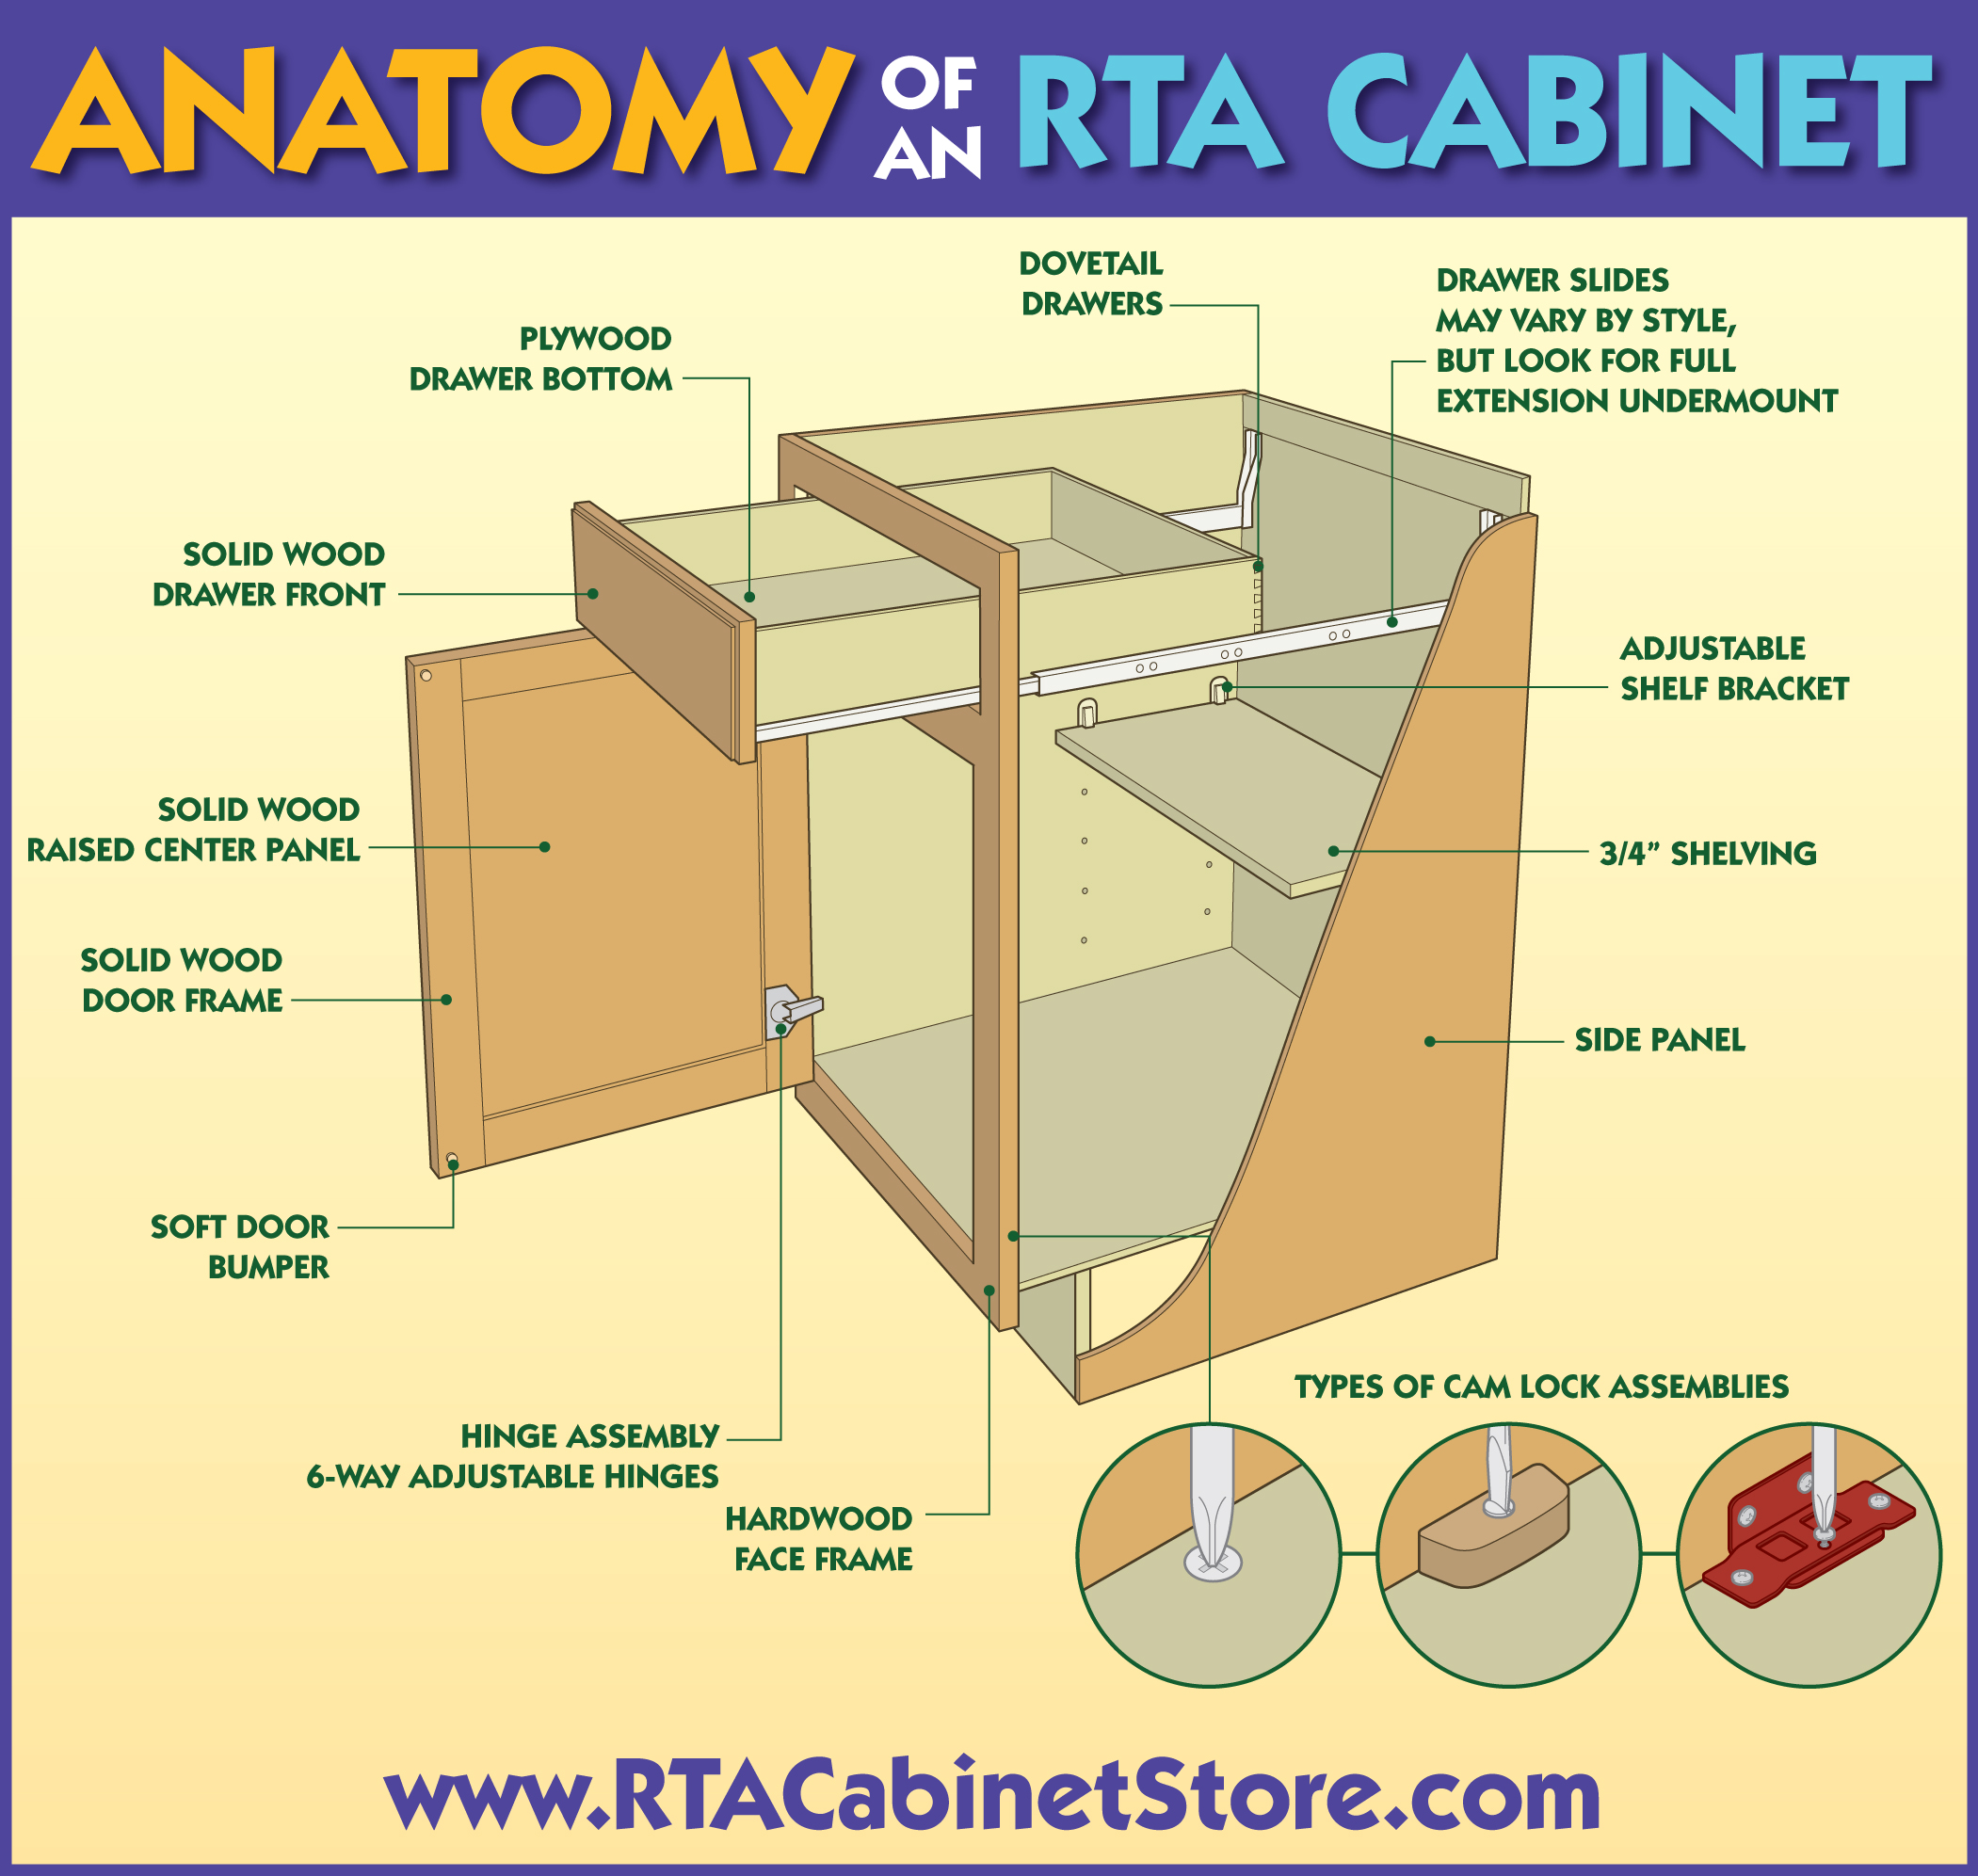
- Attach side panels to the bottom with cam locks or screws. Hand-tighten cams, then snug them later.
- Insert the back panel into the groove. Tap lightly to seat it square.
- Fasten the top panel. Check squareness with a carpenter’s square.
- Add internal shelves and adjust shelf pins to fit.
- Attach face frame or trim if included. Use clamps to hold while fastening.
Work slowly. Check square and flush edges as you go. These steps are central to how to assemble rta kitchen cabinets. When possible, assemble doors and drawers after the box is square.
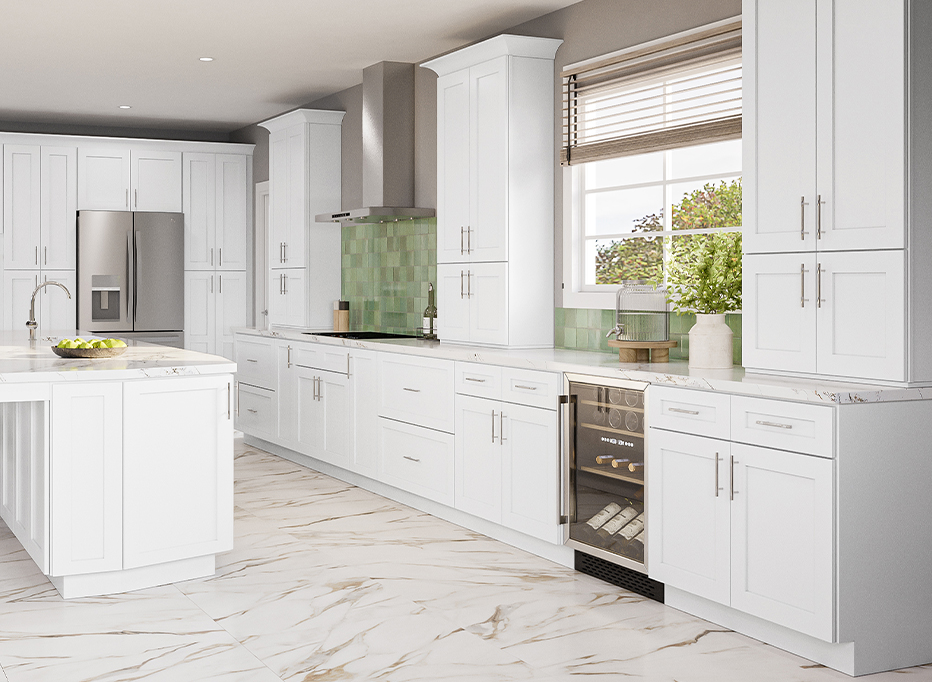
Install drawer boxes and doors
Drawer boxes and doors finish the look. Follow these steps.
- Build drawer boxes and secure bottoms. Test slides before final fastening.
- Attach drawer fronts with screws through the back of the drawer. Adjust for even gaps.
- Install door hinges on doors first. Then mount doors to the cabinet frame.
- Adjust hinge screws until doors sit level and gaps are even.
I once installed an entire kitchen without testing one door. I paid for rework. Test each hinge and slide as you go to avoid that.
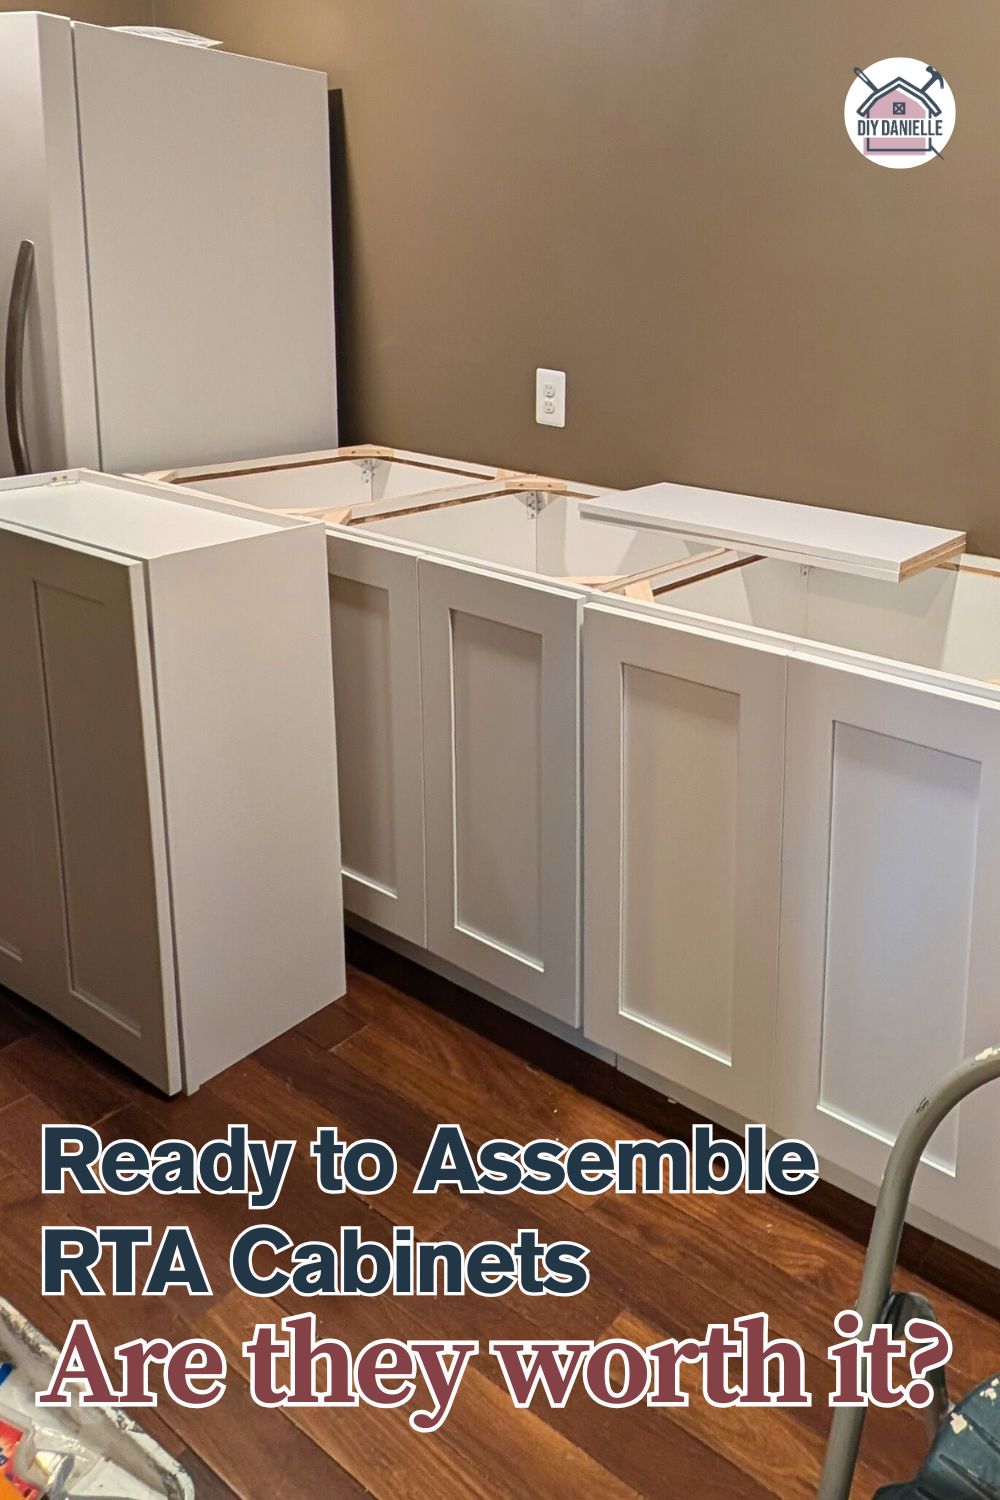
Common mistakes and how to avoid them
Knowing pitfalls saves time and money.
- Not checking for square: A mis-square box ruins door alignments. Check early.
- Skipping the dry-fit: Assemble loose first, then tighten. This helps align parts.
- Over-tightening cam locks: Stripped cams cause weak joints. Tighten snug, not brutal.
- Ignoring wall plumb: If walls aren’t plumb, shim behind cabinets. Don’t force them to be crooked.
- Rushing hardware: Test slides and hinges before final screws.
I learned to shim every job. A small shim under a base cabinet saved me hours later. These lessons help you learn how to assemble rta kitchen cabinets with fewer mistakes.
Installation tips and leveling
Level cabinets matter most for doors and drawers.
- Start with base cabinets: Place the corner cabinet first and level it front to back and side to side.
- Use shims behind the toe-kick and under the cabinet until the box is level and plumb.
- Screw cabinets together through rails. Two cabinets screwed together act as one stable unit.
- Hang upper cabinets with a ledger board and have a helper hold them while you fasten.
Leveling is the last step before countertops. Take your time; this is a key part of how to assemble rta kitchen cabinets that look built-in.

Finishing touches and hardware
Finish work makes a kitchen feel finished.
- Install crown molding, scribe trim, and filler pieces for a built-in look.
- Add pulls, knobs, and toe-kick plates.
- Touch up small finish chips with a marker made for cabinetry.
- Protect edges with silicone or caulk where cabinets meet walls.
A calm finish day feels great. It is the moment your effort turns into a kitchen. Good finishes reflect careful assembly and show you mastered how to assemble rta kitchen cabinets.

Maintenance and care for long life
Small care steps keep RTA cabinets looking new.
- Clean with mild soap and water. Avoid harsh chemicals that strip finish.
- Tighten hinges and slides annually. Hardware can loosen with use.
- Avoid heavy loads on frameless cabinet doors without support.
- Address chips right away with touch-up markers or small wood filler.
Proper care extends the life of cabinets and keeps doors aligned. This is part of the full picture of how to assemble rta kitchen cabinets for lasting results.
PAA-style questions
How long does it take to assemble one RTA cabinet?
Most cabinets take 1 to 3 hours to assemble for a single person. Time varies by cabinet type and skill level.
Do I need a professional to install RTA cabinets?
You can install them yourself if you are handy and patient. Hire a pro for complex layouts or plumbing and gas changes.
Are RTA cabinets as durable as custom cabinets?
Good-quality RTA cabinets can be very durable, but top-tier custom cabinets often use thicker materials and joinery. Choose based on budget and desired lifespan.
Frequently Asked Questions of how to assemble rta kitchen cabinets
What are the first steps when assembling RTA cabinets?
Start by unpacking and sorting all parts. Read the manufacturer instructions and verify the parts list before assembly.
Can I assemble RTA cabinets alone?
Yes, many people assemble RTA cabinets alone, but having one helper makes aligning and lifting easier. A helper is especially useful for upper cabinets.
How do I fix misaligned doors after assembly?
Loosen hinge screws slightly, adjust door position, then re-tighten. Most modern hinges allow height, depth, and lateral adjustments.
What fasteners do I need for wall mounting?
Use cabinet screws long enough to reach wall studs. If studs are not available, use rated wall anchors or toggle bolts for secure mounting.
Is it better to assemble cabinets on the floor or hang them first?
Assemble boxes on a flat work surface for accuracy, then move them into place for hanging. This approach reduces errors and makes finishing easier.
Conclusion
You can successfully learn how to assemble rta kitchen cabinets with the right tools, a clear plan, and steady steps. Start by checking parts, follow the assembly steps carefully, level and secure cabinets, and finish with hardware and trim. Take your time, learn from small mistakes, and enjoy the upgrade to your home. Ready to start your project? Gather tools, set aside a weekend, and share your progress or questions in the comments below.