
Build a sturdy kitchen island by joining base cabinets, adding a countertop, trim, and finishing touches.
I’ve built and renovated kitchens for years, and I’ll walk you through how to make a kitchen island from cabinets step by step. This guide covers planning, cabinet choices, tools, assembly, countertop options, finishing touches, and common pitfalls. Read on for practical tips, clear steps, and real-world advice so you can turn standard cabinets into a stylish, useful island that fits your space and budget.

Planning and design
Good planning makes the build simple. Think about size, flow, and function before you buy parts. Measure the kitchen and leave at least 36 inches of clear walkway around the island. If you plan to seat people, allow 24–30 inches of width per person and 15–18 inches of knee room under the counter.
Key design choices to make early:
- Cabinet layout — single run, L-shape, or stacked cabinets for more storage.
- Function — prep station, seating, sink, cooktop, or storage only.
- Height — standard counter height is 36 inches; bar height is 42 inches.
- Materials — choose cabinets that match or complement your kitchen.
How to make a kitchen island from cabinets starts with a clear plan. Decide whether you will use new stock cabinets, refurbished cabinets, or repurposed cabinets from another project. I often sketch the island to scale. It saves time and keeps costs down.
Materials and tools
Choose sturdy base cabinets as the core. Stock base cabinets are affordable and modular. Full-depth and full-height cabinets give the best storage. Decide if you need an island base with drawers, doors, or open shelving.
Essential materials:
- Base cabinets — 24-inch depth is common, or use 12–18 inch for narrow islands.
- Toe kick or plinth — hides legs and evens height.
- Countertop — butcher block, quartz, laminate, granite, or concrete.
- Fasteners — screws, construction adhesive, corner braces.
- Trim — shiplap, end panels, molding for a finished look.
Essential tools:
- Drill and driver
- Circular saw or track saw
- Level and tape measure
- Clamps and straightedge
- Stud finder and wrench set
I prefer stock cabinets with a plywood box. They are stable and easy to join. When learning how to make a kitchen island from cabinets, invest in a good level and clamps. They make the assembly much faster and neater.
Step-by-step build process
Follow these steps to build a stable island from cabinets. Read all steps first, then do them in order.
- Measure and mock up
- Measure your space and mark the island footprint on the floor with tape.
- Dry-fit the cabinets to check alignment and gaps.
- Prepare cabinets
- Remove doors and drawers for easy handling.
- Add filler strips or shims where walls or floors are uneven.
- Assemble cabinet run
- Butt cabinets together and clamp.
- Fasten with 1-1/4 inch cabinet screws through adjacent rails.
- Square and level
- Use a long level and a straight board across faces to align.
- Shim under cabinets until they sit level and plumb.
- Attach toe kick and trim
- Install a continuous toe kick or plinth to hide legs and give a finished base.
- Add end panels and decorative trim to the exposed sides.
- Secure to floor and walls (if required)
- Anchor cabinets to studs if they carry heavy loads or a sink.
- For floating islands, secure a base frame to the floor or add heavy-duty levelers.
- Cut countertop material to fit, or order a prefabricated top.
- Secure the countertop with construction adhesive and screws into the cabinet rails.
- Reinstall doors/drawers and hardware
- Adjust the hinges and drawer slides for even gaps.
- Final utilities
- If adding power, run outlets through conduit below the island per code.
- For sinks, connect plumbing and check for leaks.
When you learn how to make a kitchen island from cabinets, patience matters. I once rushed the leveling step and had to redo the countertop. Take time to shim and clamp correctly.

Finishing touches and countertop options
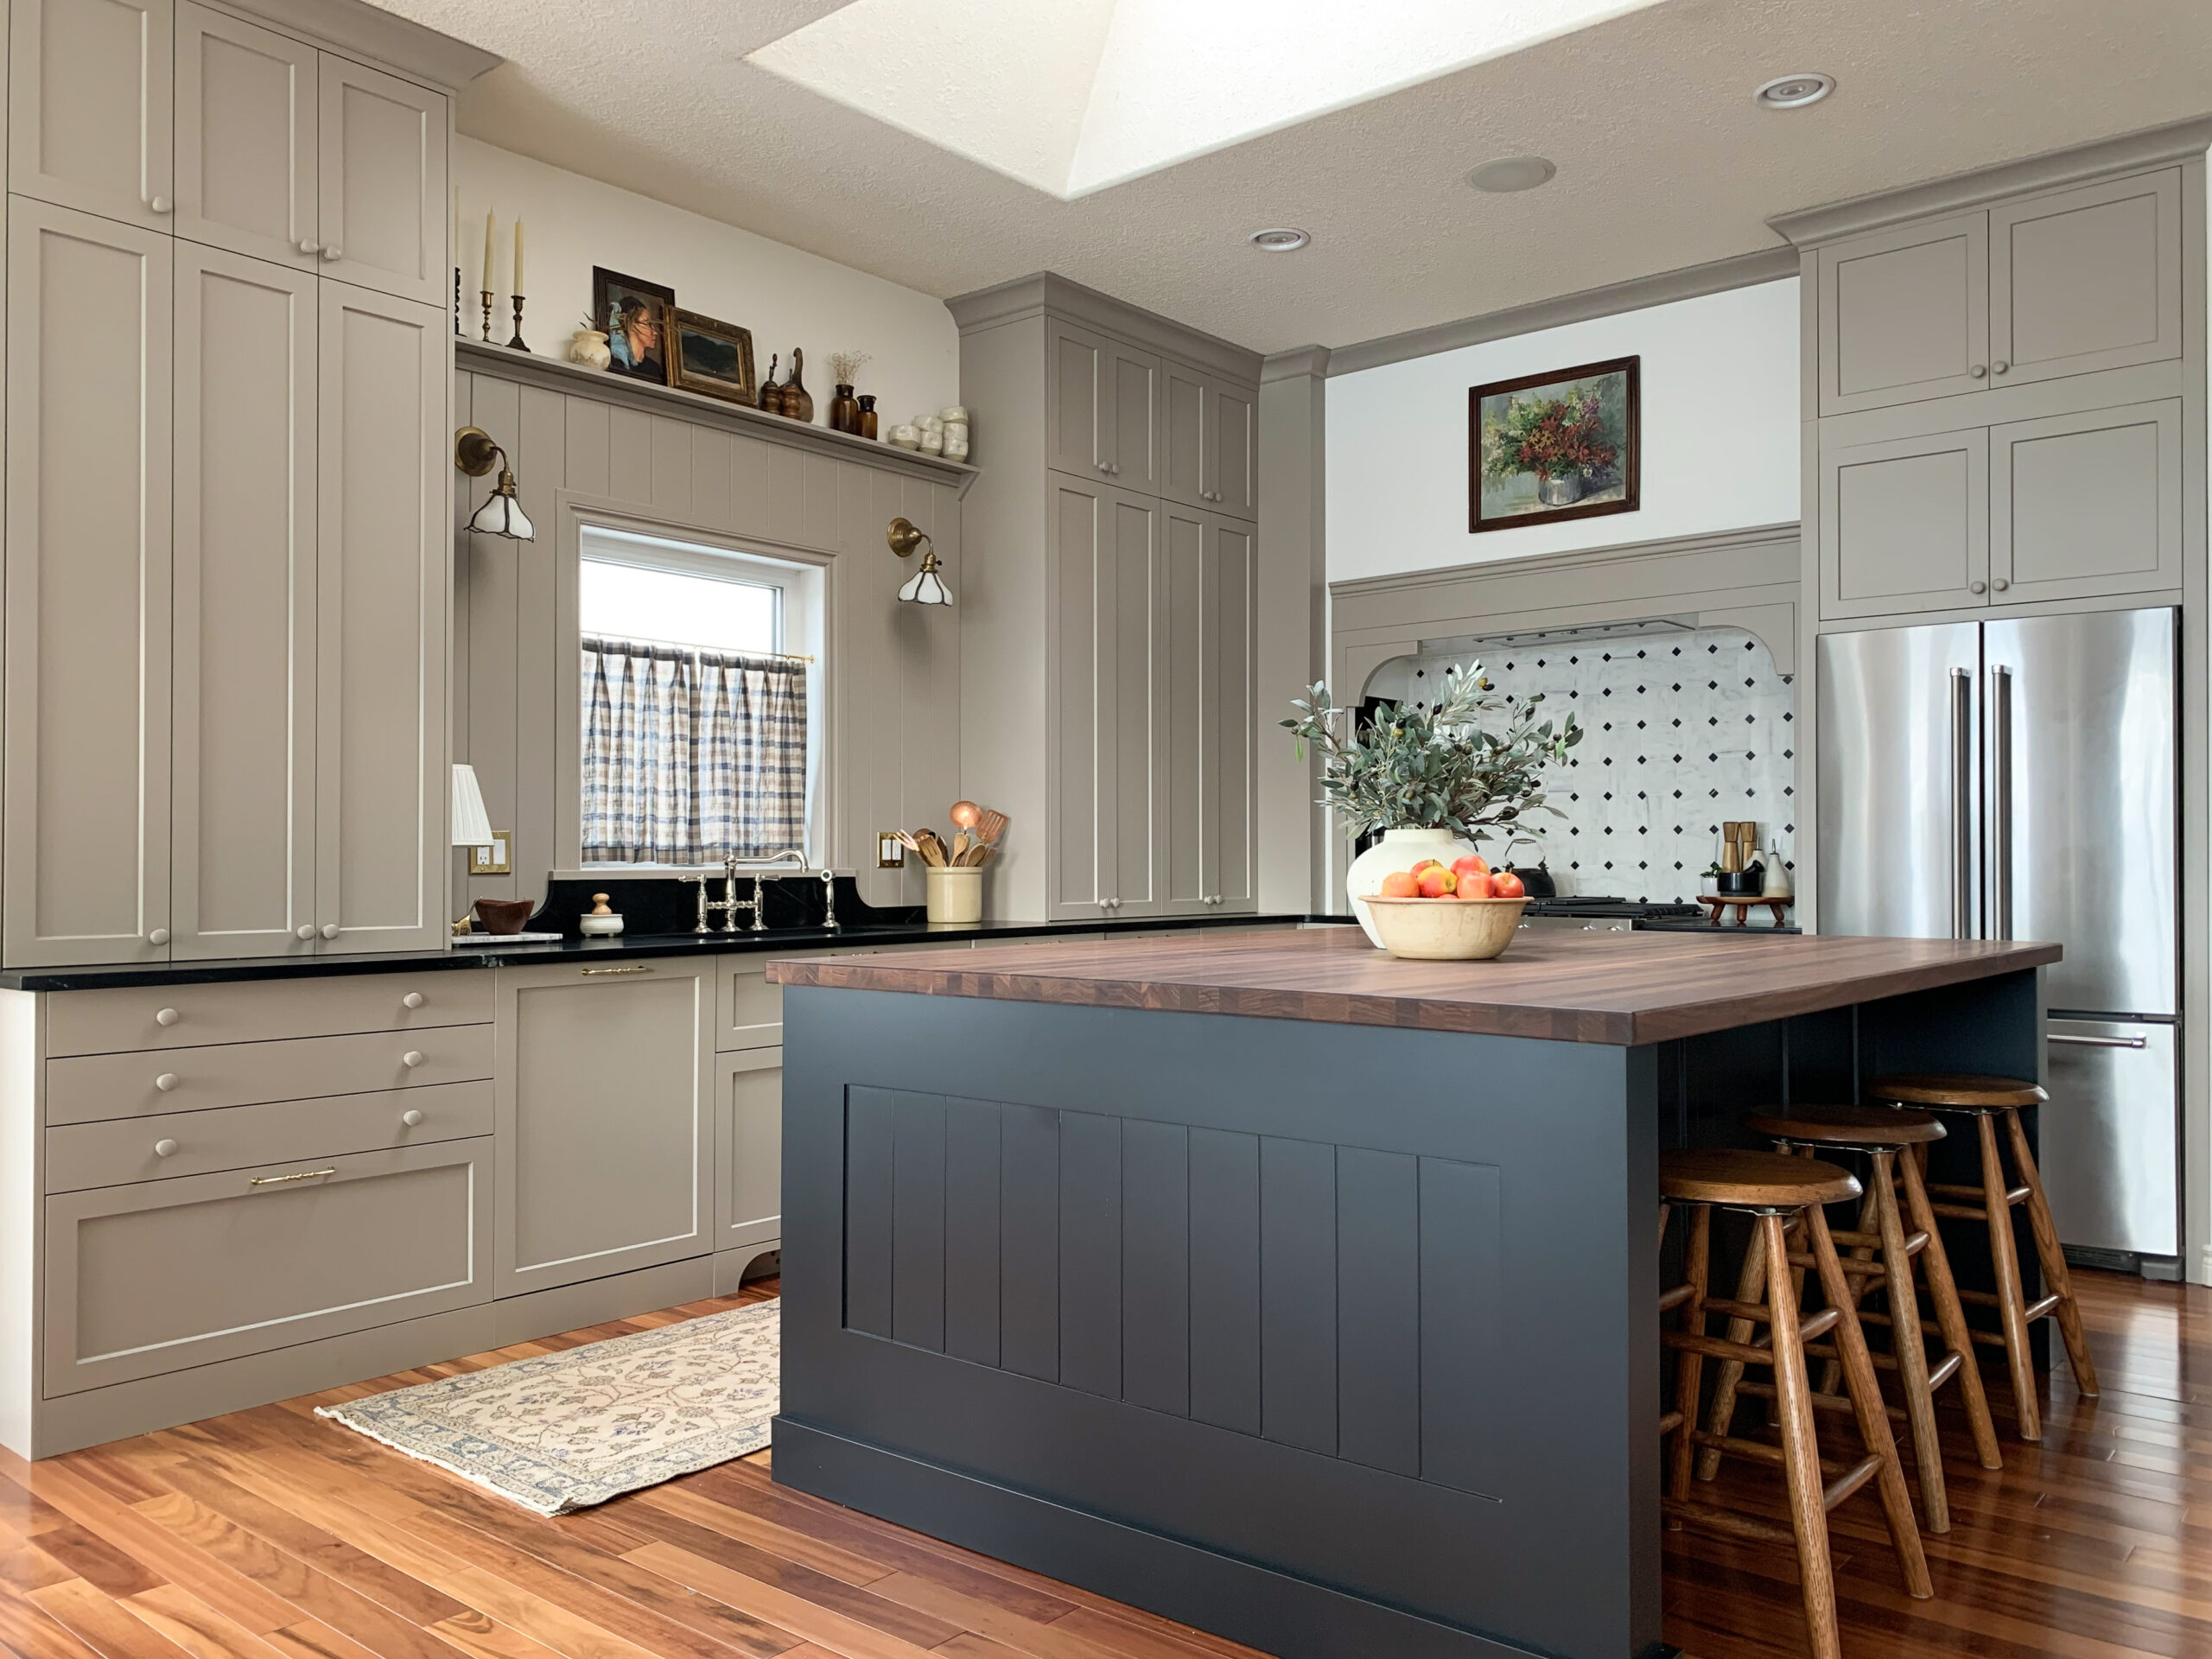
The finish sells the island. Choose a look that ties into your kitchen. Paint the cabinet boxes, attach furniture-grade end panels, and add decorative corbels for an overhang.
Popular countertop choices:
- Butcher block — warm and easy to repair by sanding.
- Quartz — low maintenance, consistent color, higher cost.
- Granite — durable, heat resistant, needs sealing occasionally.
- Laminate — budget-friendly and available in many patterns.
Finishing ideas:
- Add a 12–18 inch overhang for seating and use decorative corbels under it.
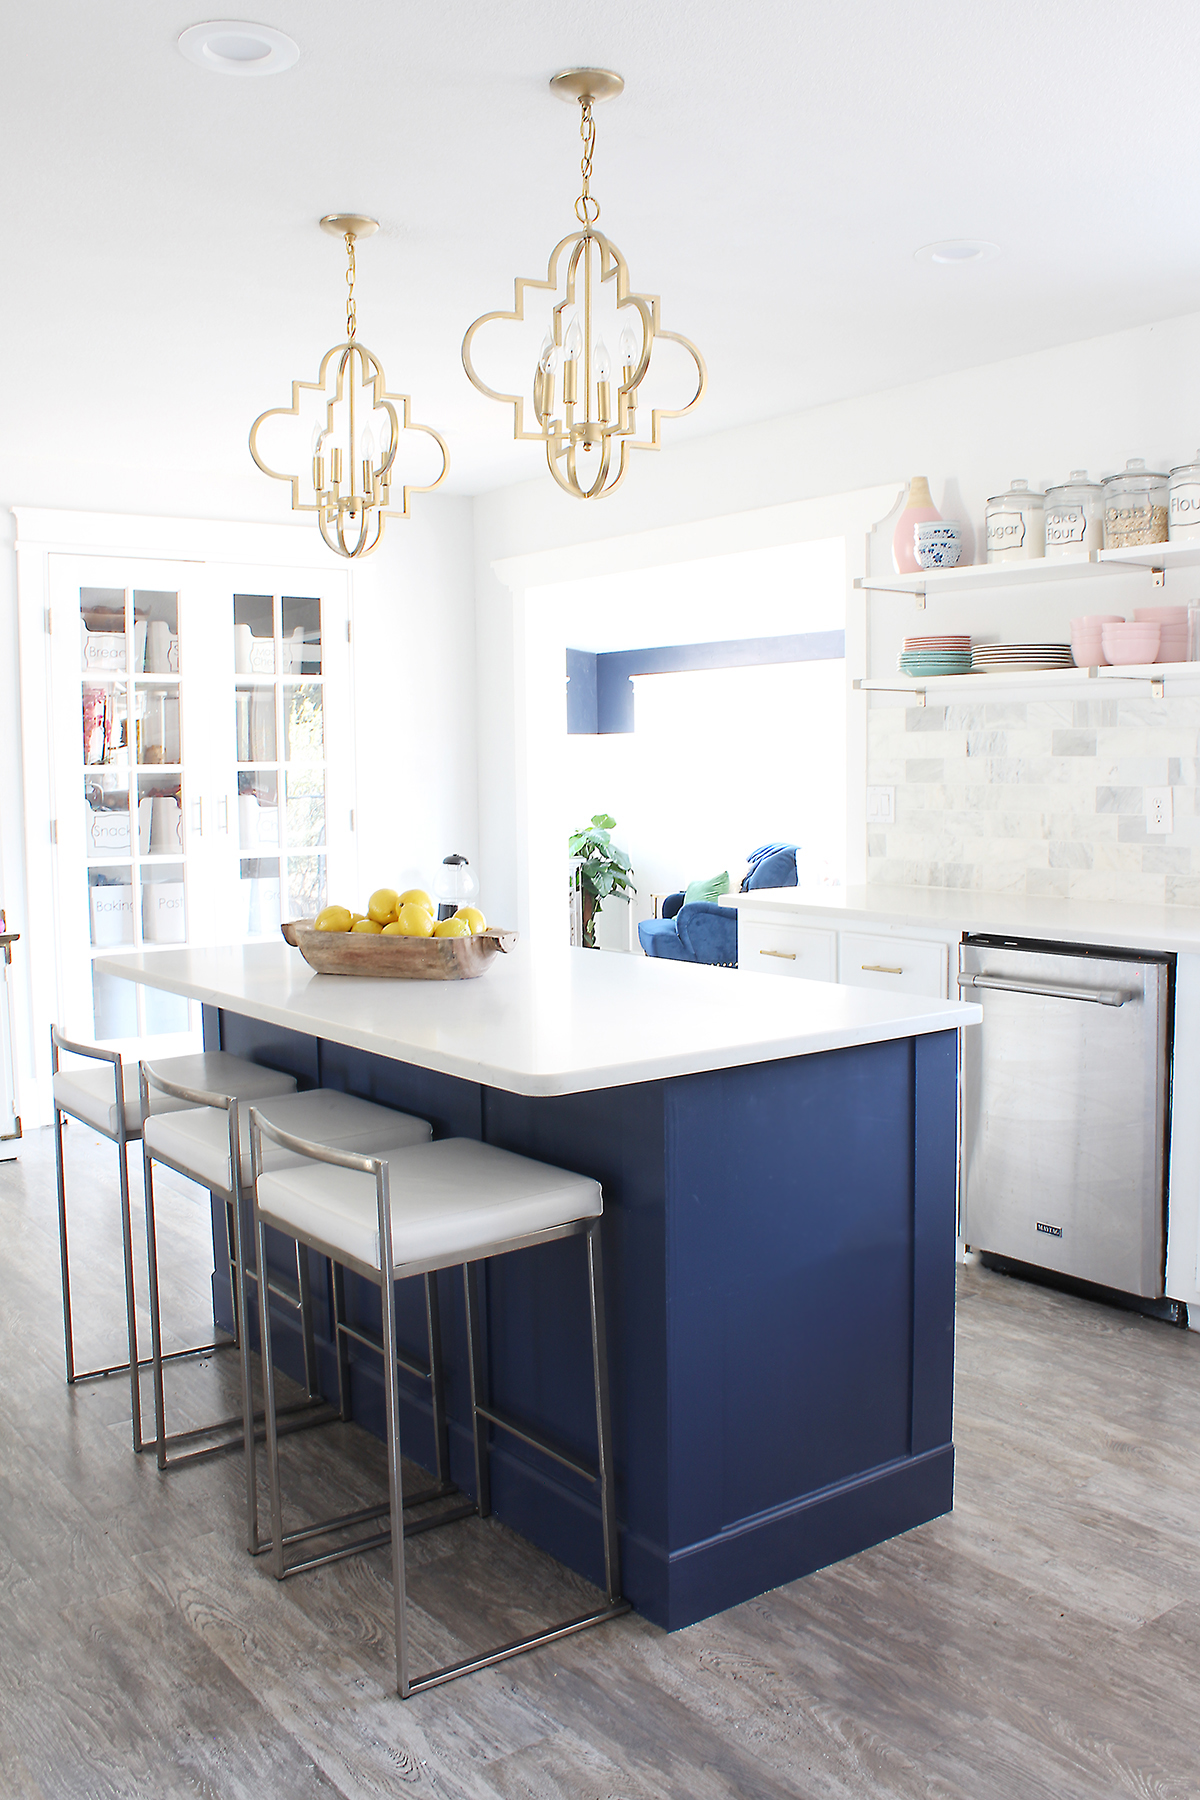
- Use contrasting paint or stain on the island to make it a focal point.
- Install open shelves on one end for cookbooks or baskets.
How to make a kitchen island from cabinets includes thinking about wear and use. If you plan to prep food on the island, choose a durable surface and consider an integrated cutting board or a small inset sink.
Common mistakes and pro tips
Avoid these frequent pitfalls from my remodeling experience.
Common mistakes:
- Rushing leveling — leads to warped countertops and stuck doors.
- Forgetting clearance — skinny walkways make a busy kitchen feel cramped.
- Skimping on anchoring — island wobble is hard to fix later.
Pro tips:
- Use face-frame clamps or a cabinet alignment jig for precision.
- Add blocking inside cabinets where you plan to attach the countertop.
- Pre-drill screw holes to avoid splitting face frames.
I once used mismatched cabinet depths and had to add a filler board to create a flush face. Learn from that: match depths or plan for panels. These small fixes save time and money.

Maintenance, uses, and design variations
After installation, maintain the island to keep it functional and pretty. Wipe down surfaces daily and seal natural stone as recommended.
Everyday uses:
- Food prep and plating
- Casual dining and homework spot
- Extra storage for pots, pans, and small appliances
Design variations to consider:
- Mobile island on casters for flexible space.
- Island with sink for a prep sink layout.
- Island with cooktop and downdraft vent for compact cooking zones.
If you’re wondering how to make a kitchen island from cabinets into a mobile unit, secure the cabinets to a strong plywood base and add heavy-duty casters with locks. Always follow local codes when adding gas or electrical to the island.

Frequently Asked Questions of how to make a kitchen island from cabinets
What size cabinets should I use for a kitchen island?
Use standard 24-inch-deep base cabinets for full storage. For narrow islands, consider 12–18 inch depths to save space while keeping counter room.
Do I need to anchor the island to the floor?
Anchoring is recommended if the island will hold heavy loads, appliances, or a sink. For mobile islands, use locking casters and a strong base instead.
Can I use upper cabinets for an island?
Upper cabinets are shallow and not ideal as a base. If you want shallow storage, build a strong frame and attach cabinets securely to prevent tipping.
How do I add seating to a cabinet island?
Leave a 12–18 inch overhang for knees and use corbels or a support beam under the counter. Allow 24–30 inches width per seat for comfort.
Is it cheaper to build an island from cabinets or buy a unit?
Building from stock cabinets is often cheaper and more custom. Prebuilt islands save time but may cost more and offer less flexibility.
How long does it take to build an island from cabinets?
A basic island can be assembled in a weekend with help. Complex builds with plumbing, wiring, or stone countertops may take several days or professional scheduling.
Conclusion
Turning cabinets into a kitchen island is a smart, cost-effective way to add storage, workspace, and style. Start with a solid plan, choose the right cabinets and countertop, and follow the step-by-step build process. Take time to level and secure the run, and finish it with trim and hardware that match your kitchen. You can do this project in stages and tailor it to your needs.
Ready to start? Sketch your layout, pick cabinet sizes, and make a parts list today. Share your progress, ask questions, or subscribe for more hands-on kitchen remodeling tips.