
Build sturdy, custom kitchen base cabinets using basic tools, plywood, and careful measuring.
I’ve built and installed dozens of kitchen cabinets over the years. In this guide I’ll walk you through how to build kitchen base cabinets step by step, from planning and materials to finishing and installation. You’ll get clear instructions, practical tips from my real projects, common mistakes to avoid, and the confidence to tackle a base cabinet build yourself.
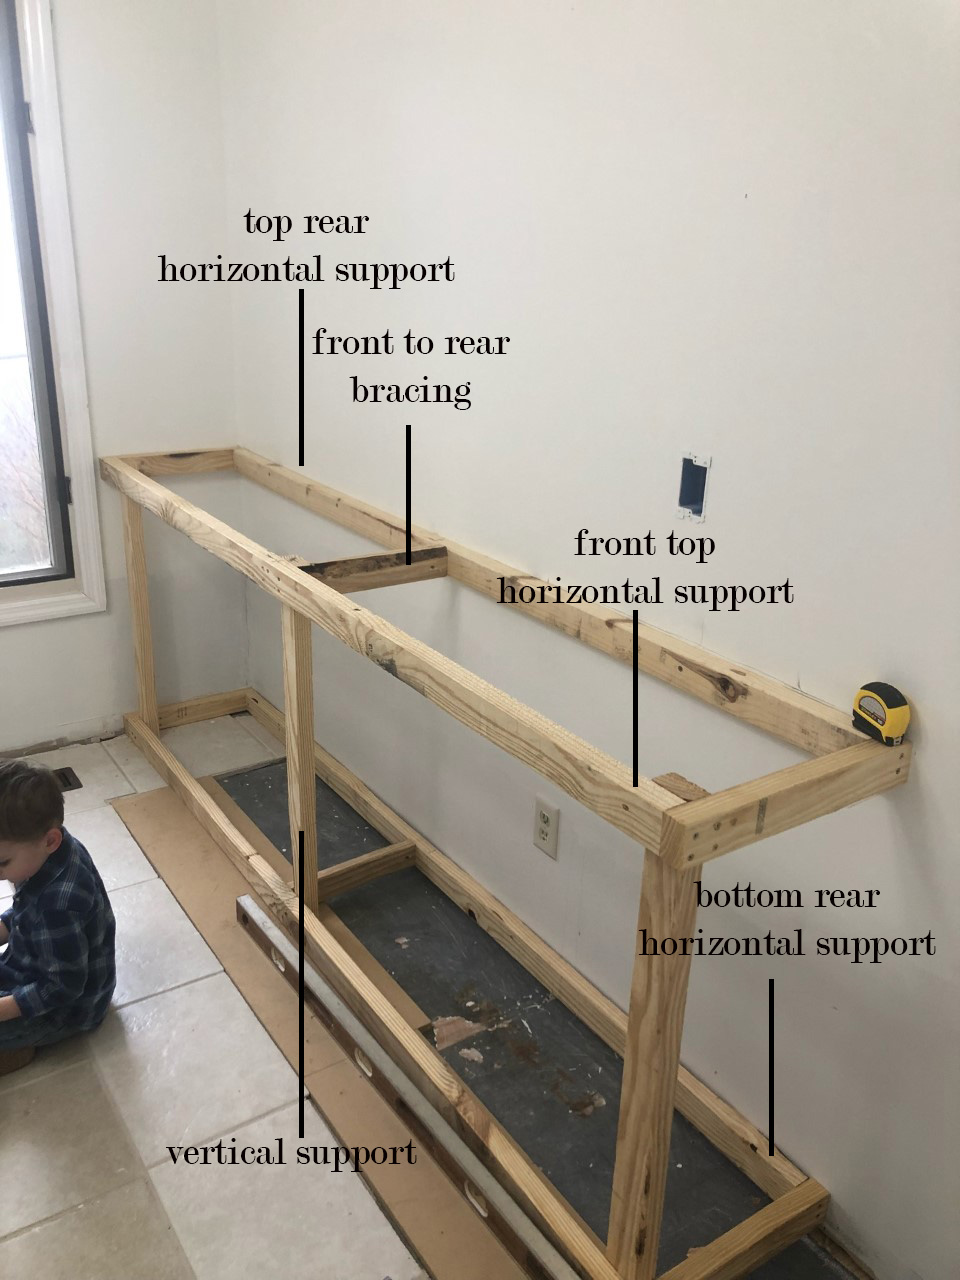
Planning and design
Good planning makes the build simple. Start by measuring the kitchen space. Note wall lengths, plumbing, electrical, and floor level. Decide cabinet layout, door style, and storage needs before cutting wood.
Think about cabinet height and depth. Standard base cabinet depth is 24 inches and height is 34.5 inches without countertop. Plan for toe kick space of about 3.5 inches. Sketch a layout on paper or use a basic CAD or kitchen planner tool.
Consider materials and budget now. Plywood gives strength and smooth edges. MDF can be used for doors or panels, but plywood holds screws better. If you plan to paint, joinery and seams can be simpler than if you’ll stain solid wood.
People also ask: How long does it take to build a base cabinet?
- A simple cabinet can take a skilled DIYer 3–6 hours for one unit, less with jigs and templates.
People also ask: Do I need special tools to build kitchen base cabinets?
- No. Basic woodworking tools plus a good circular saw and pocket-hole jig handle most builds. Specialty tools speed the work.
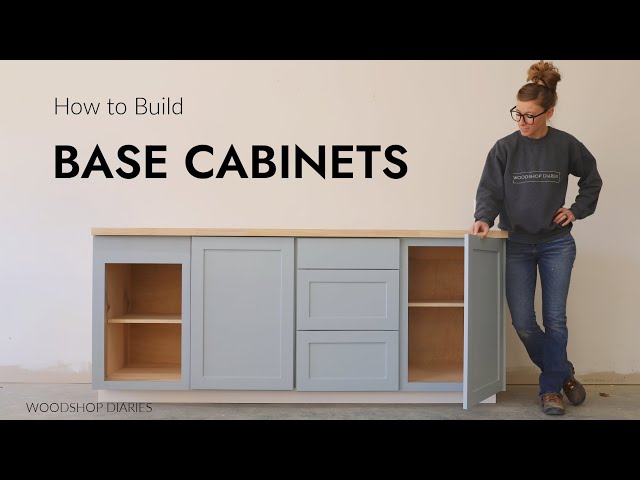
Materials and tools needed
Choose the right materials to ensure durability. Here’s a reliable parts list that I use on projects.
Materials
- 3/4-inch cabinet-grade plywood for boxes and carcases
- 1/2-inch plywood for backs, if desired for weight savings
- 3/4-inch plywood or hardwood for face frames (optional)
- Drawer boxes: 1/2-inch plywood or pre-made metal drawer boxes
- Hardware: hinges, drawer slides, screws, cabinet screws, wood glue
- Toe kick material and shims
- Finish materials: primer, paint or stain, sealer, countertop
Tools
- Tape measure and carpenter’s square
- Circular saw or table saw
- Drill/driver and pocket-hole jig
- Clamps (bar clamps)
- Router with straight bit (helpful)
- Jigsaw for curved cuts or notches
- Sander and sandpaper
- Level and stud finder
I usually buy plywood in 4×8 sheets and have it ripped at the store when possible. That saves time and keeps cuts straighter. Always get one extra sheet for mistakes.
:max_bytes(150000):strip_icc()/CabinetsDwg1-606042c79d87434d89d04dd82d1c7028.png)
Step-by-step build process
Follow these steps to learn how to build kitchen base cabinets that fit well and last.
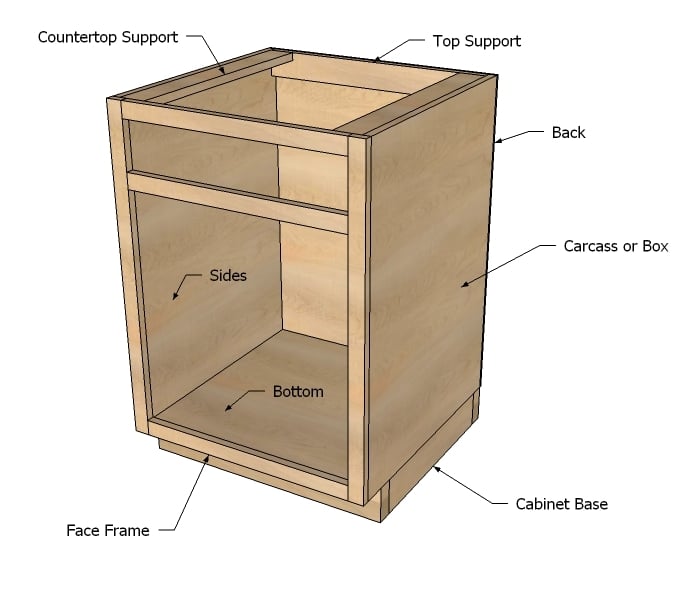
- Cut panels to size
- Cut top, bottom, and side panels from 3/4-inch plywood.
- Make sure all panels are square. Use a straightedge for longer cuts.
- Assemble the carcase
- Use glue and clamps to join the pieces. Reinforce with screws or pocket holes.
- Check for squareness by measuring diagonals.
- Install the back panel with glue and screws for rigidity.
- Add face frame (optional)
- Glue and screw a 1 1/2-inch face frame to the front of the carcase for a classic look.
- If you use full-overlay doors, you can skip the face frame and use plywood edging instead.
- Make and fit the drawer boxes
- Cut drawer sides and bottoms. Use dado cuts or rabbets for strong joints.
- Install drawer slides following manufacturer instructions. Test smooth operation.
- Install shelves and dividers
- Fixed shelves provide strength. Adjustable shelves use shelf pins or small brackets.
- Plan for pull-outs or lazy Susans where you need access to deep corners.
- Sand and prepare for finish
- Sand seams and faces. Fill gaps and screw holes with wood filler.
- Apply primer if painting. Sand between coats for a smooth finish.
- Attach doors and hardware
- Mount hinges using a jig or careful measurement. Adjust for even gaps.
- Install knobs and handles and test all moving parts.
I recommend building one cabinet as a prototype first. I once built a full set and had to redo four doors because I misread my hinge overlay. Building a test unit saves time and frustration.
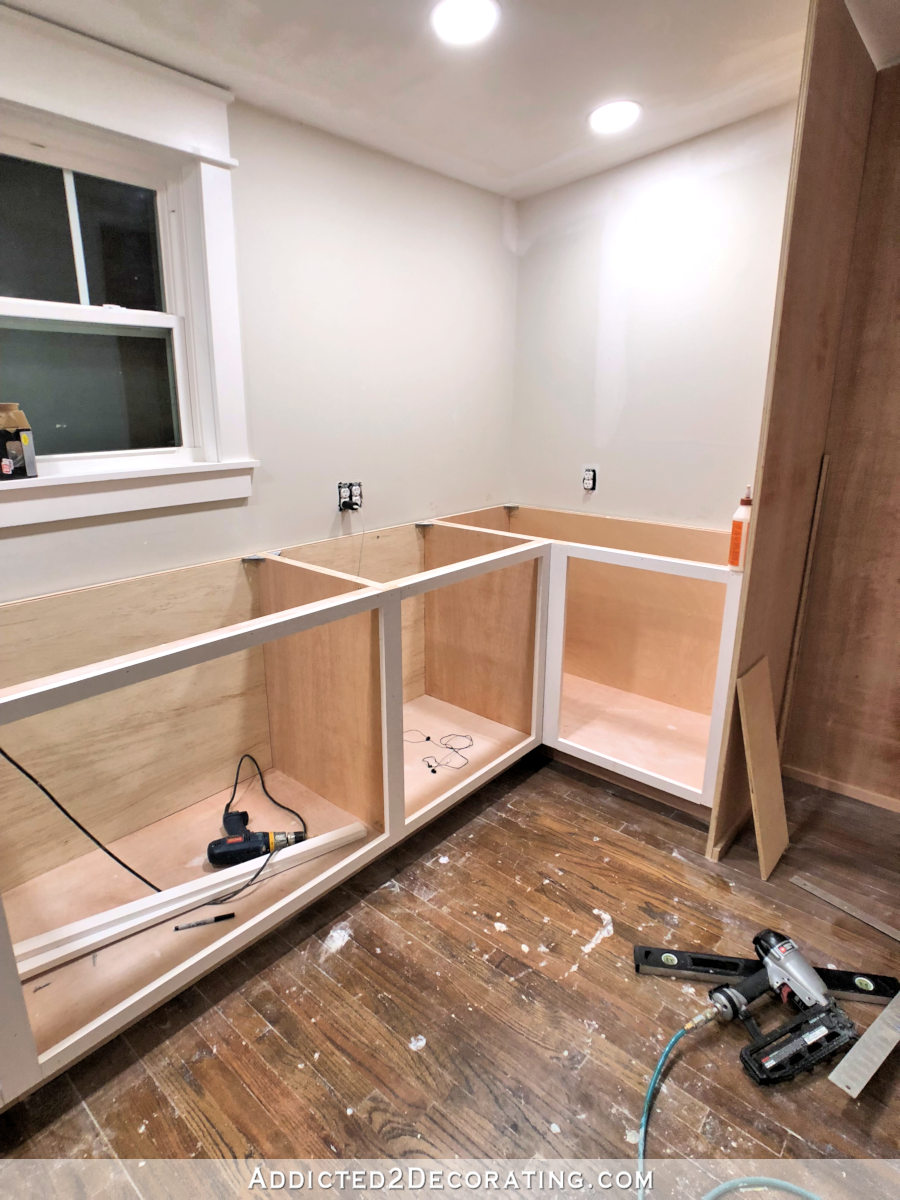
Finishing touches and installation
A careful install makes cabinets look professional. Here’s how to finish and set them in place.
Preparation
- Locate and mark studs. Use a level to create a straight ledger line on the wall to support the cabinets during installation.
- Shim the floor to account for unevenness. Cabinets must be level front to back and left to right.
Installation steps
- Start with the corner or the longest run. Screw cabinets to studs through the cabinet back or mounting rails.
- Clamp adjacent cabinets and screw them together through the sides. Keep faces flush.
- Install the countertop after cabinets are secure. Use a level and support for heavy stone tops.
- Add toe kick and trim for a finished look.
Final checks
- Check door alignment and make hinge adjustments.
- Test drawers and doors for smooth operation and consistent gaps.
- Caulk gaps between wall and cabinet where necessary.
From my experience, installing a false front or filler strips can save a lot of trimming work. Measure twice, cut once. If a cabinet is slightly out of plumb, shims and careful caulking hide the gap.
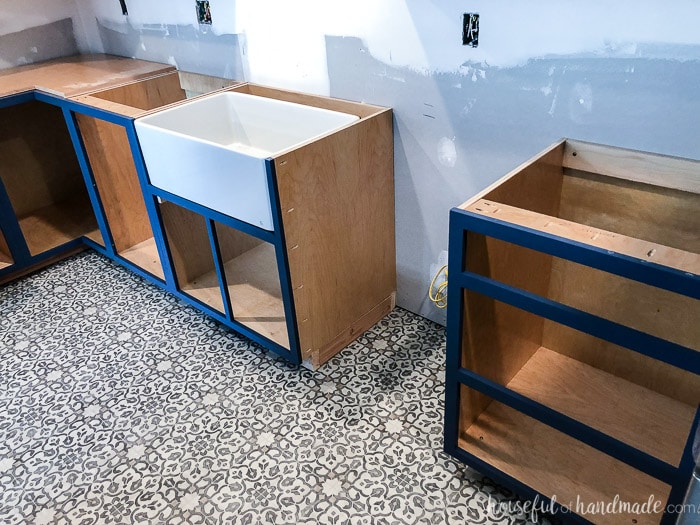
Costs, time, and common mistakes
Costs and time vary by size, materials, and skill. Expect these rough ranges:
- Materials for one basic base cabinet: $60–$200
- Labor time for a DIYer per cabinet: 3–8 hours
- Professional cabinet prices vary widely, often 3–5 times DIY material cost
Common mistakes to avoid
- Rushing measurements. Mistakes in measuring lead to poor fit.
- Using low-quality plywood. It can delaminate or strip screws.
- Skipping clamping and drying time for glue. This weakens joints.
- Ignoring floor or wall irregularities. Always check level and plumb.
- Not test-fitting doors and drawers before finishing.
Be upfront about limits. Building and installing kitchen base cabinets takes patience. If you plan to work with heavy counters such as granite, consider professional help for templating and mounting.
Maintenance and care
Well-made cabinets last years with minimal care. Follow these tips to keep them in top shape.
Daily care
- Wipe spills quickly with a damp cloth.
- Use non-abrasive cleaners for painted or sealed finishes.
Long-term care
- Tighten loose screws and hinges as needed.
- Refinish or touch-up paint where wear occurs.
- Regularly check drawer slides and lubricate if they bind.
Small repairs kept up prevent bigger problems later. I’ve brought old cabinets back to life with new hardware and a fresh coat of paint.

Frequently Asked Questions of how to build kitchen base cabinets
What is the best wood for cabinet boxes?
Plywood, especially cabinet-grade birch or maple plywood, offers strength and stability and resists warping compared to particleboard.
How tall should base cabinets be with countertop?
Standard base cabinet height is 34.5 inches without the countertop. With a 1.5-inch countertop, the finished height is about 36 inches.
Can I build cabinets without a table saw?
Yes. A circular saw with a straightedge guide and a good pocket-hole jig can handle most cuts and joinery for base cabinets.
How do I make sure cabinets are level on a sloped floor?
Shim under the cabinet base at strategic points and use a long level across multiple cabinets. Secure cabinets to wall studs after leveling.
Are full-overlay doors harder to fit than inset doors?
Full-overlay doors are easier for beginners because they allow more tolerance for small errors. Inset doors require precise measurements and squareness.
Conclusion
Building kitchen base cabinets is a rewarding project that saves money and lets you customize storage and style. Start with good plans, use quality materials, and test-build one unit before committing to a full run. Take your time on measuring, squaring, and finishing—those steps deliver a lasting result.
Ready to try your first cabinet? Gather your tools, set aside a clear weekend, and build one base cabinet to learn the process. If you found this useful, leave a comment about your project or subscribe for more woodworking guides.