
Clean the aerator, open shut-off valves fully, and remove pipe or faucet clogs to boost pressure.
I’ve worked on dozens of household plumbing problems, and this guide explains how to increase water pressure kitchen sink with clear, practical steps you can try today. You’ll get simple checks, step-by-step fixes, tools to use, and when to call a pro — all written from real experience and tested tips so you can restore strong flow fast.
Why your kitchen sink has low water pressure
Low flow at a sink can come from many places. Often the issue is in the faucet aerator, the shut-off valves under the sink, or mineral buildup inside pipes. Municipal supply problems, a closed pressure-reducing valve, and leaks also cause low pressure. Understanding the cause helps you choose the right fix when you learn how to increase water pressure kitchen sink.
Common causes to check
- Clogged aerator or cartridge — tiny debris and minerals reduce flow.
- Partially closed shut-off valves — under-sink valves may be turned down.
- Mineral buildup in pipes — hard water leaves scale inside pipes and fixtures.
- Pressure regulator or municipal issue — whole-house pressure problems affect the sink.
- Hidden leaks — water escaping before the faucet reduces pressure.
Personal note: I once spent an afternoon chasing low flow only to find the aerator full of grit. A quick clean solved the problem. That experience taught me to start with the simplest checks first.

Quick checks before you start any repair
Do a few fast checks to narrow down the problem before you disassemble anything. These quick steps save time and prevent unnecessary part swaps when you explore how to increase water pressure kitchen sink.
Simple tests to run
- Test other fixtures in the house to see if low pressure is isolated to the kitchen sink.
- Turn the handle to full on and check both hot and cold separately.
- Inspect under-sink shut-off valves and confirm they are fully open.
- Remove and inspect the aerator for debris or scale buildup.
- Look for leaks or drips under the sink that suggest supply loss.
If the whole house has low pressure, the issue is likely upstream. If only the kitchen sink is affected, proceed with faucet and supply line checks.
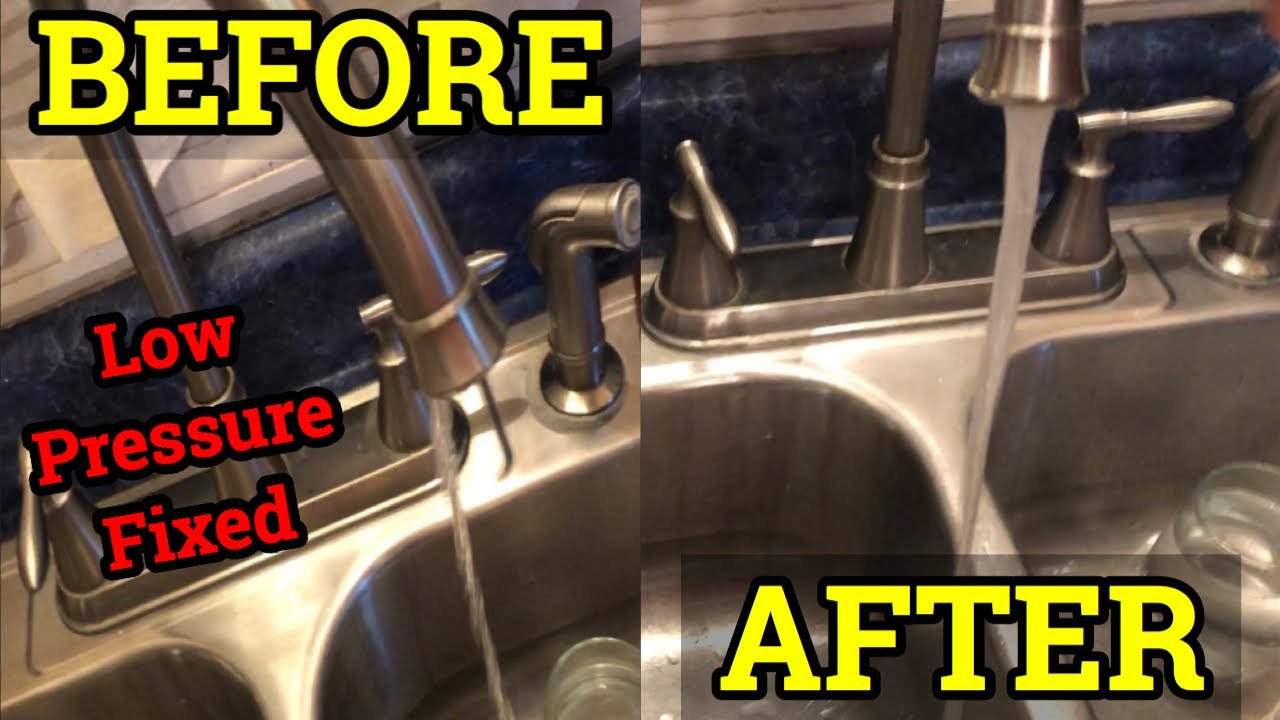
Step-by-step fixes to increase water pressure kitchen sink
Follow these steps in order from easiest to more involved. They cover most causes and are friendly to DIYers. I’ll note when it’s time to call a plumber.
- Clean the aerator
- Turn off faucet and unscrew the aerator.
- Rinse debris and soak in vinegar for 30–60 minutes to remove scale.
- Brush gently, reassemble, and test flow.
Cleaning the aerator is often the fastest way to increase water pressure kitchen sink.
- Check and open shut-off valves
- Locate hot and cold valves under the sink.
- Turn them counterclockwise until fully open.
- Test faucet again.
Partially closed valves are a surprisingly common cause of low sink pressure.
- Inspect the faucet cartridge or valve
- For single-handle faucets, remove the handle and pull the cartridge.
- Clean or replace a worn cartridge per manufacturer instructions.
- Reassemble and test.
A worn cartridge can restrict flow and cause uneven pressure between hot and cold.
- Flush supply lines
- Turn off water at the shut-offs and disconnect supply lines.
- Place a bucket under the line and briefly open the shut-off to flush debris out.
- Reconnect and test.
This can clear mineral flakes and sediment that clog the faucet.
- Remove scale from aerators and cartridges with vinegar or CLR
- Soak parts in vinegar for scale removal.
- Use a toothbrush to scrub remaining deposits.
- Rinse parts thoroughly before reinstalling.
Scale buildup reduces flow over time, especially in hard-water areas.
- Check the pressure-reducing valve (PRV) or whole–house regulator
- Locate the PRV near the main water line.
- If adjustable, increase slightly and retest pressure.
- If faulty, call a licensed plumber to repair or replace.
Adjusting a PRV affects the entire house, so proceed cautiously.
- Replace undersized or corroded supply lines
- Older lines or narrow braided lines may restrict flow.
- Swap to a larger-diameter supply line if needed.
- Use flexible stainless steel lines for durability.
Upgrading supply lines can make a noticeable difference in flow.
- Inspect for hidden leaks
- Watch your water meter while no water runs. If it moves, a leak exists.
- Check ceilings, walls, and under-sink cabinets for moisture.
- Repair leaks promptly to restore pressure and prevent damage.
I once replaced a corroded supply line and saw immediate improvement. Small upgrades often yield big results.

Advanced fixes and when to call a pro
Some problems require tools, permits, or professional skills. Know the limits of DIY and call an expert when needed. These items cover bigger jobs tied to how to increase water pressure kitchen sink.
When to hire a plumber
- You suspect a main-line or municipal supply issue.
- The PRV or main shutoff needs replacement.
- There’s hidden pipe corrosion or extensive mineral buildup in copper or galvanized pipes.
- You’re uncomfortable soldering or cutting pipes.
Advanced fixes a pro may perform
- Replacing galvanised piping with copper or PEX to restore flow.
- Installing a booster pump for low municipal pressure.
- Adjusting or replacing a failing pressure regulator.
- Video inspection of drain and supply lines to diagnose hidden blockages.
If you try DIY and don’t see improvement, a licensed plumber can diagnose pressure losses faster and avoid costly mistakes.
Maintenance tips to keep pressure high
Routine care prevents most pressure drops. A few small habits extend faucet life and reduce clogs. These tips help you keep strong flow once you know how to increase water pressure kitchen sink.
Simple maintenance checklist
- Clean aerators every 6–12 months depending on water hardness.
- Replace old supply lines every 8–12 years or when showing wear.
- Use a water softener or scale inhibitor in hard-water areas.
- Inspect under-sink valves and fittings yearly for leaks.
- Flush lines after any remodeling or work on the water system.
Regular maintenance saved me multiple service calls. Simple tasks prevent most pressure problems.

Tools and parts you may need
Having the right tools speeds repairs and reduces frustration. Keep these on hand for typical projects about how to increase water pressure kitchen sink.
Essential tools and parts
- Adjustable wrench and channel-lock pliers for fittings.
- Screwdrivers (flat and Philips) for faucet trim.
- Replacement aerator and faucet cartridge specific to your model.
- Thread seal tape for fittings.
- Vinegar or commercial descaler for mineral removal.
- Flexible supply lines and possibly a new PRV for larger jobs.
Buy quality replacement parts. Cheap components can fail quickly and cost more in the long run.

Frequently Asked Questions of how to increase water pressure kitchen sink
Why is my kitchen sink water pressure low only sometimes?
Intermittent low pressure often comes from debris caught in the aerator or supply line, or a partially closing valve. Test the aerator and valves and clean or open them to see if flow improves.
Can I increase water pressure kitchen sink by myself?
Yes, many fixes are DIY friendly, like cleaning the aerator, opening shut-off valves, and replacing supply lines. Call a plumber for main-line, PRV, or complex pipe work.
Will replacing the faucet increase my water pressure?
Replacing an old or restrictive faucet can improve perceived pressure, but it won’t fix low supply from the house or city. Choose a high-flow faucet and check supply lines first.
How do I test if the problem is the faucet or the house supply?
Turn off the faucet and briefly open the shut-off valve into a bucket after disconnecting the supply line; strong flow at the shut-off means the faucet is the issue. Weak flow there points to house supply or mains.
How often should I clean the aerator to maintain good pressure?
Clean the aerator every 6–12 months, or sooner if you notice reduced flow or sputtering. In hard-water areas, check it more often.
Is a pressure booster pump a good solution?
A booster pump is useful when municipal pressure is low and the house pressure regulator is not adjustable. It requires professional installation and may need a permit depending on local rules.
Conclusion
You can often restore strong flow by starting with simple fixes: clean the aerator, fully open shut-off valves, and clear supply lines. For persistent issues, check the PRV, replace old lines, or call a licensed plumber. Take action now by trying the basic checks and small repairs, and note what you change so a pro can help faster if needed. If this guide helped, try the steps today, subscribe for more home tips, or leave a comment with your problem and I’ll help troubleshoot.