
Install the fan by cutting a hole, mounting the unit, wiring it, and venting outside.
I have installed many kitchen exhaust fans and will walk you through how to install exhaust fan in kitchen with clear steps, safety tips, and real-world advice. This guide blends hands-on experience, code-aware tips, and simple explanations so you can install confidently or decide when to hire a pro.
Why add an exhaust fan to your kitchen
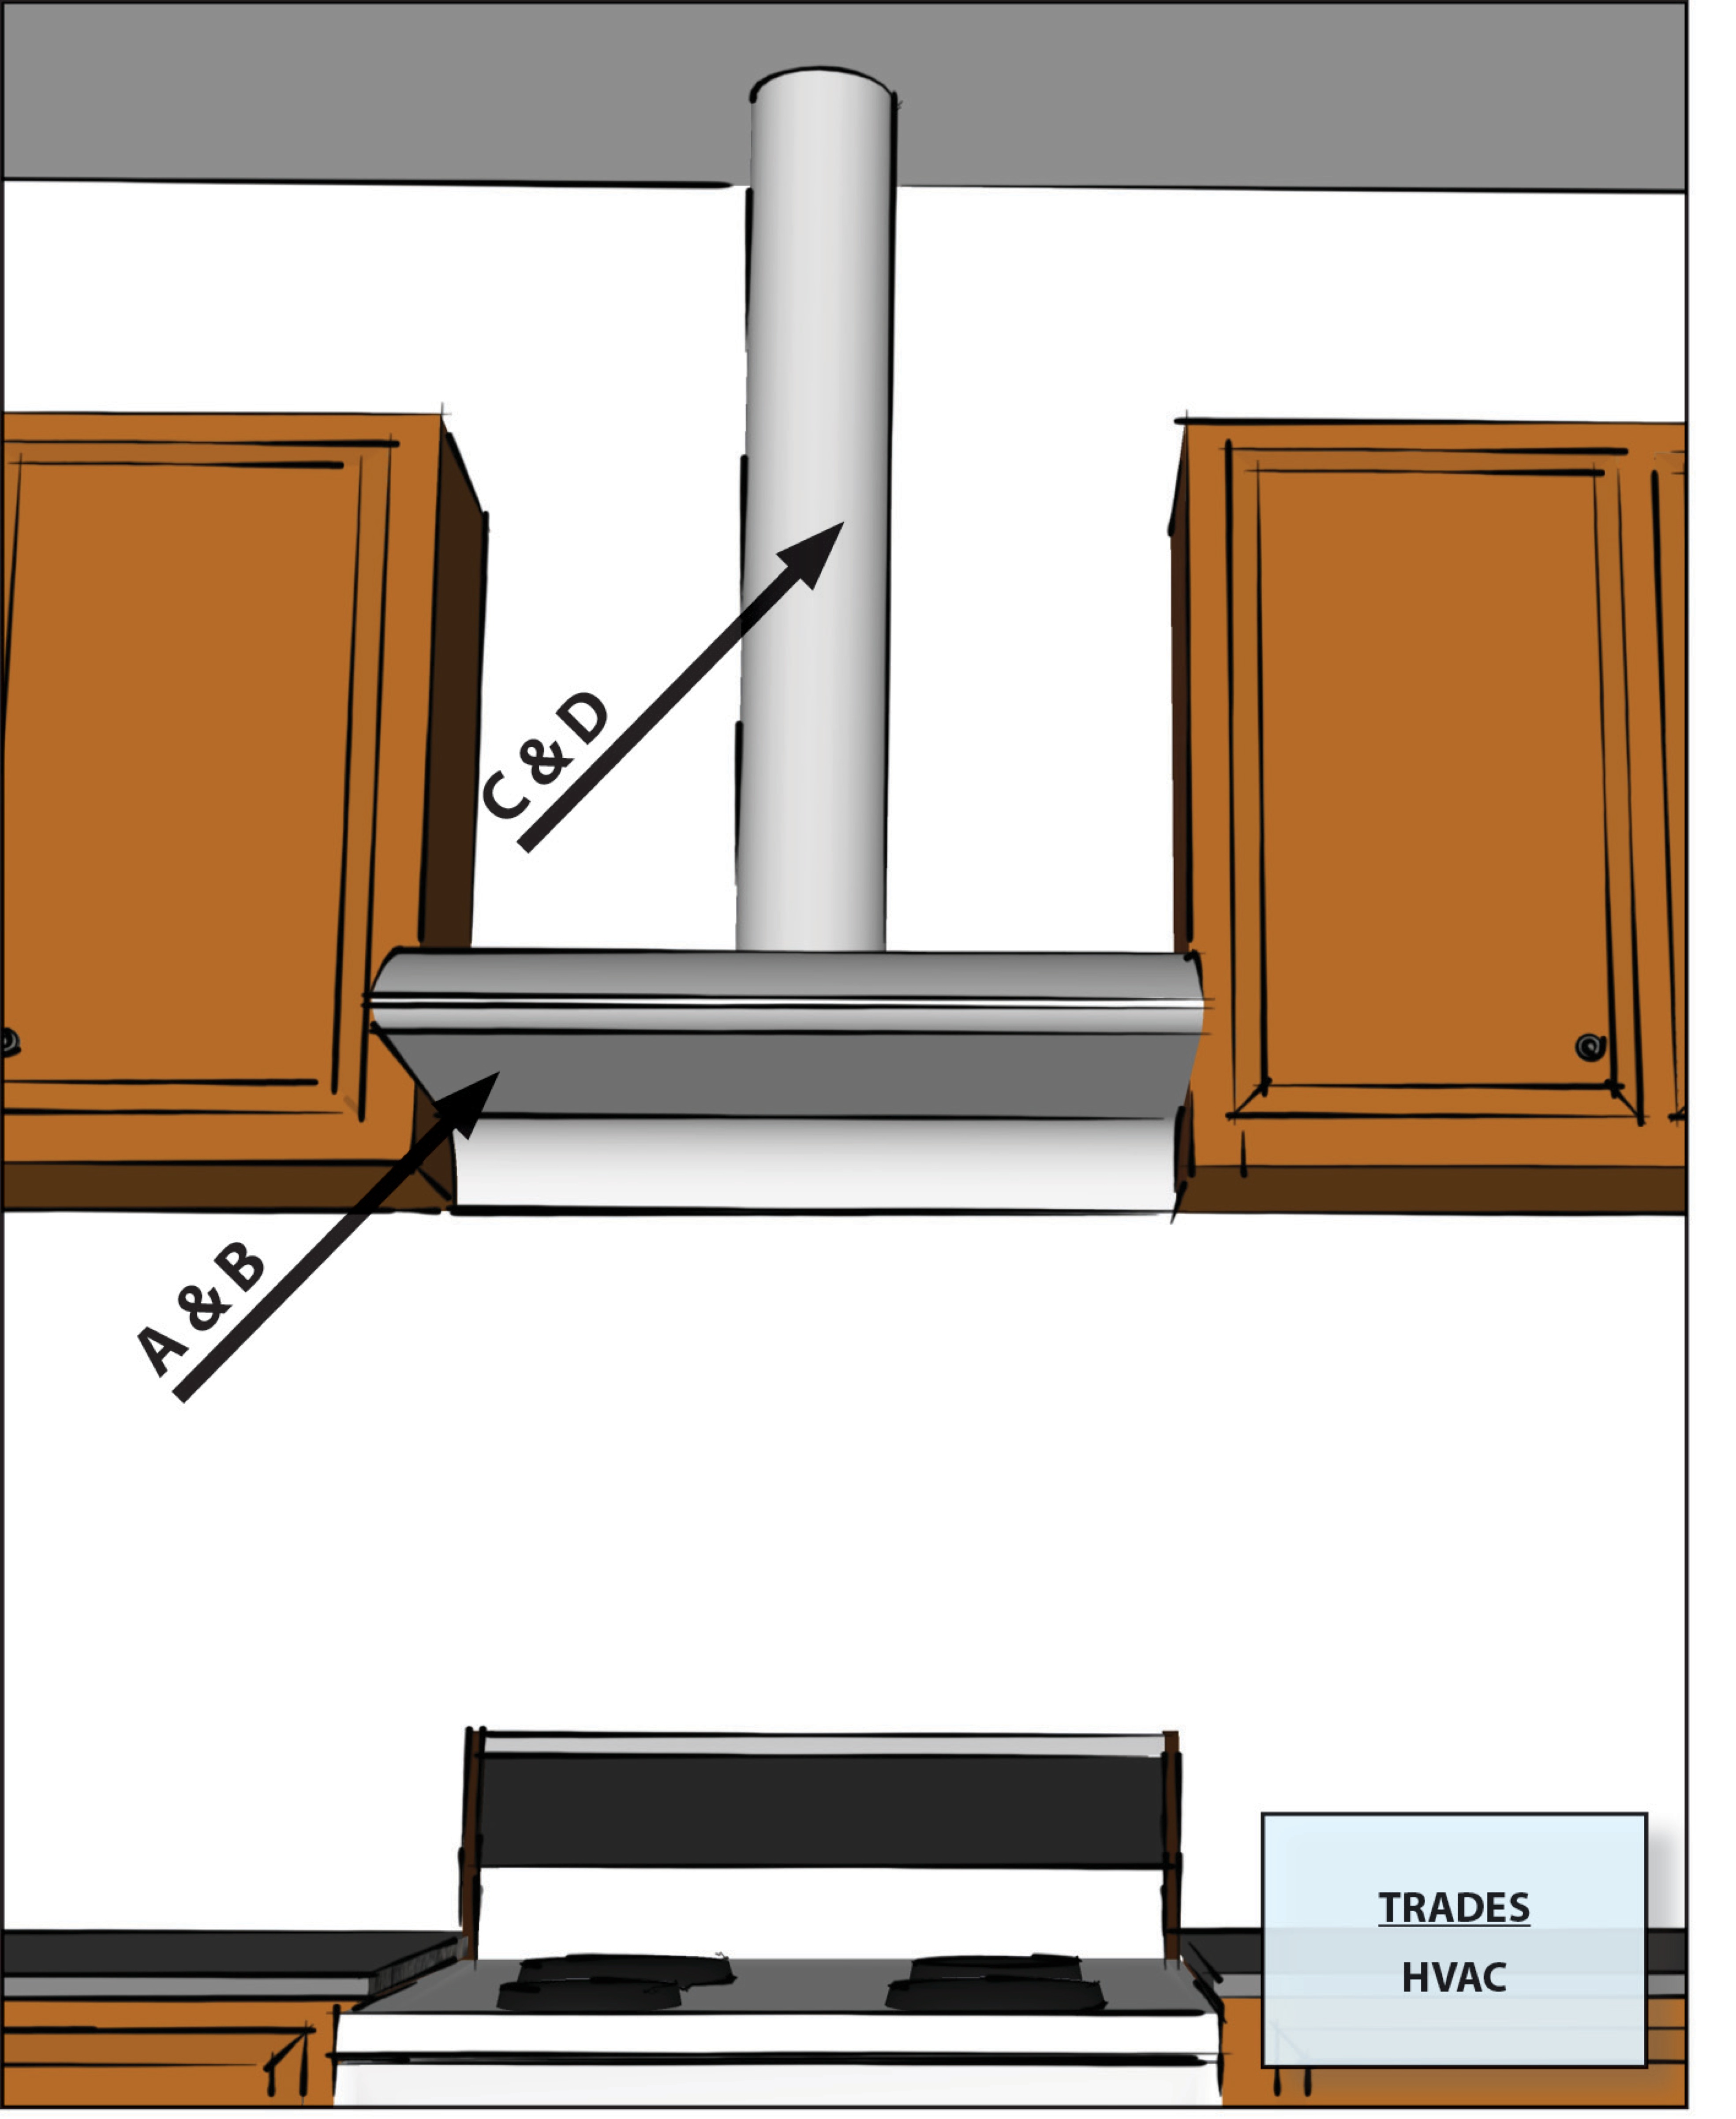
An exhaust fan removes smoke, steam, odors, and grease. It keeps air fresh and reduces humidity that can harm cabinets and paint. Knowing how to install exhaust fan in kitchen helps you improve air quality and keep your home safe.
Most homes benefit from a fan rated 100 to 300 CFM depending on stove size and kitchen layout. A well-installed fan reduces cooking smells and prevents moisture buildup. If you cook frequently or use gas, a good fan is essential.

Choose the right exhaust fan for your kitchen
Pick a fan that fits your kitchen size and venting plan. Use the phrase how to install exhaust fan in kitchen when checking product pages and manuals so you match fan features to your need.
Consider these factors
- Airflow (CFM): Aim for 100–300 CFM for typical kitchens.
- Duct size: Match fan outlet to 4-inch or 6-inch ducting.
- Mount type: Ceiling, wall, or inline (in the attic or soffit).
- Noise: Look for sones or dBA ratings under 4 for quiet use.
- Filters: Grease and charcoal filters vary by model.
If you plan to duct outside, choose a ducted model. If venting outside is impossible, pick a recirculating model and know its limits.
Tools and materials you will need
Gather tools before you start. Knowing how to install exhaust fan in kitchen is easier when everything is at hand.
Basic tools
- Tape measure
- Pencil and level
- Drill and bits
- Hole saw or drywall saw
- Screwdrivers
- Wire strippers and connectors
- Caulk and metal foil tape
- Safety gear: gloves, goggles, mask
Materials
- Exhaust fan unit
- Ducting (rigid metal recommended)
- Exterior vent cap with damper
- Electrical cable and junction box (per code)
- Mounting screws and supports

Prepare the space and follow safety steps
Turn off power at the breaker before touching wires. Read the fan manual for model-specific steps. Check local code for permits or insulation requirements.
Prep steps
- Mark the fan location with stove and cabinet clearance in mind.
- Check for joists, pipes, or wires behind the ceiling or wall.
- Plan the duct path to the nearest exterior wall or roof.
- If unsure about wiring or cutting structural members, hire a pro.
A careful prep saves time and reduces mistakes when you learn how to install exhaust fan in kitchen.
Step-by-step: how to install exhaust fan in kitchen
Follow these steps in order. Keep sentences short and work carefully.
- Mark and cut the opening
- Transfer the fan template to the ceiling or wall.
- Drill a pilot hole then use a saw to cut the hole.
- Check fit and clearances.
- Prepare the duct route
- Run the shortest, straightest duct path to the exterior.
- Use rigid metal duct when possible. Avoid long flexible ducts.
- Install the exterior vent cap and seal around it.
- Mount the fan housing
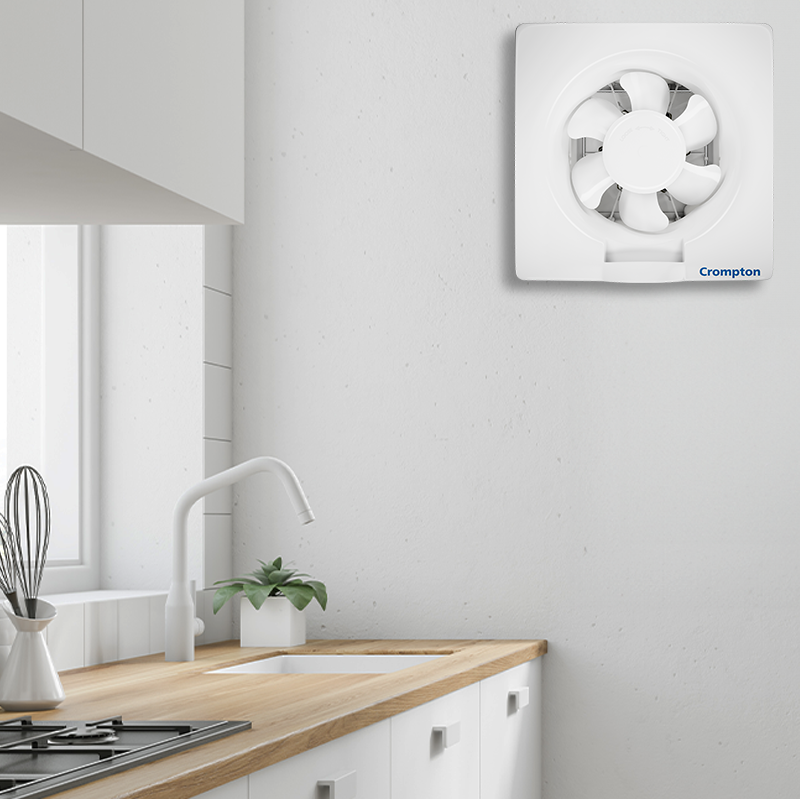
- Lift the fan housing into the opening.
- Secure it to joists or framing with screws and supports per the manual.
- Ensure the housing is level.
- Wire the fan
- Run cable from your switch or power source to the fan’s junction box.
- Connect ground, neutral, and hot wires to the fan.
- Use approved connectors and follow the fan wiring diagram.
- Connect the duct to the fan
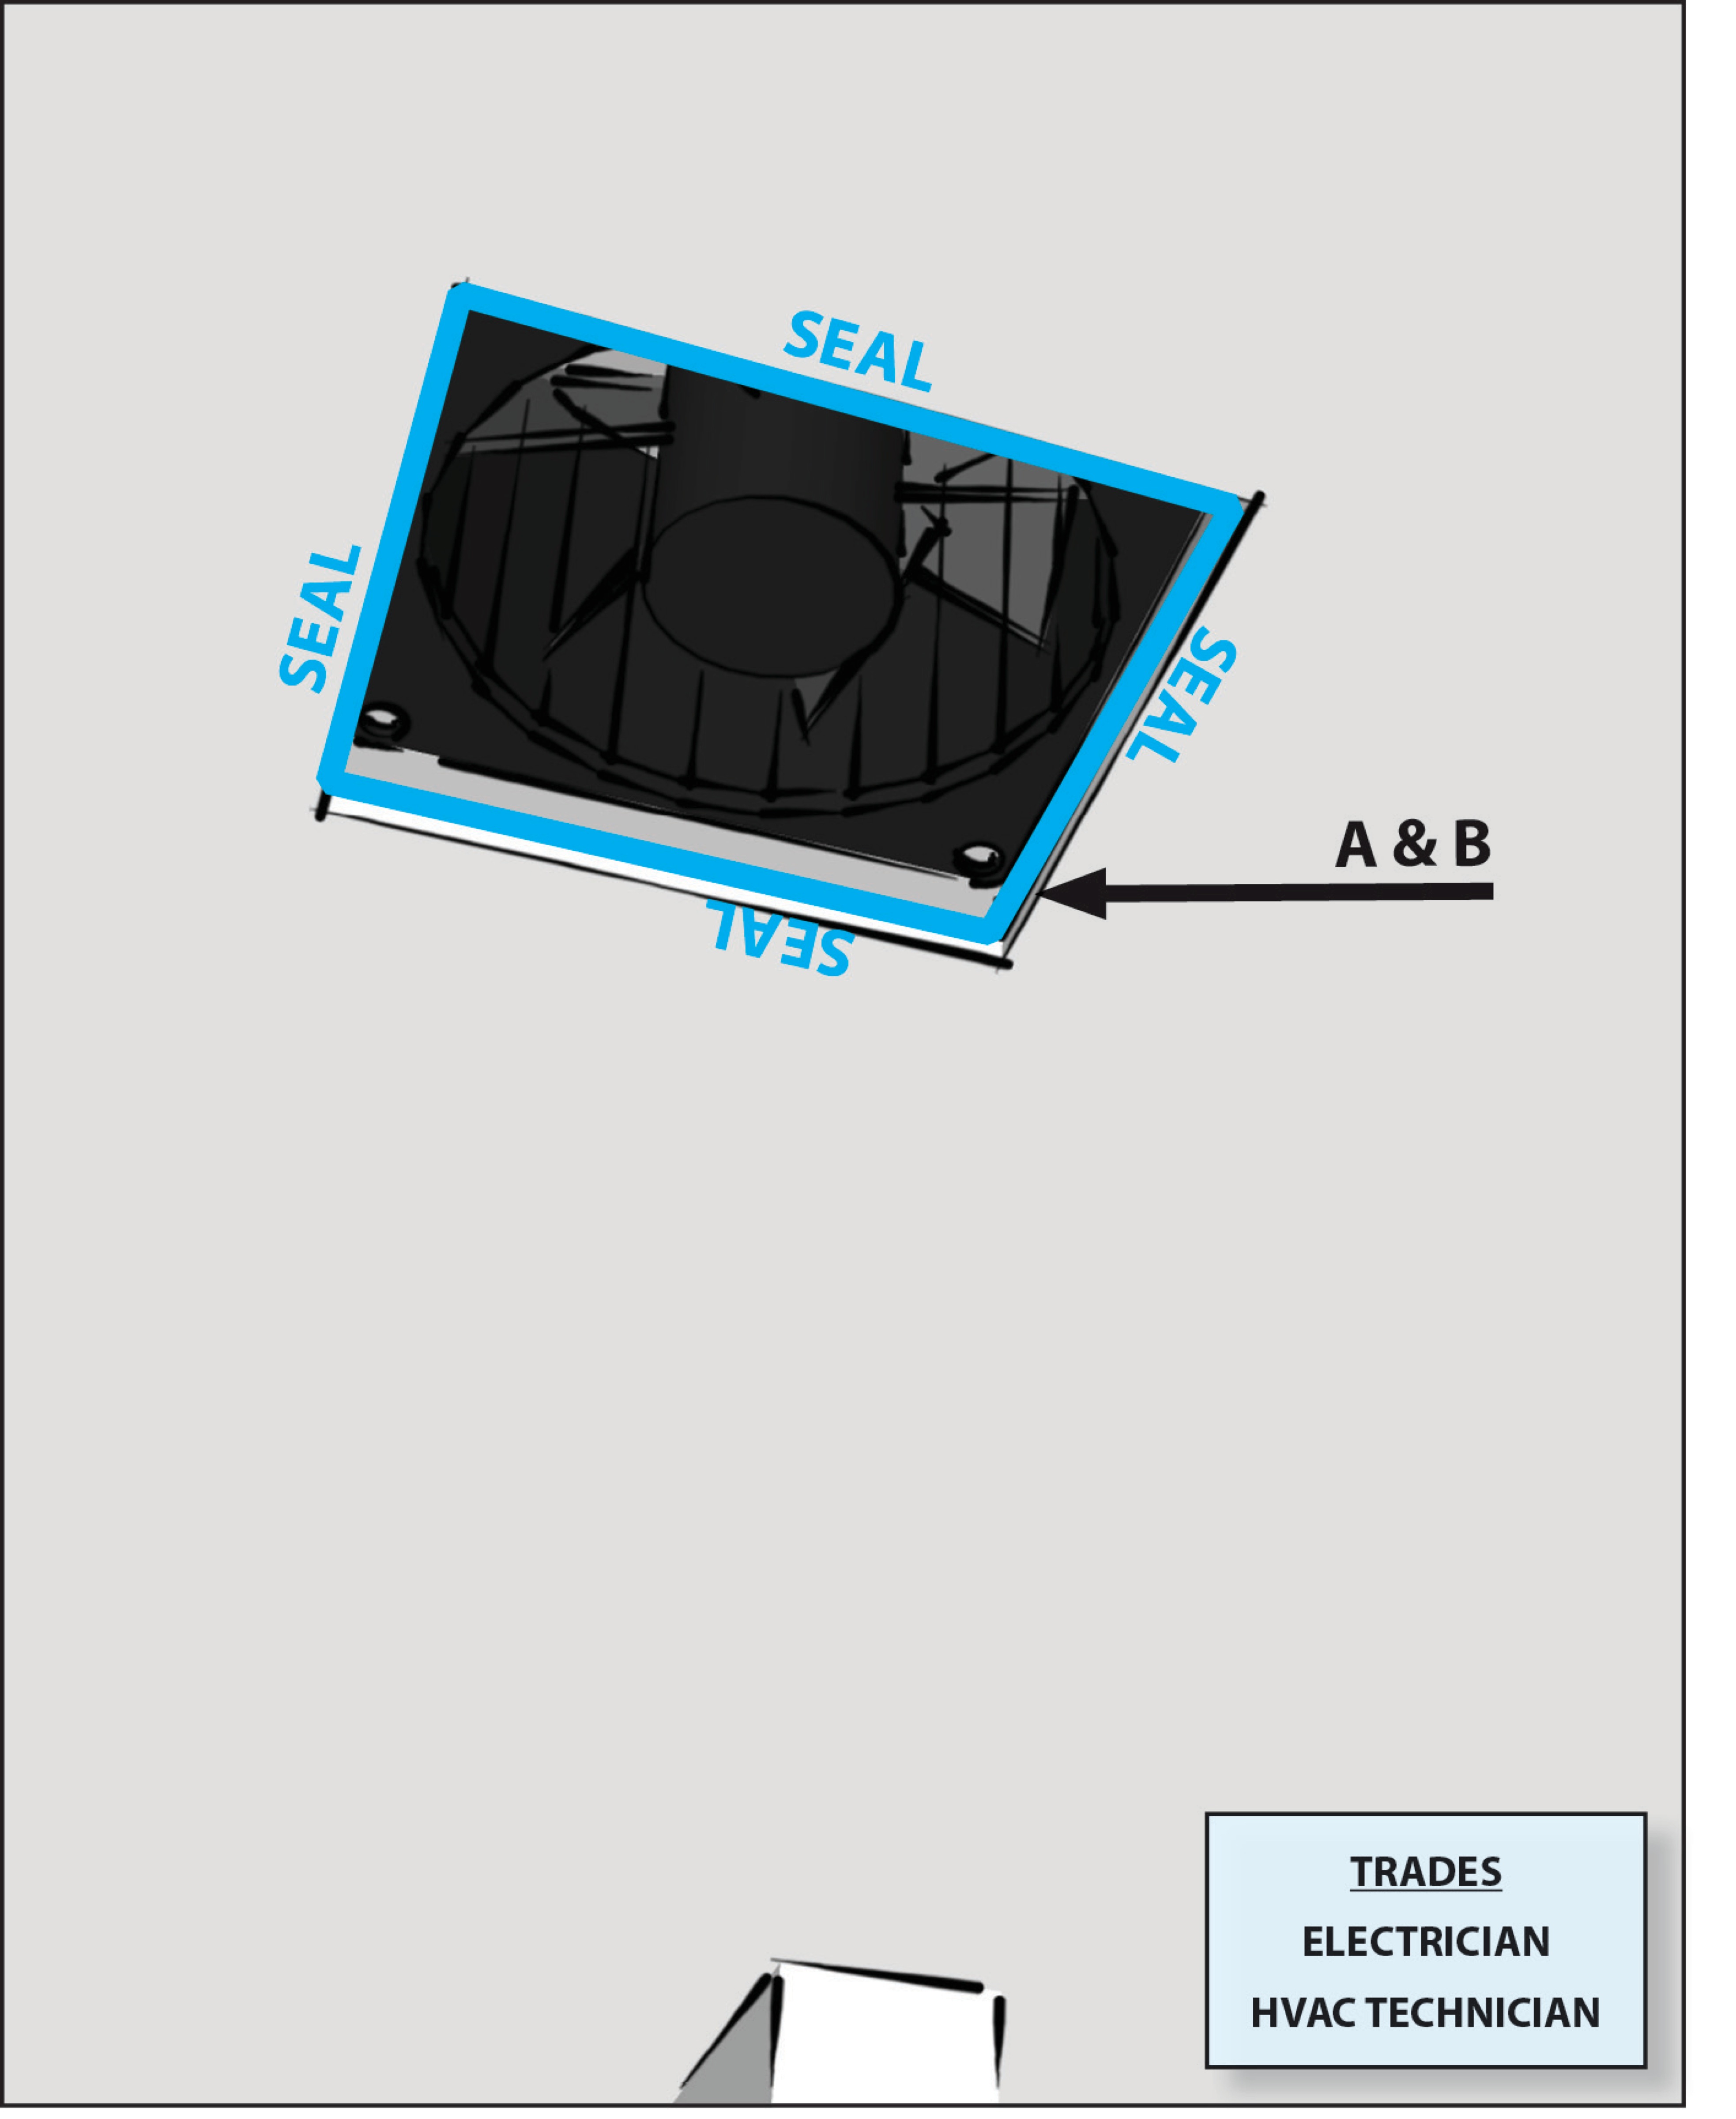
- Attach the duct to the fan outlet with metal foil tape or a clamp.
- Support the duct so it does not pull on the fan.
- Install the grille and test
- Attach the grille or trim.
- Restore power and test fan, light, and speed settings.
- Check for vibration, noise, and proper venting outside.
These steps show how to install exhaust fan in kitchen in a clear flow. If wiring or structure seems risky, call a licensed electrician or contractor.
Electrical wiring basics and code tips
Electric work must meet local code and safety rules. I have seen DIY jobs go smooth when codes are followed and fail when they are ignored.
Key points
- Turn off the circuit before touching wires.
- Use cable and breakers sized to the fan’s rating.
- Install a switch or speed control approved for the fan.
- If the fan has a light, wire according to the manual to control them separately if desired.
- Consider a dedicated circuit for heavy-duty fans or range hoods.
When in doubt, hire a licensed electrician. Proper wiring protects your home and makes your installation last.

Ducting, venting, and placement best practices
Good venting matters more than fan power. The phrase how to install exhaust fan in kitchen pops up in ducting guides because a poor duct run defeats a good fan.
Venting tips
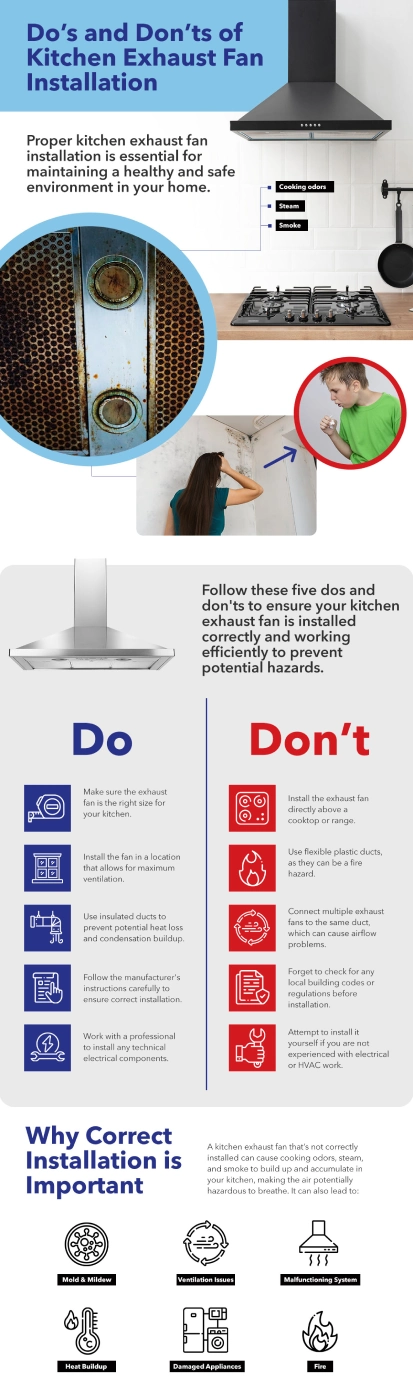
- Vent to outside. Do not vent into attics or crawlspaces.
- Use the shortest run with as few bends as possible.
- Use 4-inch or 6-inch rigid metal duct. Match to fan outlet.
- Install an exterior vent hood with a backdraft damper.
- Insulate duct in unconditioned spaces to avoid condensation.
Placement tips
- Center the fan over the main cooktop if possible.
- Keep the fan inlet unobstructed by cabinets and lights.
- For gas cooking, place the fan where it captures rising fumes effectively.
A neat, short duct run and sealed joints improve performance and lower noise.

Maintenance, troubleshooting, and lifespan
A well-maintained fan lasts longer and works better. Knowing how to install exhaust fan in kitchen includes planning for cleaning and checks.
Maintenance checklist
- Clean grease filters every 1–3 months depending on use.
- Replace charcoal filters if using a recirculating unit.
- Vacuum dust from the motor housing yearly.
- Check the exterior vent for obstructions, birds, or debris.
Common problems and fixes
- Fan runs but little airflow: check ducting and damper.
- Loud noise: check for loose mounting or an unbalanced fan blade.
- Motor doesn’t run: check power supply and switch.
Regular care keeps the fan efficient and extends its life.
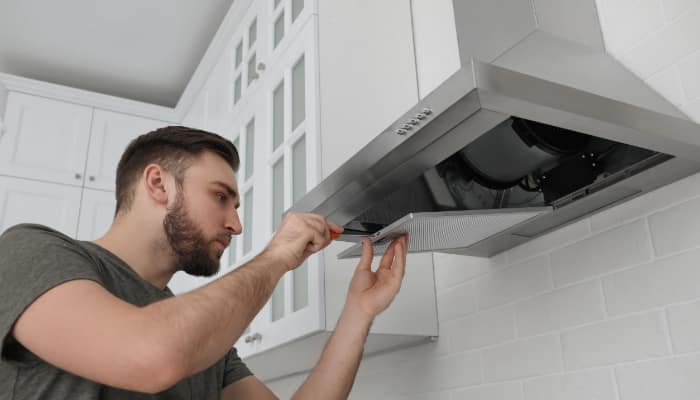
Cost, time estimates, and common mistakes
Project cost and time vary. Here is a realistic view from installs I’ve done.
Estimates
- Time: 2–6 hours for a simple ceiling install with easy access.
- Cost: $100–$600 for the fan plus $50–$200 for duct and parts. Pro labor adds $200–$800.
Common mistakes to avoid
- Using long flexible ducts that reduce airflow.
- Not sealing ducts, causing leaks and poor performance.
- Installing insufficient CFM for the cooktop.
- Ignoring local electrical or building codes.
Plan and budget for quality parts and, when needed, professional help. This lowers long-term costs and improves safety.
Personal experience, lessons learned, and practical tips
I once installed a cheap fan without sealing the duct. It sounded fine but moved little air. I learned to always seal joints and choose the right duct size.
Tips from the field
- Measure twice, cut once. A wrong hole wastes time.
- Pre-fit the fan and duct before final wiring.
- Ask the seller for a template and wiring diagram.
- Keep a small tube of silicone and foil tape on hand for sealing.
These small steps make a big difference when you learn how to install exhaust fan in kitchen and want a lasting result.
Frequently Asked Questions of how to install exhaust fan in kitchen
How do I choose the right CFM for my kitchen?
Match CFM to your cooktop and kitchen size. Aim for 100–150 CFM for small kitchens and 200–300+ CFM for larger or heavy-cooking households.
Can I vent the fan into the attic?
No. Venting into the attic traps moisture and grease and can cause mold. Always vent to the outside with a proper cap.
Do I need an electrician to wire the fan?
If you are not confident with wiring or local code, hire a licensed electrician. Simple installs can be DIY if you follow the manual and shut power off.
What duct type is best for performance?
Rigid metal duct gives the best airflow and lasts longer. Avoid long runs of flexible duct if you want good performance.
How often should filters be cleaned or replaced?
Clean grease filters every 1–3 months. Replace charcoal filters for recirculating units every 3–12 months depending on use.
Conclusion
Installing an exhaust fan improves air quality, removes moisture, and keeps your kitchen fresh. Follow the step-by-step plan, use the right ducting, and respect electrical codes to make your install safe and effective. Take action today: measure your space, pick the right fan, or call a pro if wiring or structure is unsure. Share your experience or questions below and subscribe for more practical home-improvement guides.