
Measure, cut compound miters or cope corners, fasten with brad nails, fill seams, and paint.
I’ve installed crown molding on dozens of kitchens, so I know the small steps that make a big difference. This guide on how to install kitchen cabinet crown molding walks you through planning, tools, cutting, joining, fastening, and finishing. Read on for clear, hands-on methods, pros and cons, and tips I learned the hard way so your cabinets look custom and polished.
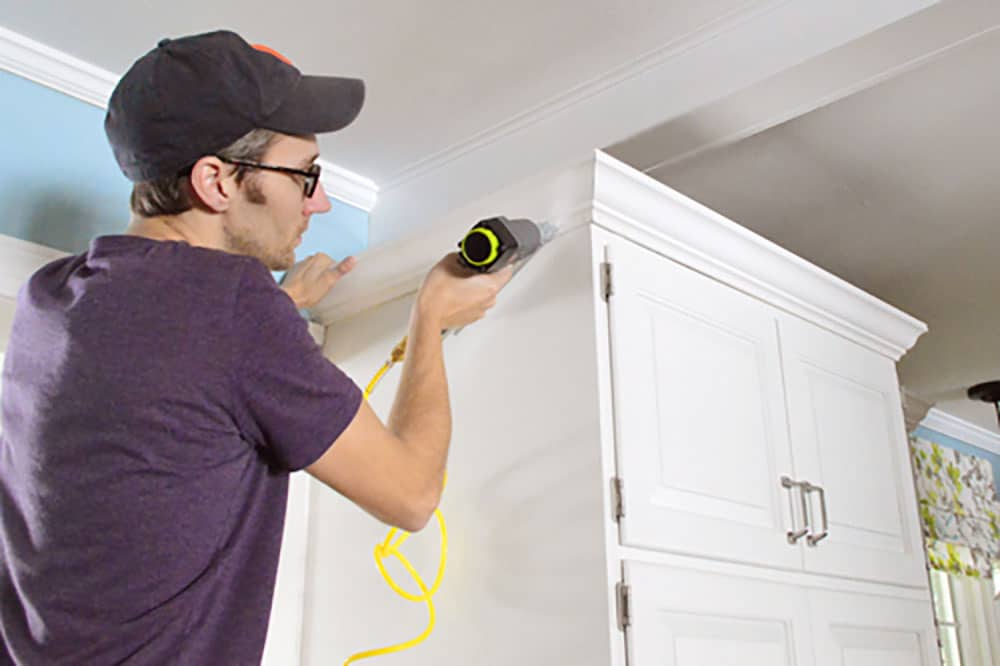
Why add crown molding to your kitchen cabinets?
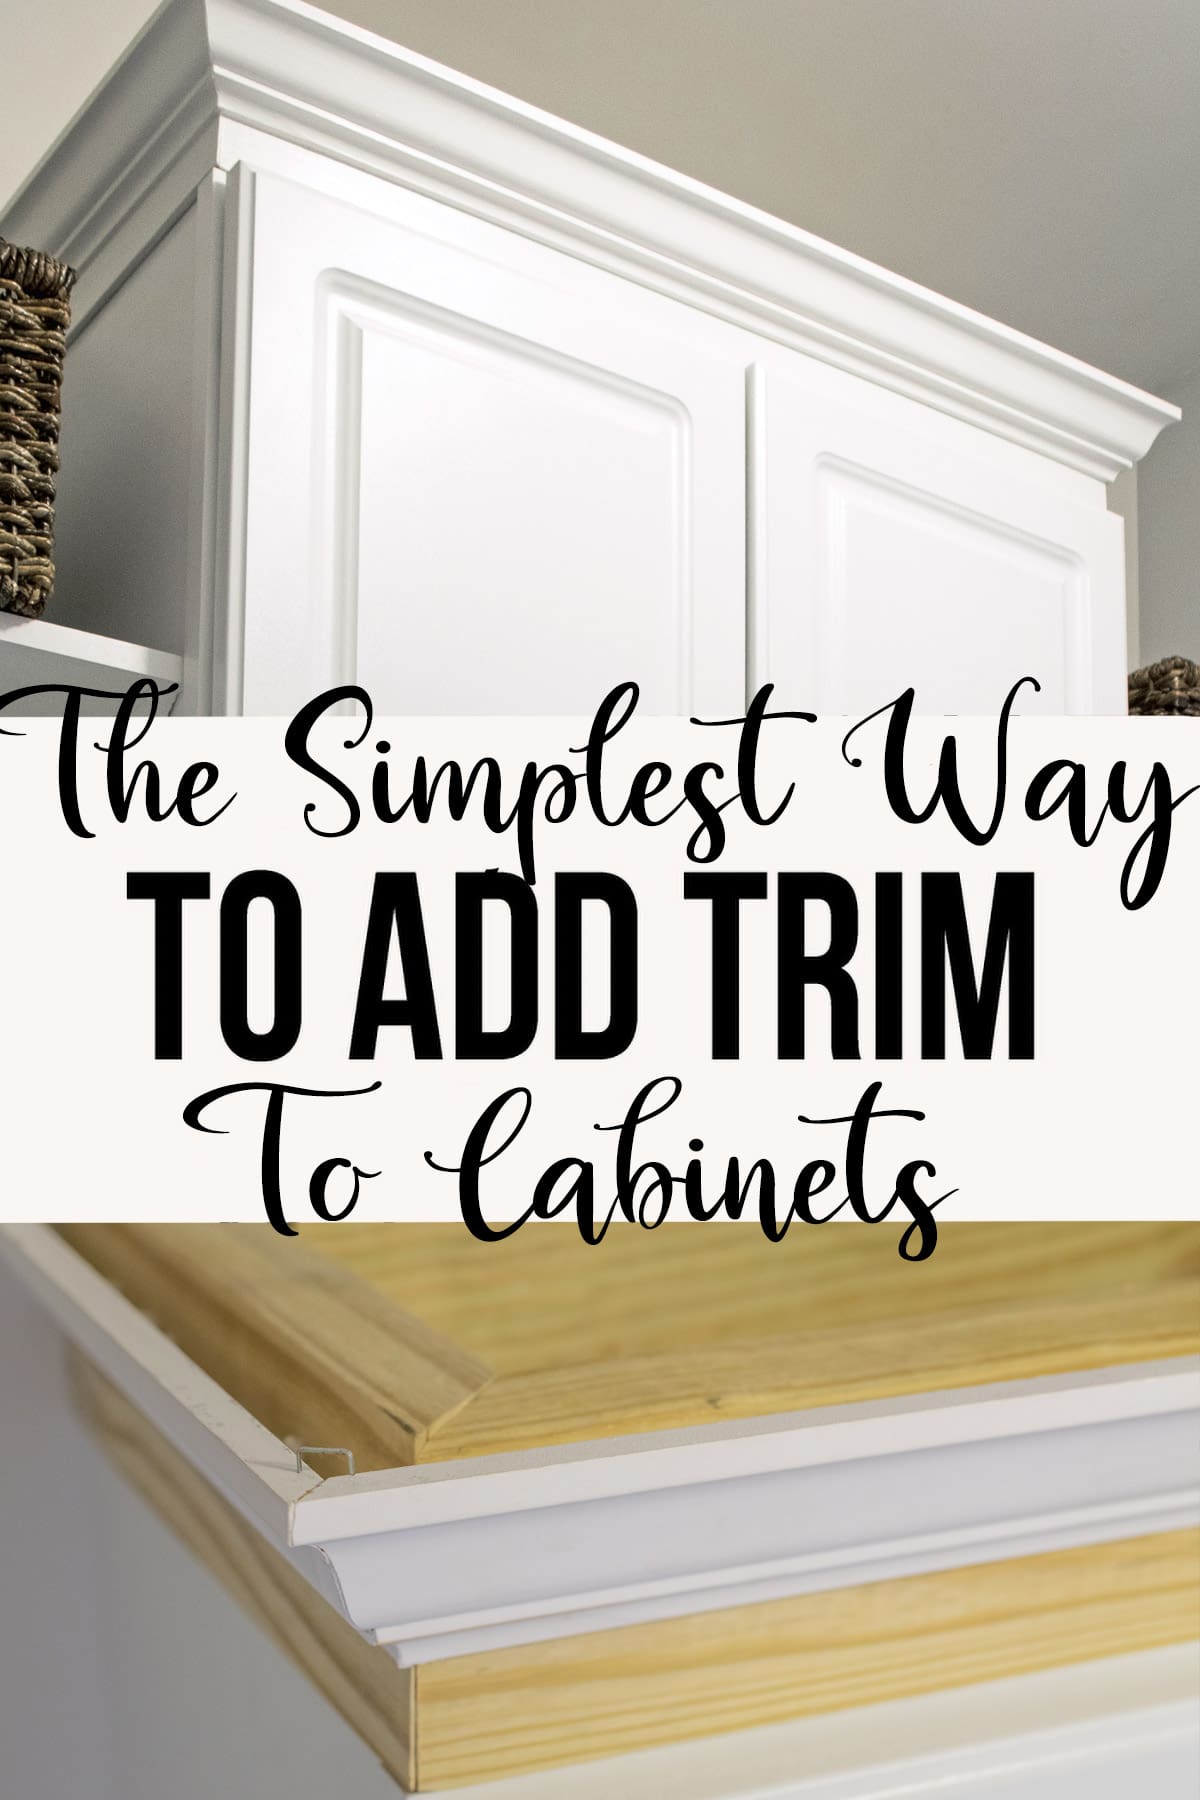
Crown molding closes the gap between cabinets and the ceiling. It gives a room a finished, high-end look without a full remodel. Installing crown molding can raise perceived home value and hide uneven ceilings.
Crown above cabinets also adds shadow lines and visual height. Proper installation prevents cracks, gaps, and awkward seams. If you want to know how to install kitchen cabinet crown molding that lasts and looks professional, keep going for step-by-step instructions.
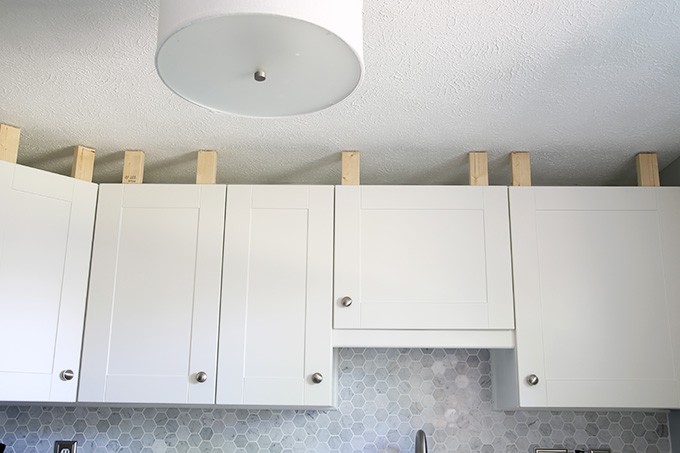
Tools and materials you need
Gathering tools first saves time and frustration. Below is a simple checklist.
- Tape measure, pencil, and square
- Miter saw capable of compound cuts or a coping saw
- Brad nailer (18-gauge) and finishing nails
- Wood glue and construction adhesive
- Caulk and paintable wood filler
- Crown molding pieces (solid wood, MDF, or polyurethane)
- Sandpaper, primer, and paint
- Safety gear: goggles, hearing protection, dust mask
Tip: buy a little more molding than your measured linear feet to allow for mistakes. Knowing how to install kitchen cabinet crown molding starts with having the right blade and a steady miter saw.

Step-by-step: How to install kitchen cabinet crown molding
Follow these clear action steps. Keep cuts short and checks frequent.
- Measure and plan
- Measure cabinet runs and note inside and outside corners. Mark high spots on the ceiling.
- Decide whether to install crown directly to cabinets or build a filler strip if cabinets are lower than the ceiling.
- Pick mounting method
- Use a top rail or build a nailer block on top of cabinets if crown won’t sit flush.
- Apply construction adhesive on the block for stronger bond.
- Mark and cut pieces
- Transfer measurements to molding and cut compound miters for outside corners.
- For inside corners, cope one piece and miter the other for a tighter fit.
- Dry fit before fastening
- Fit each piece, check joins, and adjust small angles as needed.
- Number or label pieces to remember order and orientation.
- Fasten molding
- Apply adhesive to the back of the molding and press to the cabinet or nailer block.
- Use brad nails every 12 to 16 inches and near seams. Countersink nails slightly.
- Fill, sand, and caulk
- Fill holes with wood filler and sand smooth. Caulk the top and bottom seams to hide tiny gaps.
- Prime and paint
- Prime MDF or porous wood. Paint with two thin coats for a smooth finish.
Repeat small dry fits and angle checks as you go. Learning how to install kitchen cabinet crown molding takes patience; the dry-fit step prevents most errors.

Cutting tips: compound miters and coping
Compound angles confuse new DIYers. Keep cuts methodical and test fit often.
- For outside corners
- Set your saw to the crown's spring angle and the cabinet’s roof angle. Cut matching miters—left piece mirrored by right piece.
- For inside corners
- Miter one piece and cope the profile of the other with a coping saw. Coping yields tighter fits when walls are not square.
- Use backer supports
- Support long molding pieces to avoid tear-out. A zero-clearance insert or scoring tape reduces splintering.
I once ruined a whole length by rushing the coping step. The fix was simple: re-cut, cope carefully, and slow down. That taught me to always dry-fit after each cut.
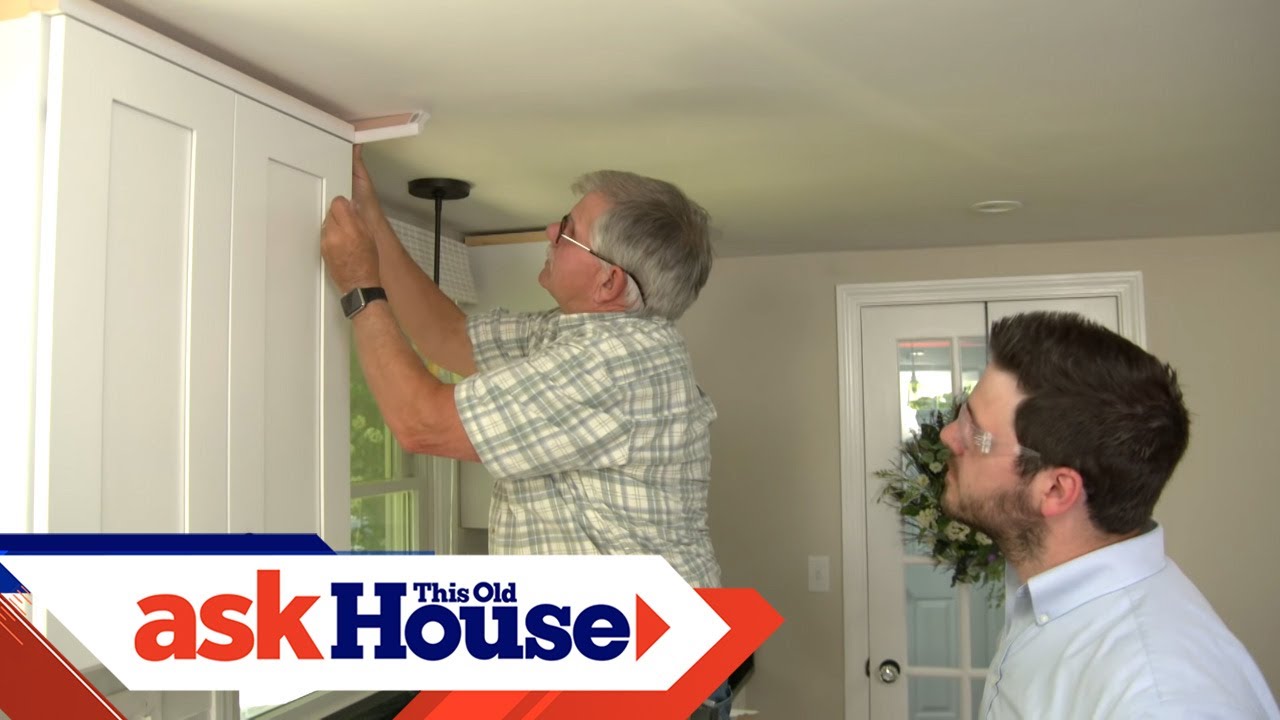
Finishing: caulking, painting, and seam hiding
A great finish hides flaws and makes the molding look installed by a pro.
- Caulk all top and bottom gaps with paintable caulk. Smooth with a wet finger for a clean bead.
- Fill nail holes with putty or wood filler. Sand lightly after drying.
- Prime and paint. Thin coats reduce drips and show brush strokes less.
- For joints, use a touch-up mix of paint and filler if small gaps remain.
Proper finish work is where many installations look custom. If you want to know how to install kitchen cabinet crown molding that reads as high-end, invest time in caulk and paint.
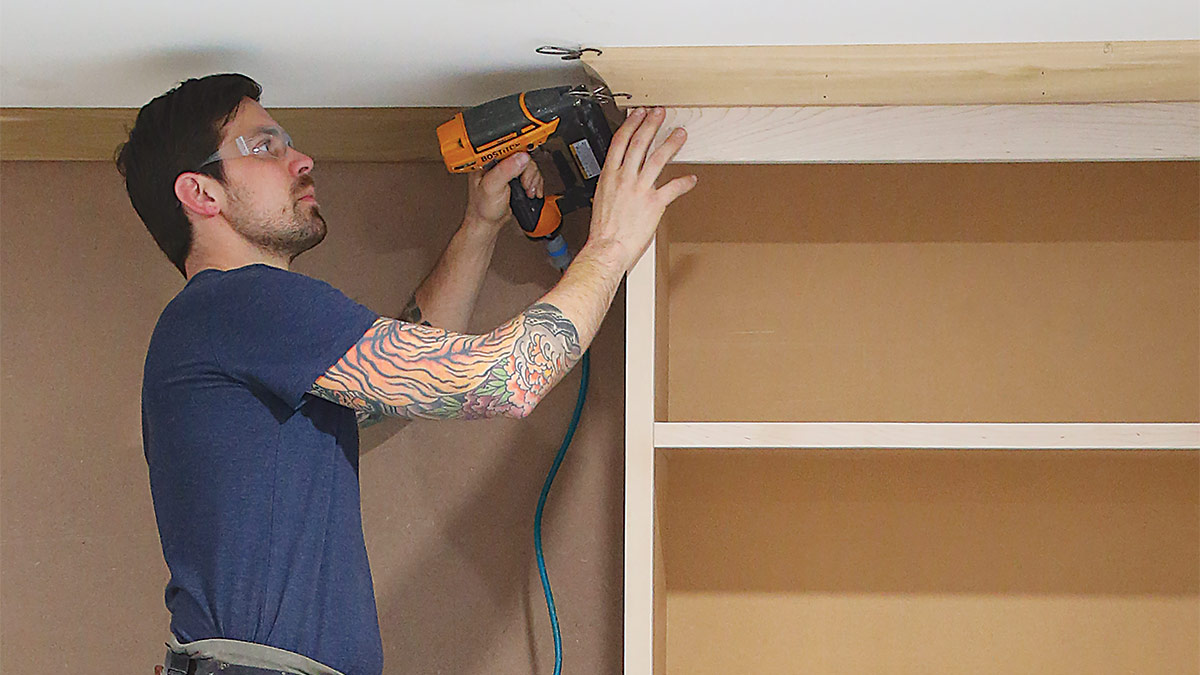
Common mistakes and how to avoid them
Mistakes are avoidable with routine checks and care. Here are the frequent ones.
- Cutting without measuring twice
- Measure twice, cut once. Label each piece to avoid mix-ups.
- Skipping dry fits
- Always dry-fit corners. Walls are rarely perfectly square.
- Over-relying on nails
- Use adhesive plus nails. Nails alone can pull out or allow gaps.
- Using the wrong material for the ceiling height
- Lightweight polyurethane is easier to handle on tall runs, while solid wood sands and paints better.
- Ignoring coping on inside corners
- Coped joints hide uneven walls; miters alone will open.
From my experience, patience prevents 80% of re-dos. If you feel rushed, stop and re-evaluate.
PAA-style questions
These short answers match common search intent for quick clarity.
How long does it take to install crown molding on cabinets?
A small run can take a few hours for a skilled DIYer. Larger kitchens usually require a day or two for cutting, fitting, and finishing.
Do I need a compound miter saw to install crown molding?
A compound miter saw speeds up the job and makes compound cuts accurate. You can cope and miter with hand tools, but it takes more skill and time.
Can I install crown molding on older, uneven cabinets?
Yes. Use filler strips and adhesive, and cope joints. Take extra time to scribe molding to uneven walls for a tight look.

Frequently Asked Questions of how to install kitchen cabinet crown molding
What is the best material for crown molding over cabinets?
Solid wood gives a classic look and sands well. MDF is affordable and stable, while polyurethane is light and easy to install in long runs.
Should molding be attached to the wall or the cabinet?
Attach it to a nailer block on top of the cabinet when ceilings are uneven. If cabinets reach the ceiling, you can fasten directly to the wall or cabinet face frame.
How do I handle non-square corners?
Coping one piece and mitering the other gives the tightest fit. Also, scribe small gaps with caulk to hide irregularities.
How much extra molding should I buy for waste?
Buy 10% to 15% extra to cover mistakes and angled cuts. Complex layouts or many corners may need more.
Can I paint crown molding after installation?
Yes. Painting after installation helps conceal seams and makes touch-ups easier. Prime porous materials first for a smooth finish.
Conclusion
Installing crown molding on kitchen cabinets is a high-impact upgrade that is doable with the right tools, patience, and a methodical approach. Measure carefully, dry-fit pieces, use adhesive plus nails, and spend time on caulking and paint for a professional finish. Take a small step today: pick up the right molding, lay out your cuts, and try fitting one corner to build confidence. Share your results, ask questions, or subscribe for more practical kitchen upgrade guides.