
Lay out kitchen cabinets by planning zones, the work triangle, accurate measurements, and smart storage.
I’ve designed and installed cabinets in dozens of kitchens, so I know how to layout kitchen cabinets for both function and style. This guide walks you through proven planning steps, standard dimensions, layout types, appliance integration, storage ideas, and real-world tips. Follow these practical steps to design a cabinet layout that saves time, improves flow, and looks great.
Planning your cabinet layout
Start with a clear plan. A good plan saves time and money. Think about how you cook, who uses the kitchen, and what must fit in the space. Sketch the room or use a simple app to mark walls, doors, windows, and key fixtures.
Key planning steps:
- Measure the room length, width, window and door locations, and ceiling height.
- Note where plumbing, gas, and electric lines are placed.
- List primary tasks: prep, cook, clean, and store.
- Decide on a layout type: single wall, galley, L-shape, U-shape, or island.
Why this matters: when you know how to layout kitchen cabinets up front, you avoid awkward gaps, poor flow, and wasted storage. My experience shows that spending one extra hour planning prevents several costly changes later.

Work triangle and kitchen zones
The work triangle links the sink, cooktop, and refrigerator. It’s a key concept when you learn how to layout kitchen cabinets. Aim for short, direct steps between these points.
Zone layout ideas:
- Prep zone: near sink, with counter space and knife storage.
- Cooking zone: cooktop, oven, nearby spice and utensil storage.
- Cleaning zone: sink, dishwasher, trash pull-out.
- Storage zone: pantry cabinets, lower drawers, and deep pots drawers.
Practical rules:
- Keep the full triangle distance between 12 and 26 feet when possible.
- Avoid traffic through the triangle.
- Place frequently used items in their zone for faster access.
I often map zones with colored tape on the floor. It helps clients see real walking paths before any cabinets are installed.

Common kitchen layouts and cabinet placement
Different room shapes need different cabinet strategies. Learning how to layout kitchen cabinets for each layout helps you choose sizes and placements that work.
Single wall
- All cabinets and appliances fit on one wall.
- Use tall pantry cabinets and deep drawers for storage.
- Keep countertop runs uninterrupted for prep.
Galley
- Cabinets face each other on two parallel walls.
- Ensure at least 42 inches between runs for a two-cook kitchen.
- Balance storage and appliances on both sides.
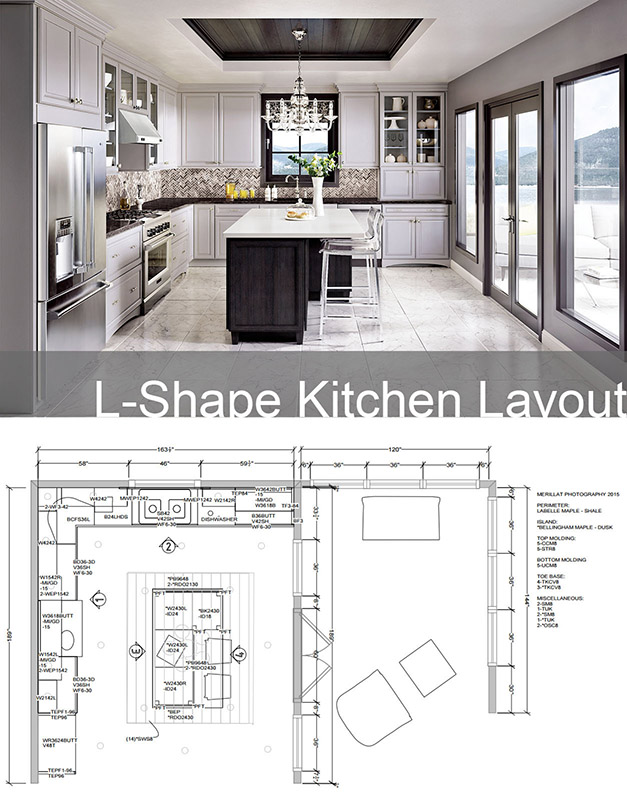
L-shape
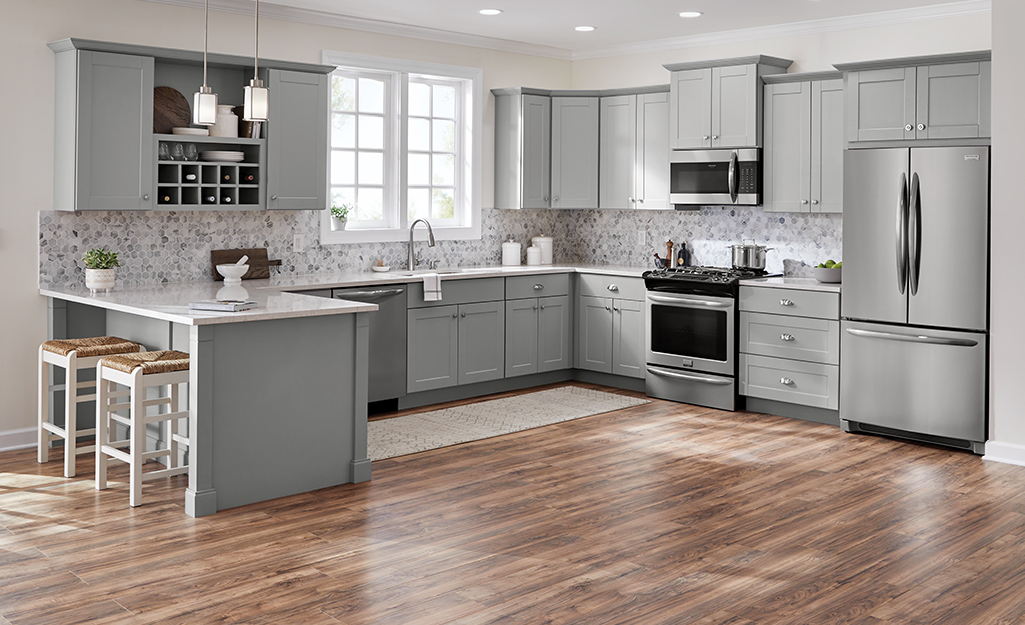
- Cabinets form an L; perfect for small to medium kitchens.
- Use corner solutions like lazy Susans or pull-out trays.
- Add an island if space allows.
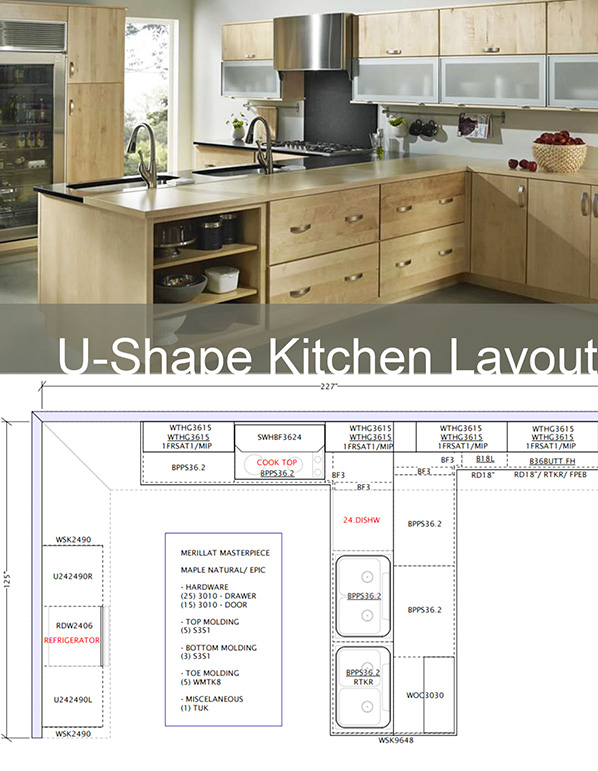
U-shape and island
- U-shape offers ample storage and counter space.
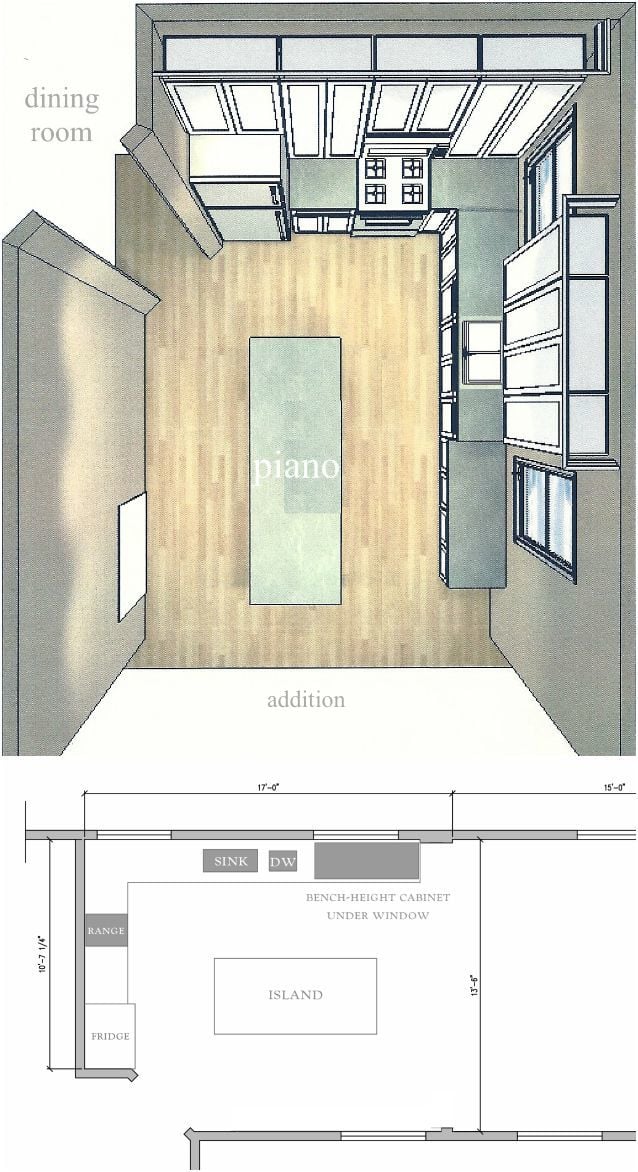
- Islands provide extra prep, seating, or storage.
- Coordinate the island height and overhang for seating comfort.
When you plan how to layout kitchen cabinets, visualize door swings, appliance doors, and drawer clearance.
Measuring, clearance, and standard dimensions
Accurate measurements are the backbone of any cabinet layout. Mistakes here cause delays and extra costs.
Essential measurements:
- Base cabinet depth: 24 inches standard.
- Wall cabinet depth: 12 inches standard.
- Standard cabinet heights: base 34.5 inches, add countertop to reach 36 inches.
- Countertop overhang: 1 to 1.5 inches typical.
- Walkway clearances: 36 inches for single cook, 42–48 inches for two cooks.
Clearance tips:
- Allow 15–18 inches between cooktop and range hood.
- Leave 3–6 inches between sink edge and refrigerator for landing space.
- Check swing arcs for ovens, dishwashers, and cabinet doors.
I learned to always re-measure walls and openings on install day. Even small plaster or trim variations change fit.
Cabinet types, sizes, and configuration tips
Choosing cabinet styles affects use and flow. The right mix of tall, upper, and base cabinets makes kitchens efficient.
Common cabinet types:
- Base cabinets: drawers or doors for pots and pans.
- Wall cabinets: store dishes and frequently used items.
- Tall cabinets: pantries, ovens, brooms, or utility storage.
- Corner cabinets: rotate shelves or pull-out solutions.
Configuration rules:
- Use drawers for lower storage. They are easier to reach.
- Place heavy items in lower cabinets.
- Group spices, oils, and sauces near the cooktop.
- Use full-height pantry cabinets for bulk items and appliances.
Example layout: Place a 36-inch range cabinet centered with 15-inch base cabinets on each side. Above, use a 30-inch wall cabinet and a range hood centered to match.

Ergonomics, heights, and accessibility
Good cabinet layout is about comfort. Think about reach, bending, and safe access.
Ergonomic tips:
- Standard countertop height is 36 inches; adjust 1–2 inches taller for frequent cooks over 6 feet tall.
- Place frequently used items between 15 and 48 inches high.
- Use pull-out shelves and drawers to reduce bending.
- Consider toe-kick drawers or lower rollout trays for infrequently used items.
Accessibility:
- Include lower pull-out drawers for elderly or mobility-limited users.
- Use D-shaped pulls or cup pulls for easier grip.
- Consider 34-inch counters or adjustable-height surfaces for universal design.
In my projects, adding a few pull-outs and soft-close drawers transformed usability for older homeowners.
Appliance integration, plumbing, and electrical
Plan appliance and service locations before finalizing cabinet layout. This step prevents last-minute reroutes.
Integration checklist:
- Verify fridge, range, and dishwasher rough-ins before cabinet delivery.
- Position dishwasher next to the sink for short water lines.
- Keep microwave at a reachable height; avoid high placements for safety.
- Allow an outlet for small appliances at every countertop work zone.
Safety and code:
- Keep gas shutoff valves accessible.
- Follow local codes for ventilation and electrical circuits.
- Plan dedicated circuits for ovens and dishwashers as required.
I always coordinate with plumbers and electricians at pre-install meetings. It saves hours of rework.
Storage solutions and smart accessories
Smart storage makes cabinets more useful. The right accessories increase capacity and speed up tasks.
High-impact accessories:
- Deep drawers with dividers for pots and pans.
- Pull-out pantry shelves or vertical dividers for trays.
- Drawer organizers for utensils and spices.
- Pull-out trash and recycling centers.
- Corner carousels or blind-spot pull-outs.
Design tips:
- Use tall cabinets with adjustable shelves for flexibility.
- Place trays and cutting boards vertically near prep zones.
- Add lighting under cabinets for better visibility.
From my installs, adding a few organizational features gives the biggest daily payoff.
Budgeting, materials, and finishes
Cabinet cost varies widely. Choose materials and finishes that match your budget and expected lifespan.
Material choices:
- Solid wood: durable and repairable, higher cost.
- Plywood boxes with veneer face frames: good balance of cost and strength.
- MDF doors with painted finish: smooth look, affordable.
- Thermofoil or laminate: budget-friendly and low maintenance.
Finish and hardware:
- Matte finishes hide fingerprints.
- Hardware choice affects functionality—soft-close hinges and full-extension slides are worth it.
- Consider durable countertop materials where cabinets meet high wear.
Budget tips:
- Spend more on cabinet boxes and hardware than door styles.
- Standard sizes save money versus custom cabinets.
- Plan for installation costs, delivery, and finishing touches.
I often prioritize cabinet box quality and spend less on high-end door styles to stay within budget without sacrificing durability.
Common mistakes and practical tips
Avoid these common layout pitfalls when you learn how to layout kitchen cabinets.
Frequent mistakes:
- Poor measuring, leading to gaps or blocked windows.
- Ignoring appliance clearances and door swings.
- Overlooking storage needs for large items.
- Placing sink and range too close without landing space.
Practical tips:
- Mock up cabinet footprints with painter’s tape on the floor.
- Order one cabinet style and finish sample before committing.
- Leave room for future upgrades like a larger fridge or double oven.
- Communicate clearly with your cabinet maker and contractor.
A mistake I made early on was placing the microwave too high for a client. Now I always test reach and door arcs on-site.
Frequently Asked Questions of how to layout kitchen cabinets
How much space should I leave between cabinets and an island?
Leave at least 42 inches between an island and surrounding cabinets in a two-cook kitchen; 36 inches is the minimum for a single cook to allow comfortable traffic and drawer clearance.
What is the best height for wall cabinets?
Wall cabinets typically hang with the bottom 18 inches above the countertop, but this can vary by user height and appliance needs to keep items reachable and lighting effective.
How do I plan cabinets around plumbing and gas lines?
Map all plumbing and gas rough-ins early. Place the sink near existing lines and plan for short, straight runs to reduce cost and complexity.
Should I choose drawers or doors for lower cabinets?
Drawers are more ergonomic and easier to access; use drawers for pots, pans, and heavy items, and doors for larger or awkwardly shaped storage.
How do I fit cabinets into a small kitchen?
Use tall pantry cabinets, full-extension drawers, and open shelving for visual space. Keep the layout simple, focus on one or two strong zones, and avoid cluttered upper cabinets.
Conclusion
Designing how to layout kitchen cabinets is a mix of planning, measurement, ergonomics, and smart storage choices. Focus on zones, the work triangle, accurate dimensions, and the right cabinet types to create a kitchen that works every day. Start by measuring carefully, mock up your layout, and prioritize durable cabinet boxes and good hardware. Try one small change now—map your zones with tape or sketch a plan—and you’ll see how simple shifts improve flow and storage. If you found this guide helpful, try sketching your kitchen or leave a comment about your layout challenges.