
Measure the sink length, width, depth, bowl layout, and cutout precisely before ordering a replacement.
I’ve measured dozens of sinks and guided homeowners through replacements. This guide on how to measure kitchen sink for replacement lays out clear steps, real-life tips, and common pitfalls. Read on to learn exact measurements to take, how to record them, and how to use those numbers to pick the right replacement sink with confidence.

Why precise measurements matter
Replacing a sink without exact numbers wastes time and money. A sink that is too large or too small can mean extra carpentry, new countertops, or a returned product.
Accurate measurements make installation smoother. They keep plumbing, faucet placement, and countertop fit consistent. Learning how to measure kitchen sink for replacement saves you frustration and reduces hidden costs.

Tools and common terms you need
Use simple tools. They give reliable numbers.
- Tape measure. Essential for all dimensions.
- Straightedge or ruler. Helps measure inside corners.
- Pencil and paper or smartphone. Record measurements clearly.
- Level. Confirms sink sits even.
- Masking tape. Mark edges on countertops if needed.
Key terms to know: cutout (countertop hole), overall dimensions (outside sink edges), bowl dimensions (length, width, depth), rim or lip (top edge), apron (farmhouse front), drop-in (top-mount), undermount (mounted beneath countertop). Knowing these makes how to measure kitchen sink for replacement easier and clearer.

Step-by-step: how to measure kitchen sink for replacement
Follow these steps in order. Record every figure.
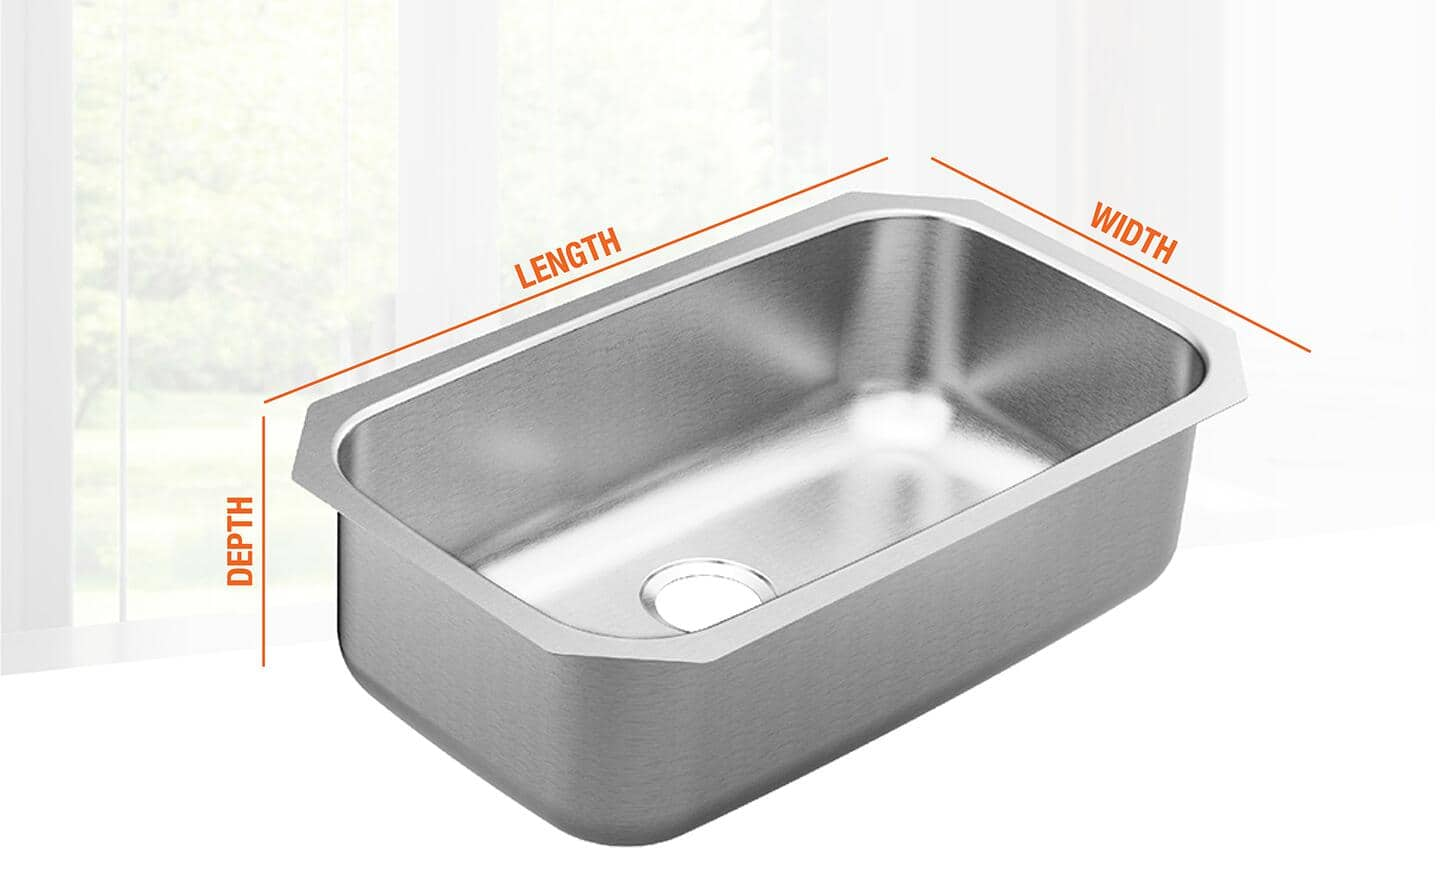
- Measure the overall sink length and width
- Measure from outer edge to outer edge. Note length (left to right) and width (front to back).
- Measure each bowl length, width, and depth
- Measure the inside dimensions of each bowl. Depth is from the bowl rim to the bottom.
- Measure the countertop cutout (if replacing like-for-like)
- Measure the opening left in the countertop: front-to-back and left-to-right. Round to nearest 1/8 inch.
- Note the rim type and width
- For drop-in sinks, measure rim width. For undermount, note whether there is a reveal or not.
- Count faucet and accessory holes
- Measure hole spacing and center-to-center distance. Note single hole or 3-hole configurations.
- Measure distance to nearest obstruction
- Measure from back of sink cutout to backsplash, from sink edge to cabinet face, and clearance under the sink for plumbing.
- Check under-sink space and plumbing alignment
- Measure distance from back wall to center of drain and to hot/cold water shutoffs. This ensures drain and water lines line up.
Repeat measurements twice to confirm. If you are replacing a sink with a different type, such as switching from drop-in to undermount, add the countertop thickness to your recording. These steps are the core of how to measure kitchen sink for replacement.

PAA-style quick questions
How wide should a sink cutout be compared to the sink?
The cutout is usually slightly smaller than the sink’s overall rim for drop-in sinks. For undermount sinks, the cutout equals the sink’s recommended template dimensions.
Do I measure inside or outside when measuring a sink?
Measure both. Use outside measurements for overall fit and inside measurements for bowl capacity and divider placement.
Can I reuse the old sink's mounting hardware?
Often no. Mounting hardware can vary by sink style. Verify compatibility when choosing a new sink.
Measuring by sink type
Different sinks need different focus areas.
- Single-bowl sinks. Measure the single bowl length, width, and full depth. Record drain center location.
- Double-bowl sinks. Measure each bowl separately and the divider thickness. Note unequal bowl sizes if present.
- Farmhouse/apron sinks. Measure the apron projection and the cabinet opening width. Aprons need a full front cabinet cutout.
- Corner sinks. Measure each leg of the triangle, plus clearance to walls and cabinets.
- Undermount sinks. Measure the cutout template or underside reveal. Also measure countertop thickness.
When you know how to measure kitchen sink for replacement by type, you can match installation style and avoid surprises.

Common mistakes and how to avoid them
Mistakes cost time. Avoid these simple traps.
- Relying on only one measurement. Take multiple reads and record them.
- Measuring the wrong plane. Measure the countertop surface and the underside when needed.
- Ignoring faucet hole spacing. Faucets, sprays, and soap dispensers must align with holes.
- Forgetting plumbing offsets. Measure the drain center to back wall and shutoff locations.
- Assuming contours are square. Old sinks can sit askew; confirm squareness.
From my experience, the biggest error is skipping the drain center measurement. I once ordered a sink with the drain offset 2 inches from my plumbing; it required redoing the trap. Double-check plumbing before ordering.
Choosing the right replacement using measurements
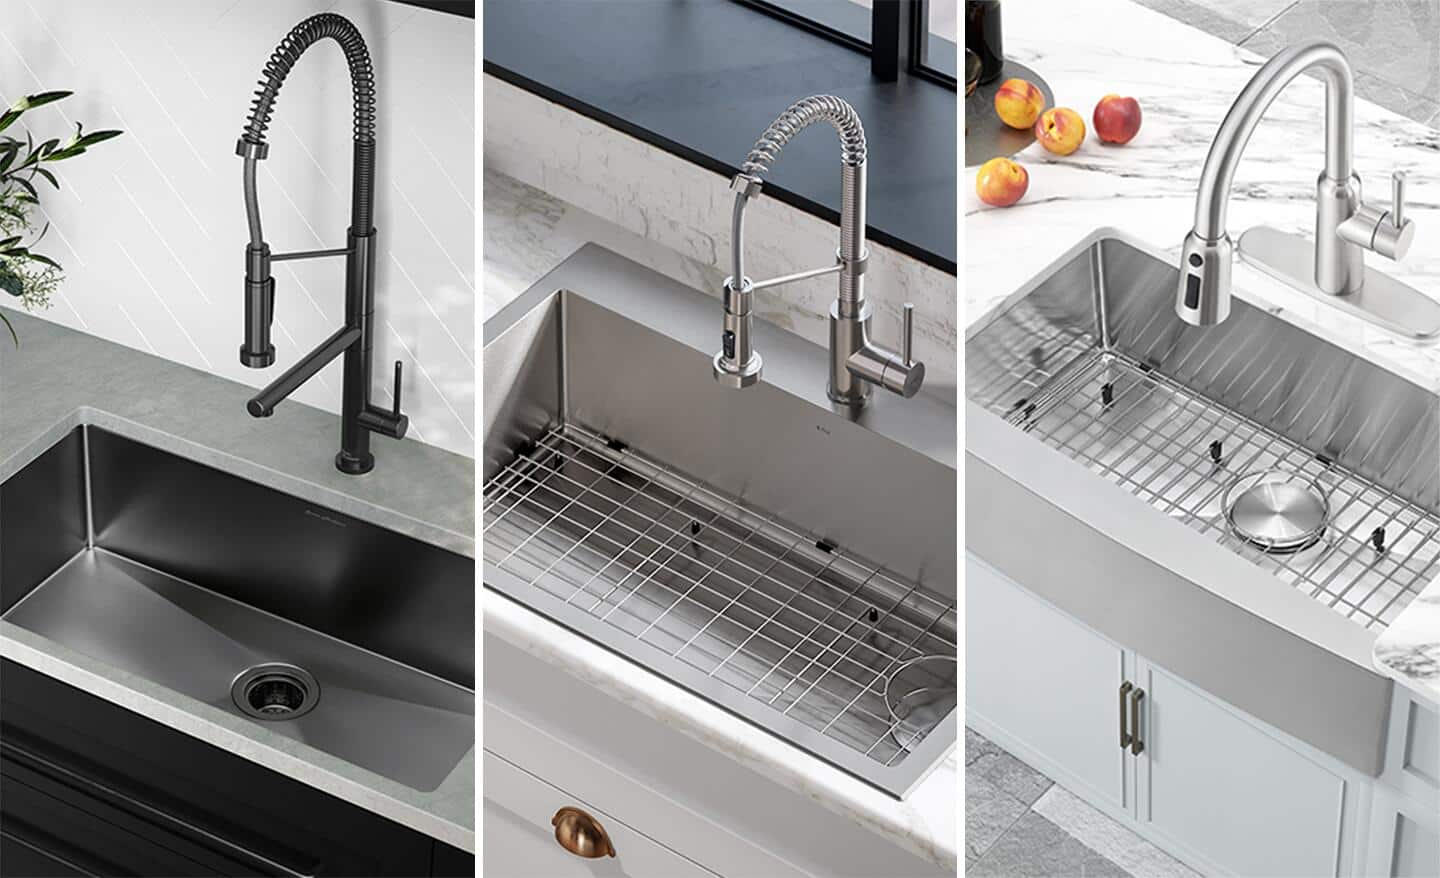
Use your measurements to filter options.
- Match overall length and width to the cabinet and countertop cutout.
- Match bowl depths to your preferred ergonomics and dishwasher drain alignment.
- Confirm faucet hole pattern fits or be prepared to drill new holes in the countertop or sink.
- Check mounting type: top-mount sinks usually fit existing cutouts, while undermounts may need a new template.
- Verify material and weight. Heavier sinks need stronger supports and possibly cabinet reinforcement.
If the replacement requires modifying the countertop, budget for that. When you follow how to measure kitchen sink for replacement precisely, you can pick a sink that fits without extra work.

Practical examples and templates
Example 1: Like-for-like drop-in swap
- Overall sink: 33" x 22"
- Cutout: 32 1/2" x 20 1/2"
- Rim width: 3/8"
- Faucet holes: center, 8" spread
Result: A drop-in replacement with matching cutout fits without cutting the counter.
Example 2: Swap to undermount single bowl
- Cabinet width: 36"
- Countertop thickness: 1 1/4"
- Drain center: 7" from back wall
Action: Use new undermount template and confirm sink flange clears cabinet face.
These templates show why how to measure kitchen sink for replacement needs exact numbers. Take pictures of the existing sink and cabinet before you remove anything. That helps installers and suppliers.

Personal tips, lessons, and installation-ready checklist
I’ve learned small checks save big headaches. Here’s a short checklist I use before ordering.
- Measure overall sink and each bowl twice.
- Record cutout dimensions and rim width.
- Note drain center to back wall and cabinet face.
- Check faucet hole pattern and accessory spacing.
- Photograph plumbing and underside for installer reference.
- Confirm sink weight and mounting hardware requirements.
A quick tip from my projects: tape a paper template to the countertop before ordering. It reveals fit issues earlier. These small steps make how to measure kitchen sink for replacement straightforward and predictable.
Frequently Asked Questions of how to measure kitchen sink for replacement
What is the most important measurement for replacing a sink?
The cutout size and drain center are most important. They ensure the sink fits the countertop and aligns with plumbing.
Can I measure the sink while it’s still installed?
Yes. Measure the outside and inside dimensions, then measure the countertop cutout and plumbing positions without removing the sink.
How do I measure the drain center?
Measure from the back wall to the center of the drain or from a fixed cabinet face to the drain center. Record in inches to 1/8" if possible.
Do I need to measure countertop thickness?
Yes. Countertop thickness affects undermount mounting and clip placement. It also affects faucet reach and accessory drilling.
How much extra space should I allow around the sink?
Allow a small reveal per manufacturer guidelines, often 1/8" to 1/4". For aprons or farmhouse sinks, allow cabinet modification space.
Final thoughts and next steps
Measuring carefully makes replacement simple. Take clear numbers for overall dimensions, bowl sizes, cutout, drain center, and faucet holes. Use photos and a checklist when ordering.
Now measure your sink and cabinet with the steps above. If you feel unsure, print or sketch your measurements and ask a pro to confirm. Share your measurements or questions in the comments, subscribe for more how-to guides, or save this checklist for your next kitchen project.