
Turn off water, remove old parts, mount new Moen faucet, reconnect lines, and test for leaks.
I’ve replaced many kitchen faucets, including several Moen models, and I’ll walk you through how to replace a Moen kitchen faucet step by step. This guide is clear, practical, and based on hands-on experience. You’ll learn what tools you need, how to avoid common mistakes, and how to finish the job so your sink works like new. Read on to get confident and do the work right the first time.

Tools and materials you’ll need
Below are the tools and materials I use every time I replace a Moen faucet. Gather them before you start to save time and stress.
- Moen faucet kit: new faucet, gasket, mounting hardware, and any included hoses.
- Basin wrench: for tight nuts under the sink.
- Adjustable wrench: for supply line fittings.
- Plumber’s tape: to seal threaded connections.
- Silicone or plumber’s putty: to seal base if needed.
- Bucket and towels: to catch water and keep the area dry.
- Flashlight: to see under the sink.
- Supply lines (if not included) and replacement nylon braided hoses.
- Safety gloves and safety glasses.
If you plan to reuse parts, have a parts tray and clean rags. Replacing parts without the right tools can make the job longer. Knowing how to replace a Moen kitchen faucet starts with the right preparation.
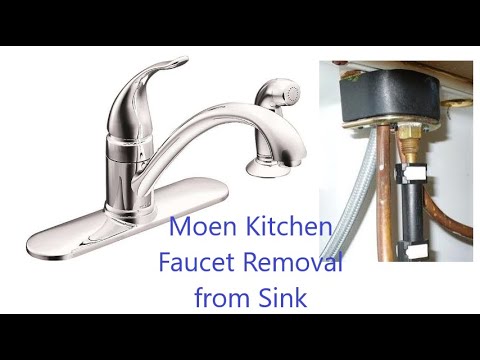
Preparation and safety checks
A few prep steps make the install smooth and safe. Do these before removal.
- Turn off hot and cold shutoff valves under the sink. If valves are stuck, shut off the main water.
- Open the faucet to relieve pressure and drain remaining water.
- Place a bucket and towels under the sink. Disconnect the supply lines into the bucket to catch water.
- If you have a garbage disposal, unplug it or turn off its circuit at the breaker.
- Read the new Moen instructions. Model details vary and the manual has model-specific notes.
These prep steps prevent surprises and water damage. Proper prep is the backbone of how to replace a Moen kitchen faucet safely.
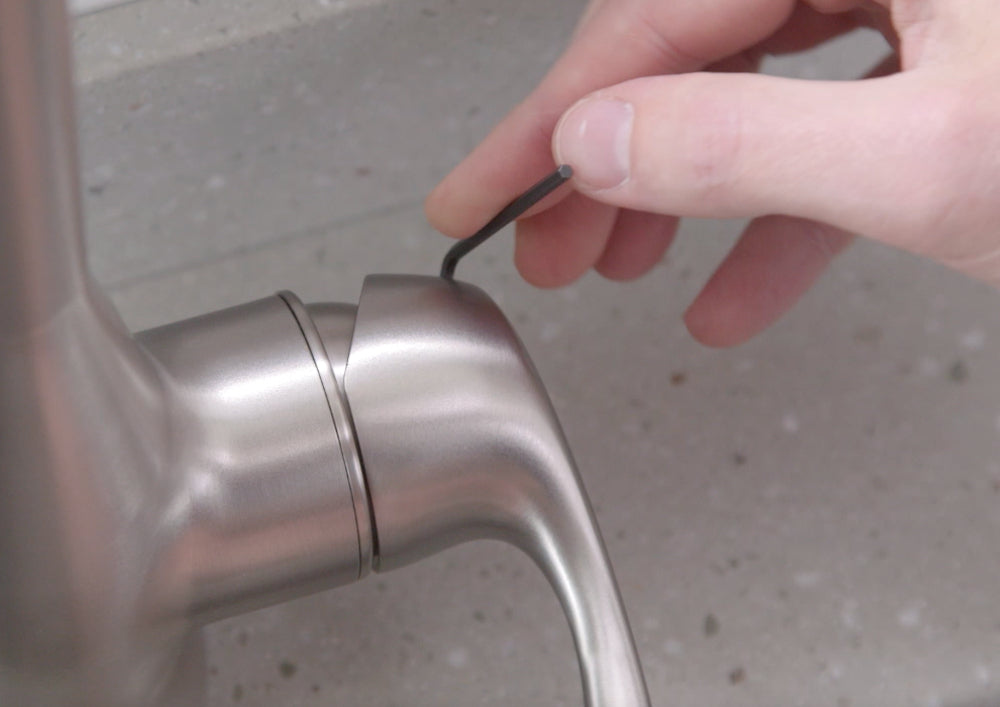
Step-by-step: remove the old faucet
Follow these clear steps to remove the old faucet. Work slowly and keep parts organized.
- Turn off water and drain the lines. Confirm water does not run when you open the faucet.
- Disconnect supply lines. Use the adjustable wrench or basin wrench to loosen nuts on the lines.
- Remove mounting nuts under the sink. Use a basin wrench to reach the long or tight nuts.
- Lift the old faucet out. Wiggle gently if it is stuck from old plumber’s putty.
- Clean the sink surface. Remove old putty, grime, and mineral deposits with a scraper and cleaner.
- Inspect the sink holes and deck. Ensure the holes match the new Moen faucet and that the sink surface is flat and dry.
- Check the old supply lines and valves. Replace corroded lines now to avoid future leaks.
Take photos of the connections before removal. They help you remember which hose goes where. Knowing these removal steps will make how to replace a Moen kitchen faucet fast and predictable.

Step-by-step: install the new Moen faucet
Now install the new faucet carefully. Follow each step and test as you go.
- Assemble the faucet per the Moen manual. Attach the gasket or putty ring to the base if the model requires it.
- Feed the faucet lines and shank through the sink hole. Hold the faucet in position from above.
- From under the sink, slide on the mounting hardware and tighten mounting nuts. Hand-start threads, then tighten with the basin wrench. Do not overtighten.
- Connect the supply lines. Use plumber’s tape on threaded adapters if the manual suggests it. Tighten the nuts snugly with an adjustable wrench.
- Reinstall any weight for a pull-down spray hose. Make sure the spray hose moves freely.
- Turn on the shutoff valves slowly and check for leaks. Open the faucet to flush air and debris.
- Check for leaks at all connections and tighten gently as needed.
If the spray head sputters, open the faucet fully for a minute to flush the lines. These steps show how to replace a Moen kitchen faucet and return your sink to full use.

Troubleshooting common problems
Small issues can appear after installation. Here are quick fixes that I use.
- Leak at base: Tighten mounting nuts slightly and check the gasket. Reapply silicone if needed.
- Drip from spout: Check cartridge seating and O-rings. A misaligned cartridge often causes drips.
- Low flow: Remove and clean the aerator and flush supply lines. Sediment often blocks flow.
- Spray hose not retracting: Check weight placement and remove any kinks in the hose.
- No hot or cold: Confirm supply lines are connected to the correct valves and that shutoff valves are fully open.
People also ask: How long does it take to replace a Moen kitchen faucet?
Most installs take 45 minutes to 2 hours. Time depends on access, plumber experience, and whether supply lines or valves need replacement.
People also ask: Do I need a plumber to replace a Moen faucet?
You can do it yourself if you are comfortable under the sink and have the right tools. Hire a plumber if valves are corroded or you suspect plumbing code issues.
People also ask: Can I use my old supply lines with a new Moen faucet?
You can reuse sturdy, braid-lined supply lines, but replacing them is cheap insurance against leaks and saves trouble later.
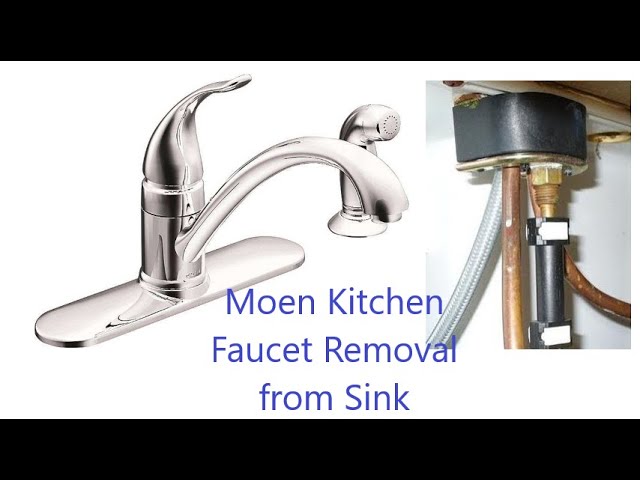
Pro tips and mistakes to avoid
A few tips will help you finish clean and fast. These are lessons I learned the hard way.
- Test-fit the faucet before adding sealant. This avoids needing to reseat it after the seal hardens.
- Avoid overtightening nuts. Brass and plastic threads strip easily.
- Replace old shutoff valves if they leak or feel stiff. New valves are inexpensive and prevent future jobs.
- Keep a bucket handy. Water will spill when you disconnect lines.
- Save the faucet manual and packing with the unit for future parts or warranty claims.
Common mistakes I made early on: not taking a photo of the wiring or hoses, overtightening mounting nuts, and skipping the aerator flush. These small errors cost time but are easy to avoid. Practicing these tips will make how to replace a Moen kitchen faucet smoother next time.
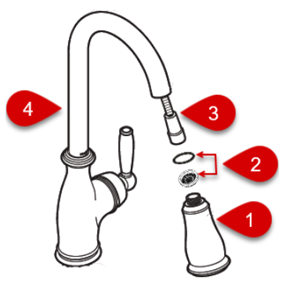
Personal experience and final checks
I once replaced a Moen faucet under a cramped sink with poor light. I used a headlamp and a slim basin wrench. It took me longer, but the job was solid. After I finished, I left the area dry, tested hot and cold, and checked for leaks over 24 hours.
Final checks to do after installation:
- Run both hot and cold for several minutes.
- Check all connections for drips.
- Test the spray and full flow modes.
- Re-tighten gently if you find small leaks.
These final checks save a lot of hassle. They are the last step in a good how to replace a Moen kitchen faucet routine.

Frequently Asked Questions of how to replace a moen kitchen faucet
How long will the whole replacement take?
Most DIY replacements take 45 minutes to 2 hours. Difficulty rises with tight space or old corroded parts.
Do I need special tools for a Moen faucet?
A basin wrench and adjustable wrench cover most needs. Moen kits sometimes include hoses and fewer adapters, so check your kit first.
Can I install a Moen faucet on a granite or composite sink?
Yes, as long as the sink has the correct hole pattern and the deck is flat. Use the gasket or silicone suggested by Moen to prevent leaks.
What if I find a leak after installation?
Turn off the shutoff valves, dry the area, and tighten connections gently. If the leak continues, re-seat the cartridge or check the supply lines for damaged threads.
Is it worth hiring a plumber?
If you lack tools, have corroded valves, or worry about local codes, hiring a plumber is smart. For straightforward swaps, DIY is cost-effective and doable.
Conclusion
Replacing a Moen kitchen faucet is a clear, manageable task when you prepare, follow steps, and test carefully. Gather tools, shut off water, remove the old unit, install the new Moen faucet per instructions, and check for leaks. Use patience and the tips above to avoid common mistakes and finish strong. Try the steps on your next weekend project, and share your experience or questions below to help others learn.